

If you’re looking for a fun and festive treat that’s easy to make and completely gluten free, these vanilla cake pops are just the thing! With a soft, moist crumb and a rich vanilla flavour, each bite is dipped in chocolate and finished with sprinkles for the perfect party-ready dessert. Whether you’re baking for a birthday, holiday, or just because, these gluten free cake pops are sure to delight kids and adults alike. Plus, they’re a great way to use leftover cake—no one will guess they’re gluten free!

How do you make cake pops?
Step-by-Step Instructions
Dip and decorate
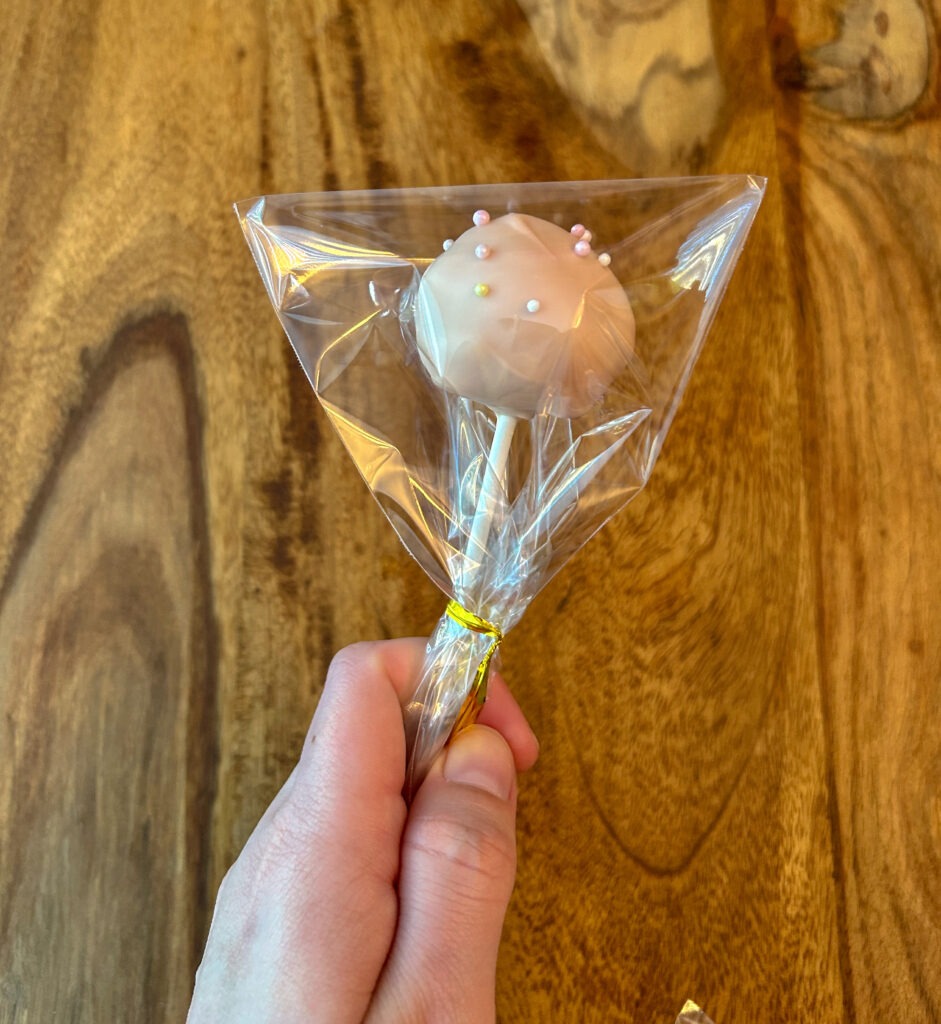
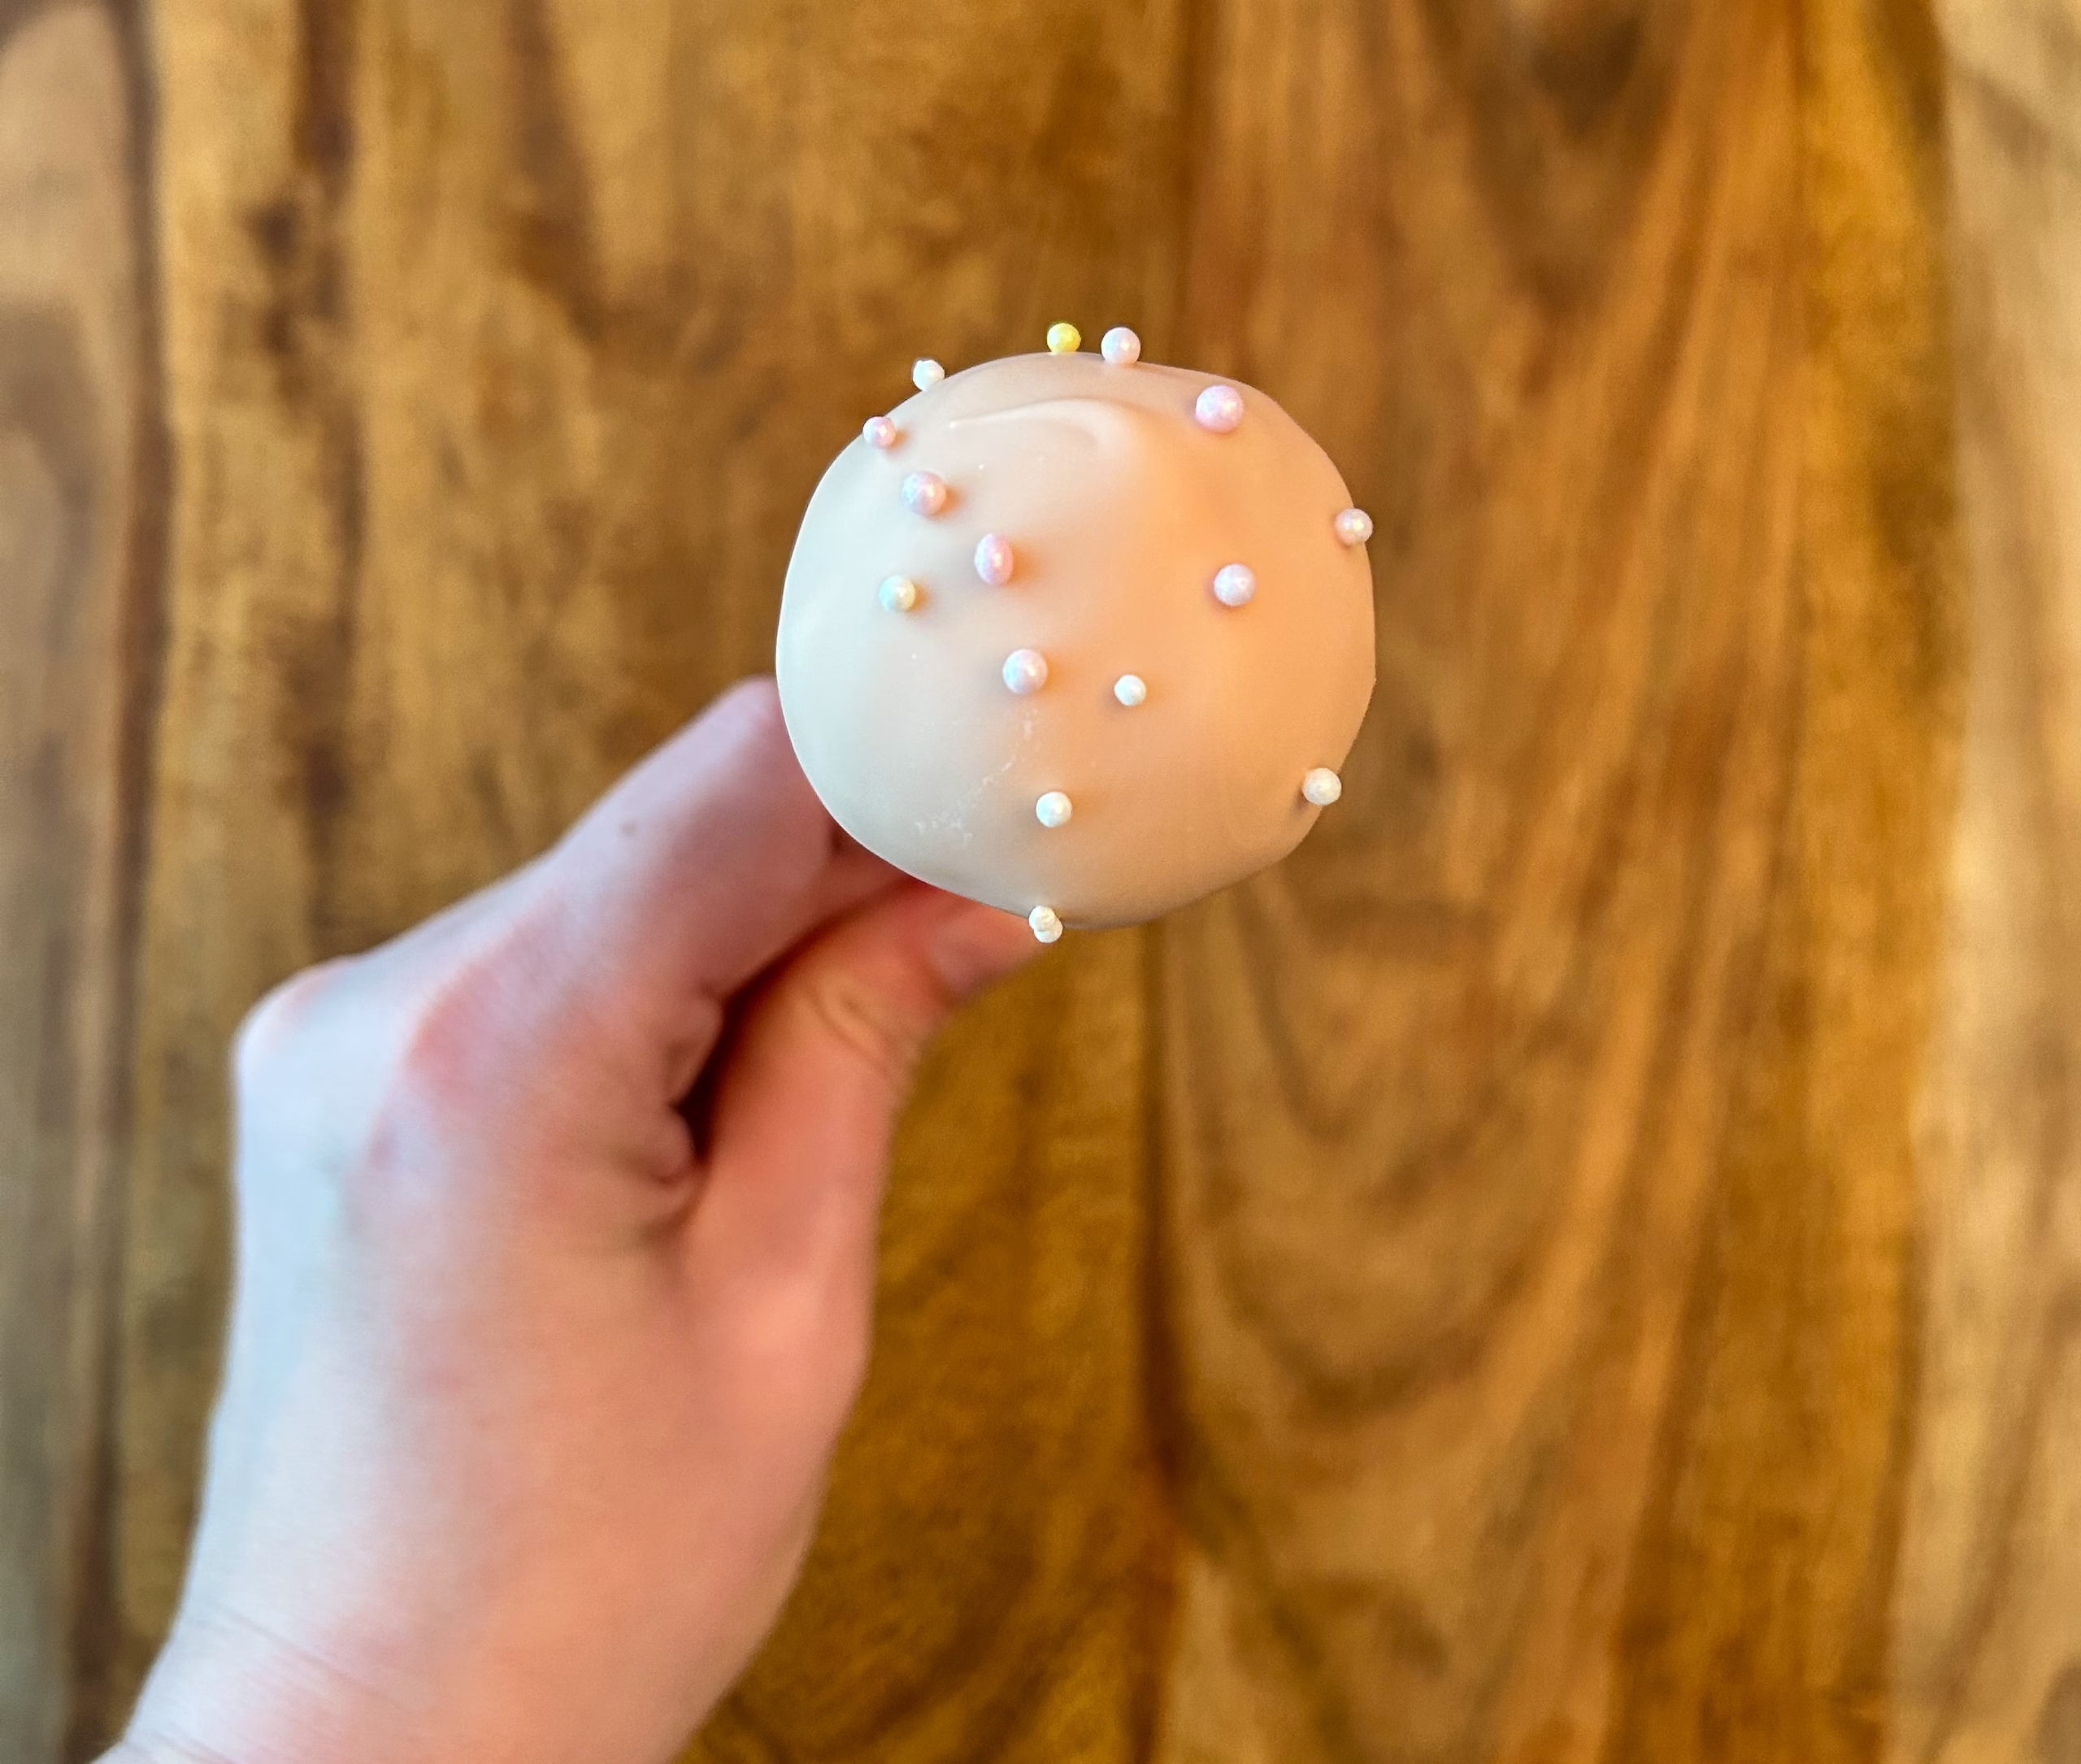
Once the sticks are secure and the cake pops are firm, dip each one into the tempered white chocolate, letting the excess drip off. Place upright in a stand or foam block to dry. While the coating is still wet, add sprinkles if desired.
Bake the gluten free vanilla cake
Start by baking your favourite gluten free vanilla cake. Once it’s out of the oven, let it sit for about 10 minutes—just enough to cool slightly but still be warm.
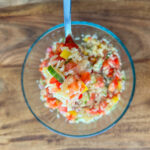
Crumble the cake in a stand mixer
Transfer the warm cake directly into the bowl of a stand mixer. Using the paddle attachment, mix on low speed until the cake breaks down and comes together into a soft, dough-like consistency.
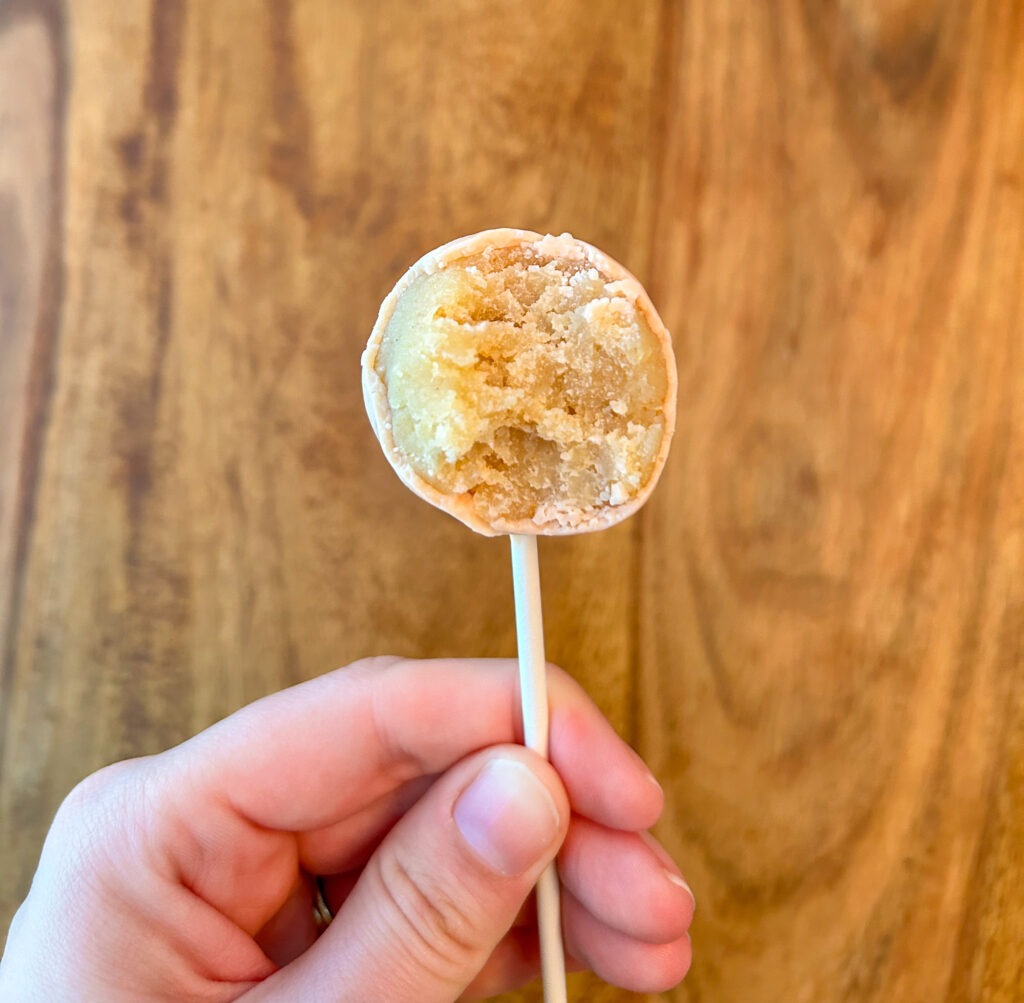
Shape into cake balls
Use a 1 tablespoon measuring spoon to scoop and roll the mixture into evenly sized balls. Place them on a parchment-lined baking sheet.
Chill
Place the tray in the fridge to let the cake balls firm up—about 30 minutes is usually enough.
Temper white chocolate
While the cake balls chill, temper your white chocolate for dipping. This ensures a smooth, glossy finish that won’t crack. (Optional: stir in a small amount of neutral oil or cocoa butter for easier dipping.)
Insert the sticks
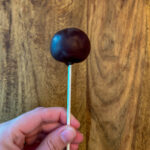
Dip the tip of each cake pop stick into the melted white chocolate, then push it about halfway into each chilled cake ball. Let the chocolate set—this helps anchor the stick and prevents slipping.
ingredients
Here are the ingredients you will need to make these.
- Gluten Free 1-1 Gluten Free Flour
- Baking Powder
- Salt
- Room Temperature Butter
- Sugar
- Eggs
- Vanilla
- Buttermilk: I prefer to use powdered buttermilk so I always have it on hand, instead of having to purchase it just from one recipe
- White Chocolate
- Oil Based Colours

how to store them while the chocolate is drying?
Laura’s Tip: DIY Cake Pop Stand
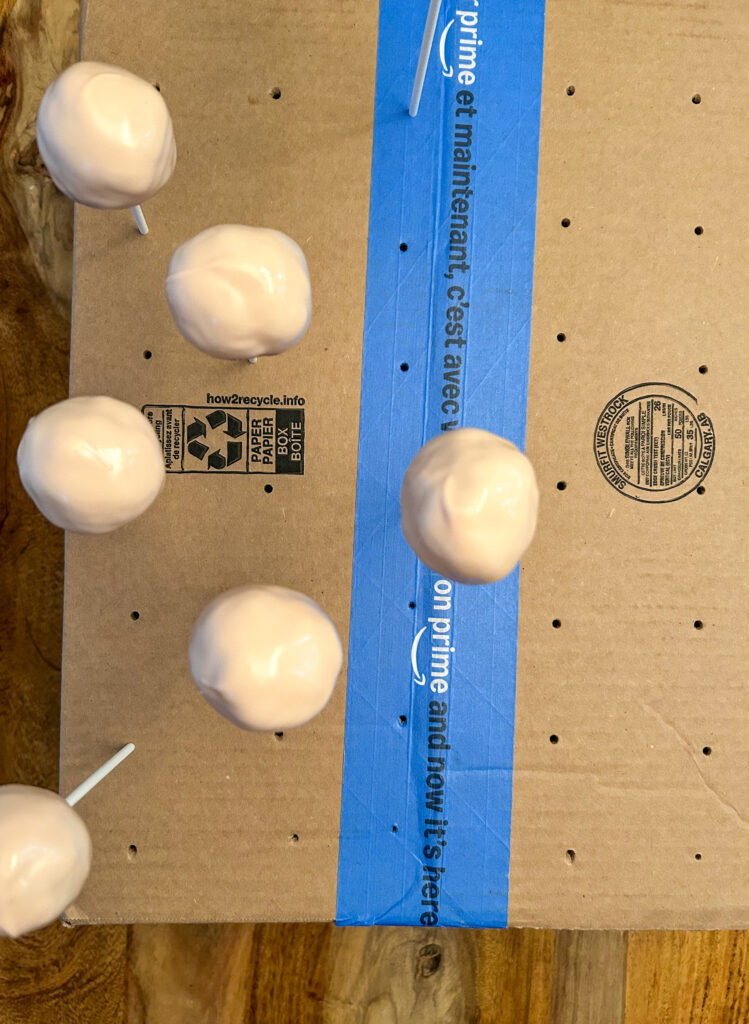
Don’t have a cake pop stand? No problem—I don’t either! I make my own using an old Amazon box. Just flip it upside down and use the tip of a kitchen thermometer (mine happens to be the perfect size!) to poke evenly spaced holes. It holds the cake pops upright while they set and works like a charm—no need to buy anything fancy.
Why does the chocolate crack on cake pops?
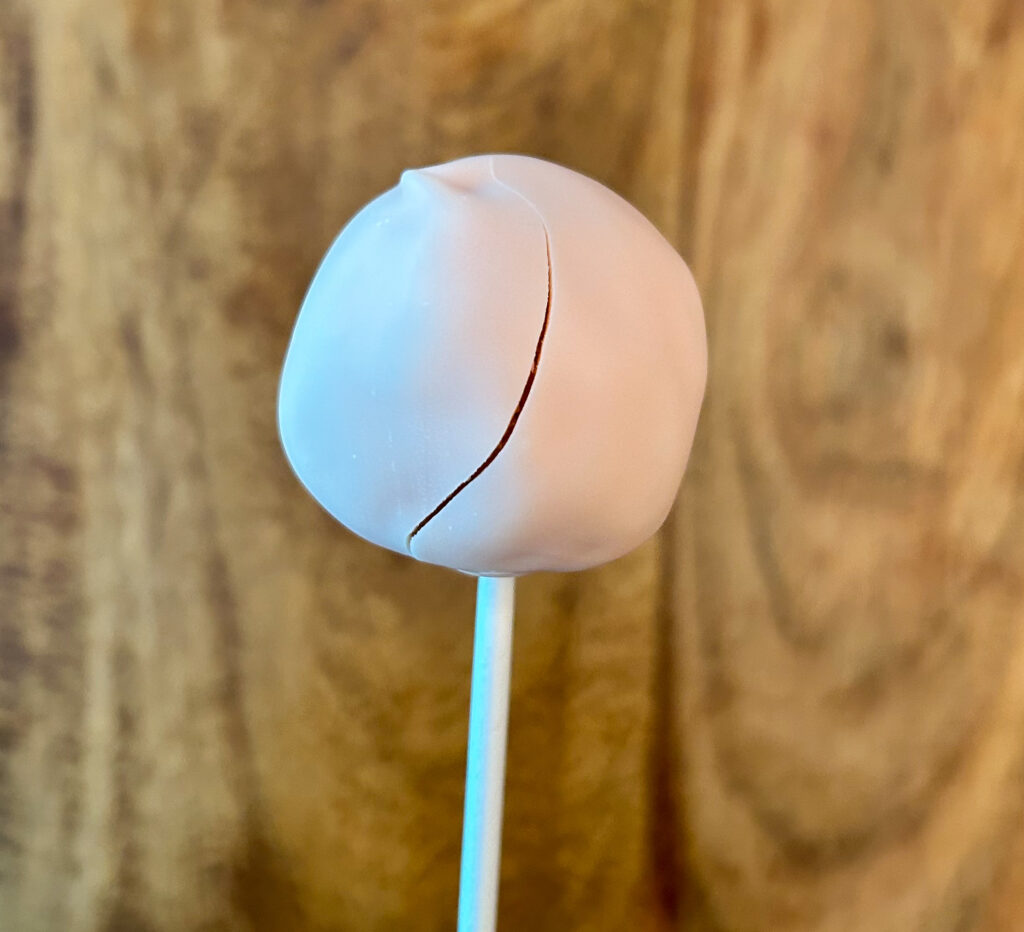
Rapid temperature changes can cause chocolate to contract and crack. For example, if you dip cold cake pops into warm chocolate or put them in the fridge after dipping, the sudden shift can lead to cracking.
Solution:
Allow your chocolate to cool slightly before dipping and store cake pops at room temperature (not directly in the fridge) after dipping if you don’t need them chilled.
Storing
Room Temperature:
If you’re serving them within 1–2 days and your environment is cool and dry, you can store the cake pops at room temperature in an airtight container. Keep them away from direct sunlight and heat.
Refrigerator:
For longer freshness, store the cake pops in the fridge for up to 5–7 days. Place them in a container lined with paper towel to absorb moisture and prevent condensation from softening the coating.
Freezer:
Cake pops freeze well! Once the coating has set, wrap each cake pop tightly in plastic wrap, then place them in an airtight freezer-safe container. They’ll keep for up to 6 weeks. To serve, thaw in the fridge overnight, then bring to room temperature.
Gluten Free Vanilla Cake Pops
Ingredients
Gluten Free Vanilla Cake
- 280 Grams Bob’s Red Mill 1-1 Gluten Free Flour or Adent Mills Gluten Free Flour
- 19 Grams Baking Powder
- 1 Grams Salt
- 170 Grams Butter (Room Temperature )
- 300 Grams Sugar
- 3 Eggs
- 3 Grams Vanilla
- 240 Grams Buttermilk
Chocolate
- 150 Grams White Chocolate
- Oil Based Colouring
Instructions
- Preheat oven to 350F. Prepare the 8” cake pan with parchment paper at the bottom of the pan.
- In a stand mixer bowl, cream together butter and sugar on medium heat. It should be fluffy.170 Grams Butter, 300 Grams Sugar
- Add each egg one by one until fully incorporated.3 Eggs
- Add vanilla and mix together.3 Grams Vanilla
- Mix together all the dry ingredients in a bowl.280 Grams Bob’s Red Mill 1-1 Gluten Free Flour or Adent Mills Gluten Free Flour, 19 Grams Baking Powder, 1 Grams Salt
- Alternate pouring the dry mixture and buttermilk into the stand mixer bowl until it is fully incorporated after each addition.240 Grams Buttermilk
- Pour it into the cake pan, bake for 30-35 minutes. A toothpick should come out with some crumbs.
- Let the cake cool for 10-15 minutes.
- Transfer the cake into a stand mixer bowl and using a paddle. Mix until it comes together. You should be able to press it together and it stays.
- Remove it from the stand mixer. Use a tbsp measuring spoon to scoop the mixture. Create a ball in your hand and place it on a prepared baking sheet with parchment paper. Do this until you have done it with all of the dough.
- Place the prepared baking sheet into the fridge until chilled.
- Melt white chocolate in the microwave in 30 seconds and stir until almost melted. Then continue to stir until fully melted. Add in any colouring.
- Dip a cake pop stick into the chocolate, and press halfway into the cake pop. Continue until all of them have sticks.
- You are now ready to dip the cake pop into the chocolate. Dip it into the chocolate right up until the chocolate on the stick so it fully covers the cake pop.
- Place the stick into the DIY cake pop stand that is in above blog post. Let stick until hardens around 1 hour. Then wrap up. Enjoy!
Did you make this recipe?
Lovely. Now let me know how you liked it and how easy it was to bake. Tag @laurabakesglutenfree on Instagram and hashtag it #laurabakesglutenfree.
While I have you here, may I suggest few you try next:
Until next time. Keep following and commenting. Join me on Instagram, where I will be revealing my secret tips and tricks! Yes, that’s right!
1 Comment
Pingback: Gluten Free Chocolate Cake Pops - Laura Bakes Gluten Free Recipe