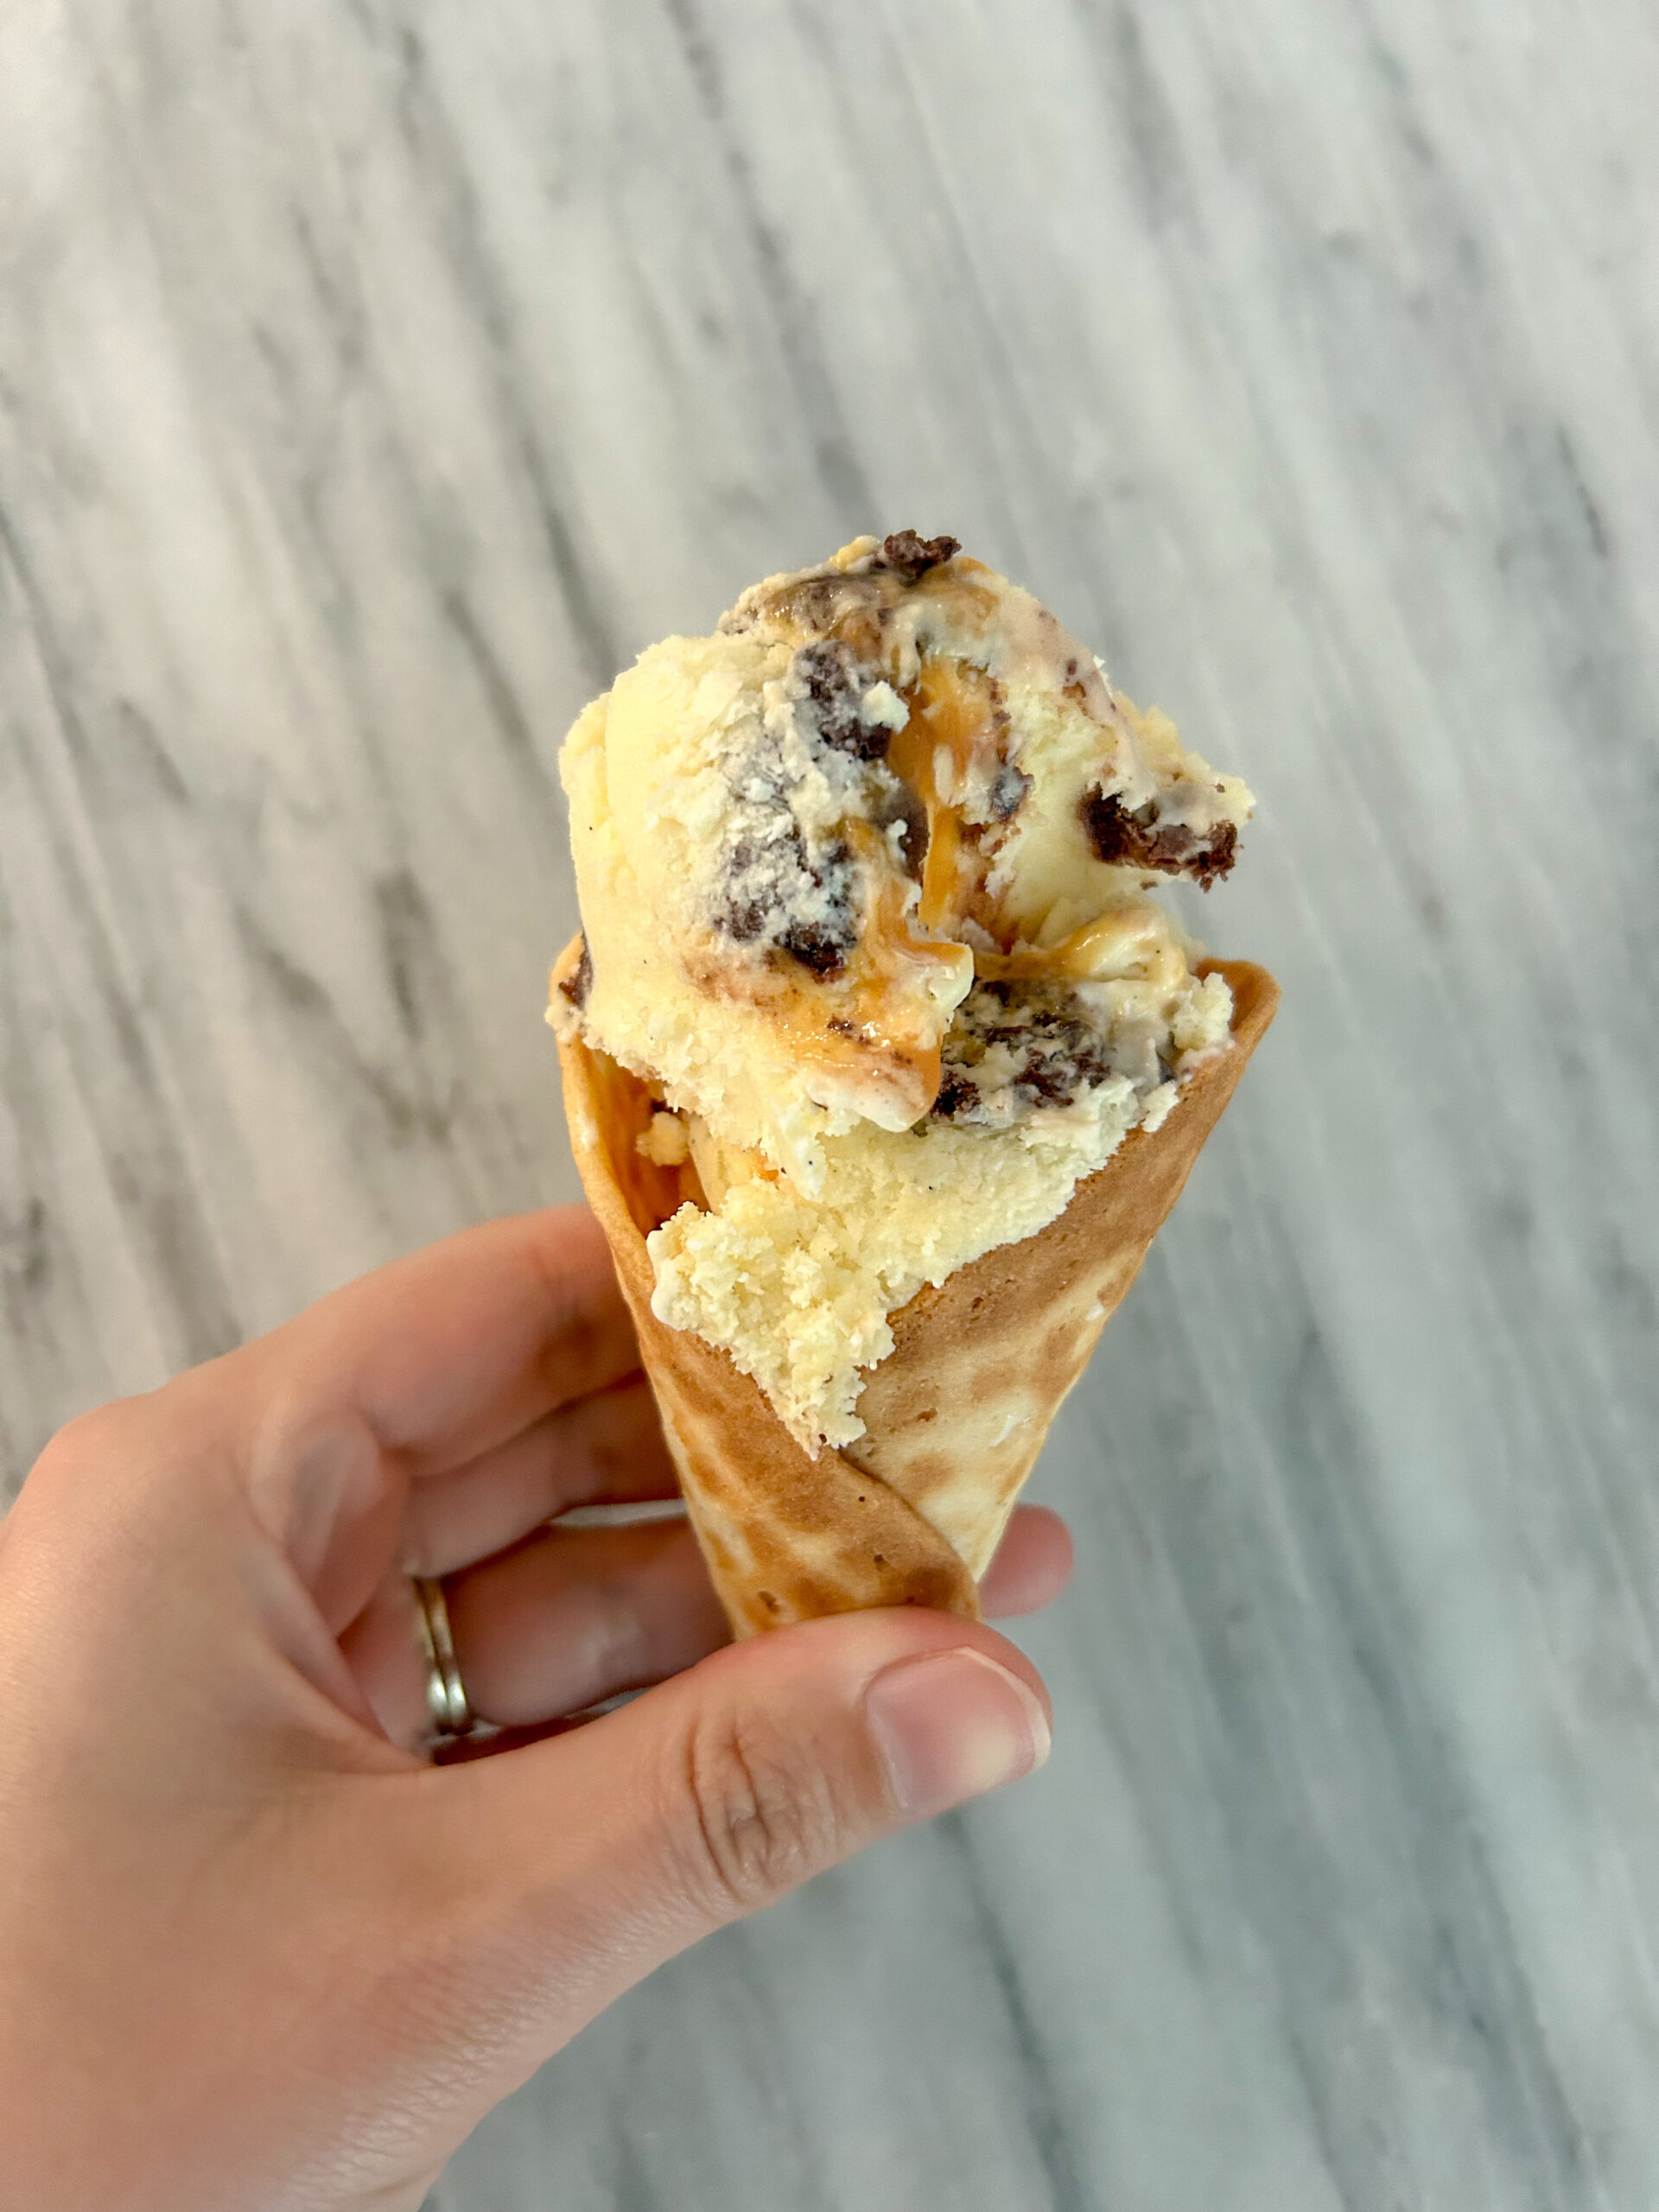
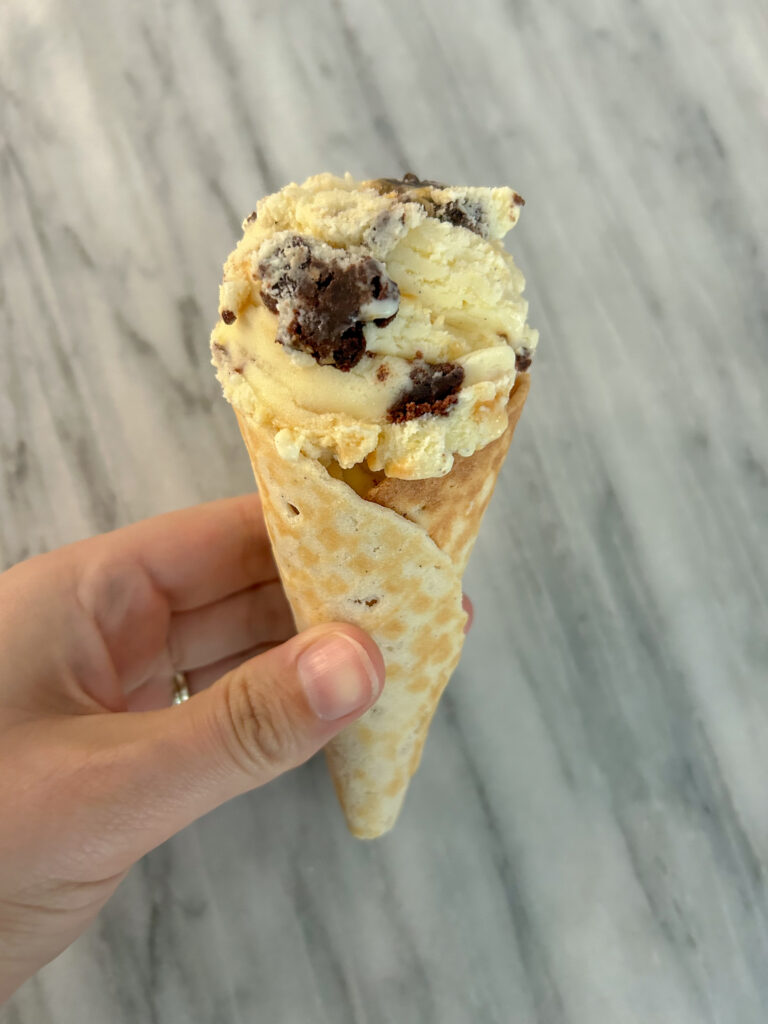
Indulge in the ultimate dessert experience with gluten free ice cream topped with rich, fudgy gluten free brownies and drizzled with luscious salted caramel sauce. This decadent treat combines creamy, smooth ice cream with the irresistible textures of chewy gluten free brownies and the perfect balance of sweet and salty flavours. Perfect for satisfying your sweet cravings, it’s a gluten free delight that everyone will love.
Ice cream styles
There are two different styles of ice cream bases. The Philadelphia style uses the milk and sugar to create into the ice cream base.
The style in this recipe is a French style. The egg yolks are used to create a custard base, which gives the ice cream a richer and creamier texture compared to ice cream made without eggs. This is also what creates the yellow tone to the ice cream.
Ingredients
This recipe uses ingredients most of us have in our pantries.
- Cream
- Milk
- Sugar
- Eggs
- Vanilla
- Salt

Enjoying gluten free ice cream
Making homemade ice cream is such a treat. It tastes better than any store bought ice cream, but it takes more time to make and wait than store bought ice cream. I use the Kitchenaid Ice Cream maker which is an attachment for the stand mixer. You need to chill the ice cream maker for 24 hours before you start churning the ice cream.
You then make the ice cream base the day before you churn the ice cream as it needs to cool in the fridge for at least 12 hours to get nice and chilled. This is also the same time as you will make the gluten free brownies as they will need to freeze.
Once everything is chilled, then you can start churning the ice cream. Then you will churn the ice cream then you will add in the inclusions and put it into the freezer to freeze together. Once everything is frozen, you can scoop some ice cream into a homemade gluten free waffle cone.
Storing
Storing homemade ice cream can be very easy. To avoid ice forming on the ice cream, you will need to ensure everything you are using is plastic and not metal or glass.
These plastic containers avoid ice crystals from forming. When I also want a scoop of ice cream I use a plastic ice cream scoop to avoid crystals. Doing it this way is the only way I have made ice crystal-less ice cream.
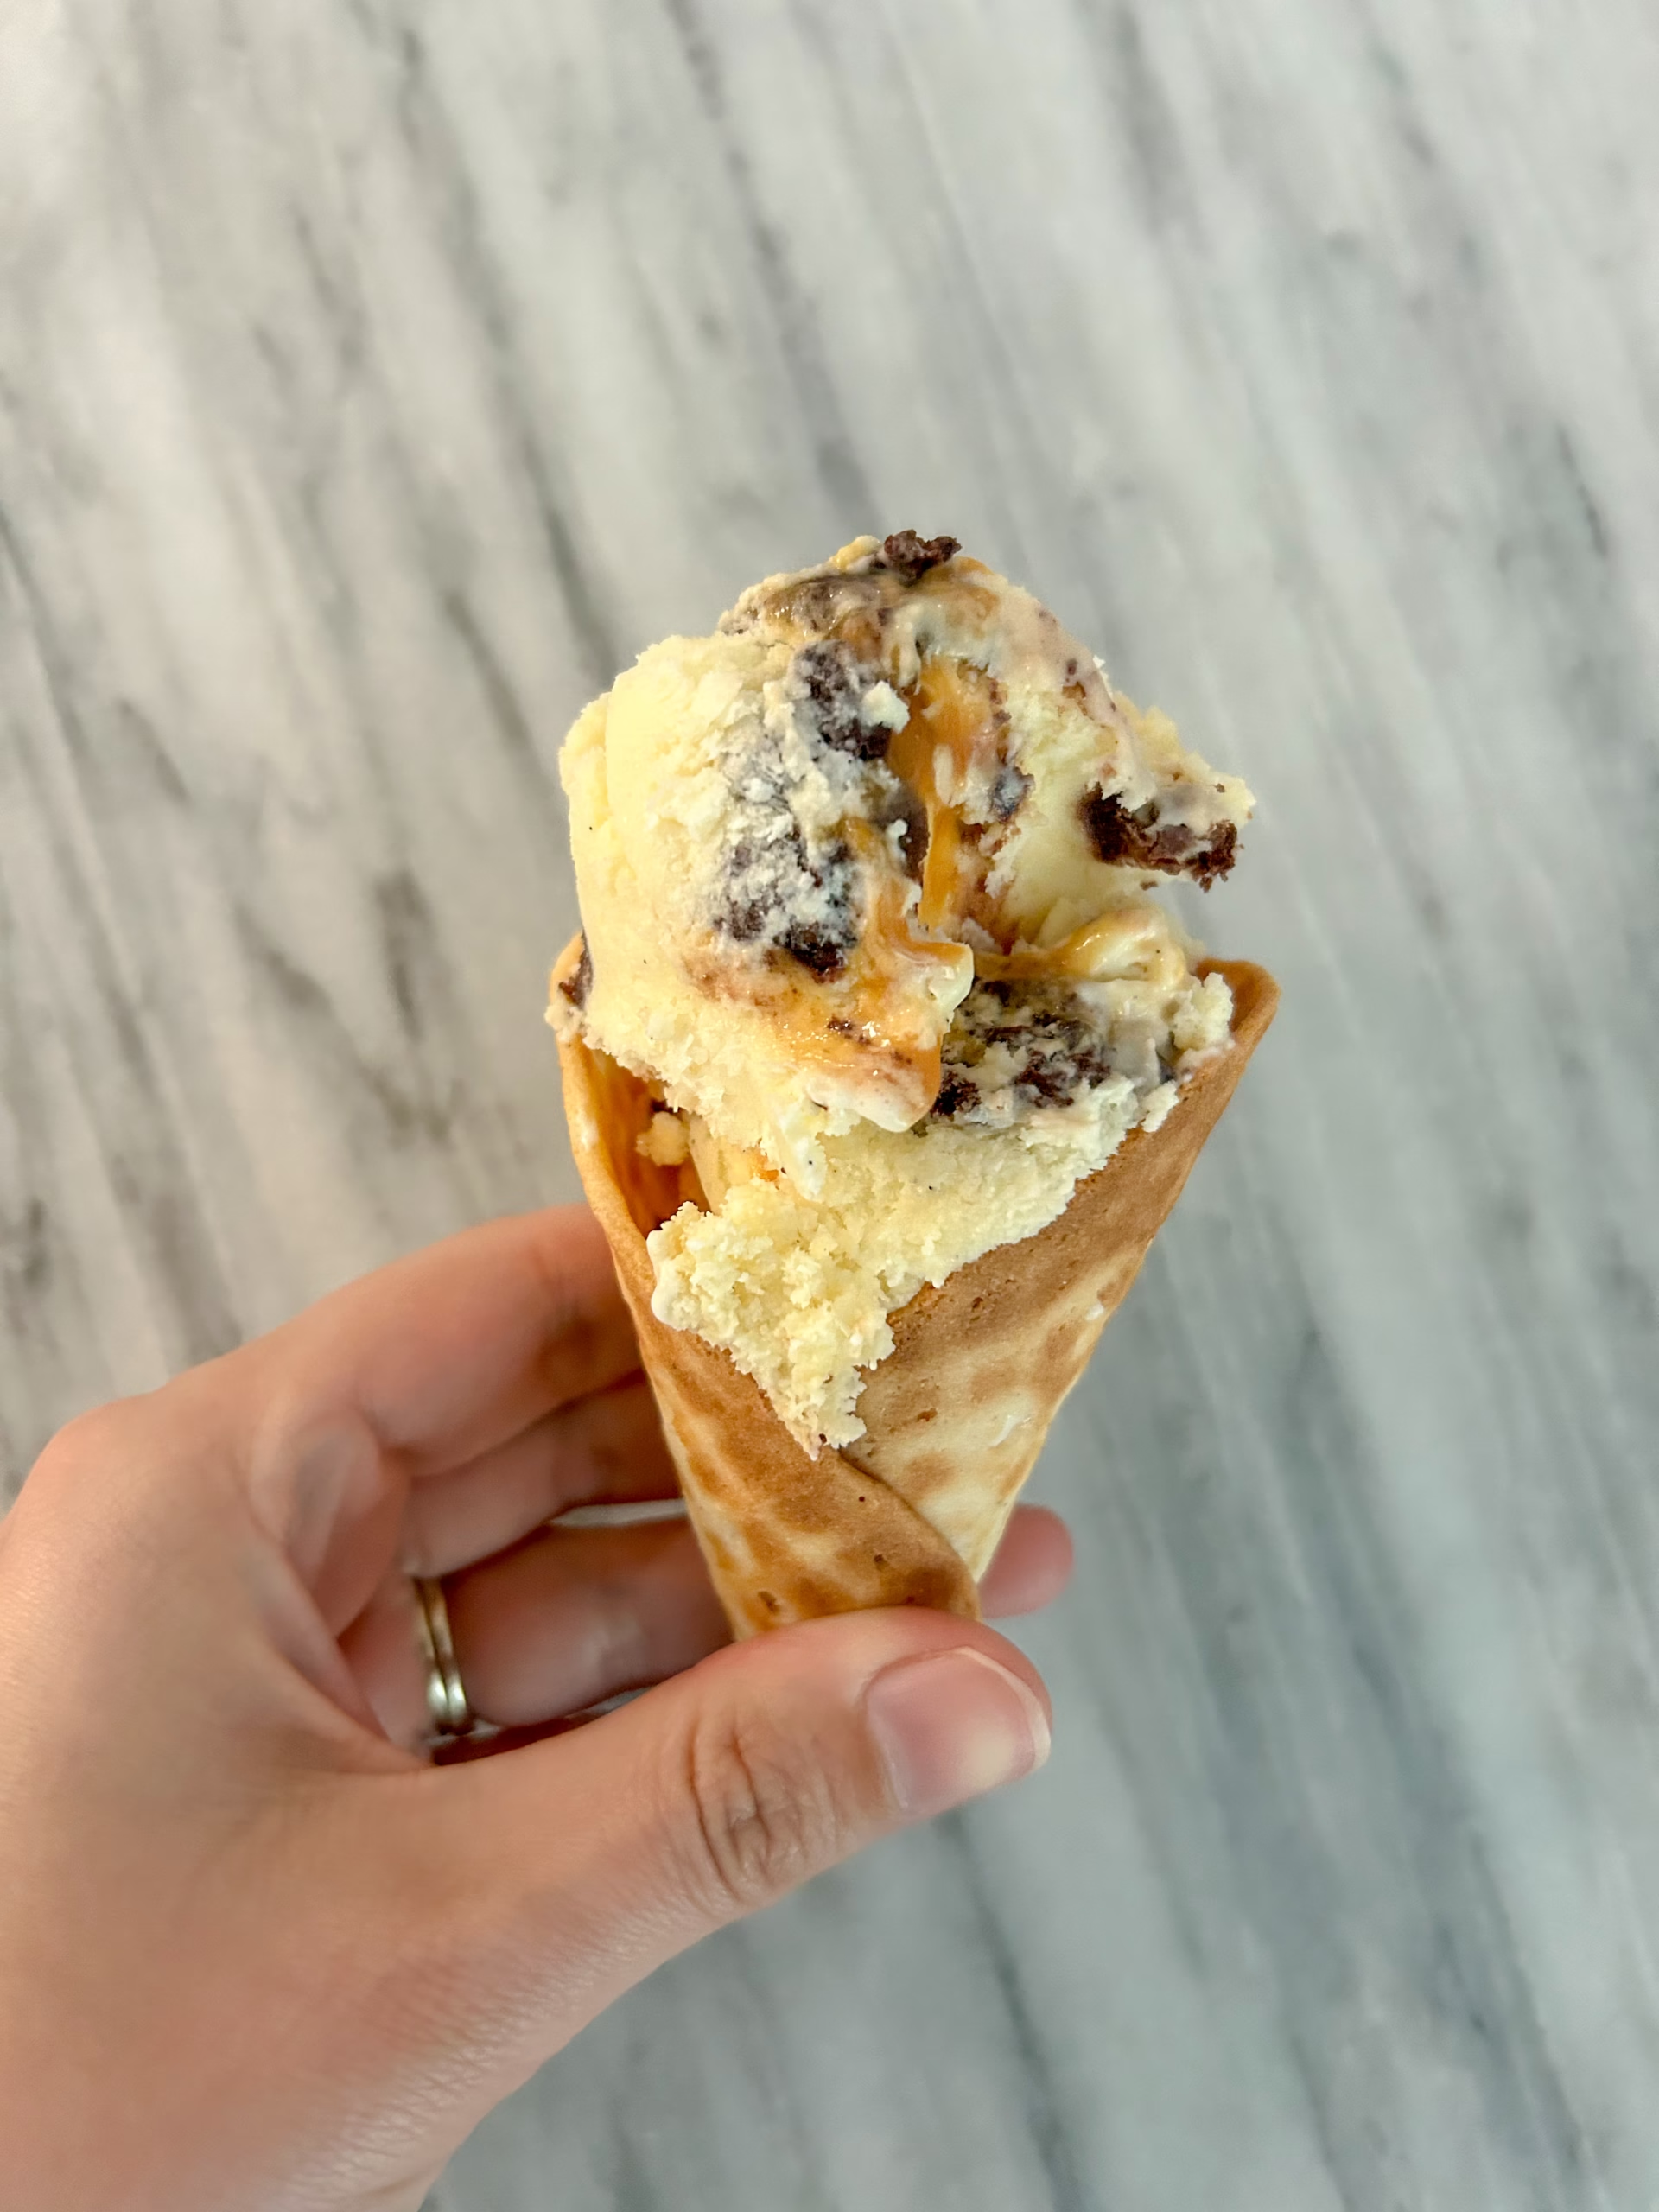
Gluten Free Brownie Ice Cream with Salted Caramel
Equipment
- 1 KitchenAid Ice Cream Maker
Ingredients
Ice Cream Base
- 205 grams Sugar
- 8 Egg Yolk
- 440 grams Cream
- 2 grams salt
- 4 grams vanilla bean
Salted Caramel
- ½ batch Caramel Sauce
Brownies
- ¼ batch fudgy brownies
Instructions
- Place KitchenAid ice cream maker into the freezer 24 hours ahead of when you are going to use it.
Brownies
- Make my gluten free fudgy brownie recipe.
- Once the brownies are baked, wait until they are cool.
- Using 1/4 of the brownies for this recipe. On a baking sheet lined with parchment paper, break up the brownies into small pieces.1/4 batch fudgy brownies
- Place the baking tray into the freezer with the brownie pieces. Leave into the freezer until you need them.
Salted Caramel Sauce
- Make my salted caramel sauce and place it into the fridge until you are ready for it.1/2 batch Caramel Sauce
Ice Cream Base
- Make this base 12-24 hours before you are going to churn the ice cream. I usually do it the same day as I put the ice cream maker into the freezer to churn the ice cream the following day.
- In a bowl, combine sugar and egg yolks together. Whisk them until they are fluffy and pale. They should double in size.205 grams Sugar, 8 Egg Yolk
- In a pot, add half the amount of cream and heat until starts to bubble. Remove from heat.440 grams Cream
- Take some of the heated cream and put it into the bowl of egg yolks. Whisk until it is fully combined.
- Transfer the egg yolk mixture back into the heated cream and continue to heat until it gets foamy.
- Once it is foamy, take the pot off the heat and add in the vanilla bean, and salt and whisk.2 grams salt, 4 grams vanilla bean
- Transfer the mixture into a glass bowl or large glass measuring cup. Using plastic wrap, press it to the surface of the mixture so it does not form a film.
- Put the ice cream base into the fridge until it is cold.
- Once the ice cream maker is frozen, hook up the ice cream maker onto your KitchenAid stand mixer. Pour the ice cream base into the ice cream makers and set it on to low speed.
- After 30 minutes the ice cream should be creamy and ready for the next step.
- Using a wooden spoon or plastic (nothing metal as that forms ice crystals) scoop a little bit of the ice cream into the bottom of the ice cream plastic container.
- Next spoon some caramel over top of the ice cream.
- After sprinkle some of the frozen brownie pieces on top.
- Continue these layers until you have filled the container. You can add as much or as little salted caramel and brownies as you would like.
Did you make this recipe?
Lovely. Now let me know how you liked it and how easy it was to bake. Tag @laurabakesglutenfree on Instagram and hashtag it #laurabakesglutenfree.
While I have you here, may I suggest few you try next:
Until next time. Keep following and commenting. Join me on Instagram, where I will be revealing my secret tips and tricks! Yes, that’s right!