There’s something extra special about a homemade ice cream sandwich—and this gluten-free version brings all the magic. Soft-baked cookies sandwich a layer of creamy homemade ice cream, making these a truly indulgent summer treat. But don’t worry—if you’re short on time, your favourite store-bought ice cream works just as well!
These are easy to customize with different cookie flavours and ice cream combos. Whether you go classic with vanilla and chocolate chip, or get creative with fruity or dairy-free options, these gluten-free ice cream sandwiches are a guaranteed hit. Perfect for make-ahead desserts, BBQs, or simply keeping cool on a hot day.
Why You’ll Love These Gluten-Free Ice Cream Sandwiches
These gluten-free ice cream sandwiches check all the boxes for a perfect summer dessert—fun, nostalgic, and completely irresistible. They start with soft and chewy gluten-free cookies that hold up beautifully in the freezer without getting rock-hard. You get that perfect bite every time—no ice cream squishing out the sides!
What really sets these apart is the homemade ice cream. It’s ultra-creamy and easy to make, and you can flavour it any way you like. But if you’re in a hurry or just want to keep it simple, your favourite store-bought ice cream works just as well.
They’re also make-ahead friendly, meaning you can prep them days in advance and keep them stashed in the freezer for whenever a craving strikes (or surprise guests appear). Whether you’re making these for a BBQ, a birthday, or a hot afternoon treat, these ice cream sandwiches are guaranteed to bring a smile—gluten free and all!
ingredients

- Ice Cream: You can use store-bought ice cream or homemade ice cream. If you are making homemade ice cream you will need:
- Milk
- Cream
- Vanilla Bean Paste
- Egg Yolks
- Sugar
- Bob’s Redmill 1-1 Gluten Free Flour
- Cocoa Powder
- Baking Powder
- Brown Sugar
- Butter
Tools
- Parchment Paper
- Oven Mitt
- KitchenAid Stand Mixer
- KitchenAid Ice Cream Maker Attachment
- Ice Cream Storage Containers
- Plastic Wrap
- Baking Sheet
Storing

These gluten-free ice cream sandwiches are ideal for making ahead—and they store beautifully if wrapped well. Once assembled, wrap each sandwich tightly in plastic wrap to help prevent freezer burn and keep them fresh. Then place the wrapped sandwiches in a large freezer-safe bag or airtight container.
They’ll keep well in the freezer for up to 2 weeks. When you’re ready to enjoy, let them sit at room temperature for 2–5 minutes to soften slightly for the perfect bite. Great for grabbing one at a time whenever you need a cool, sweet treat!
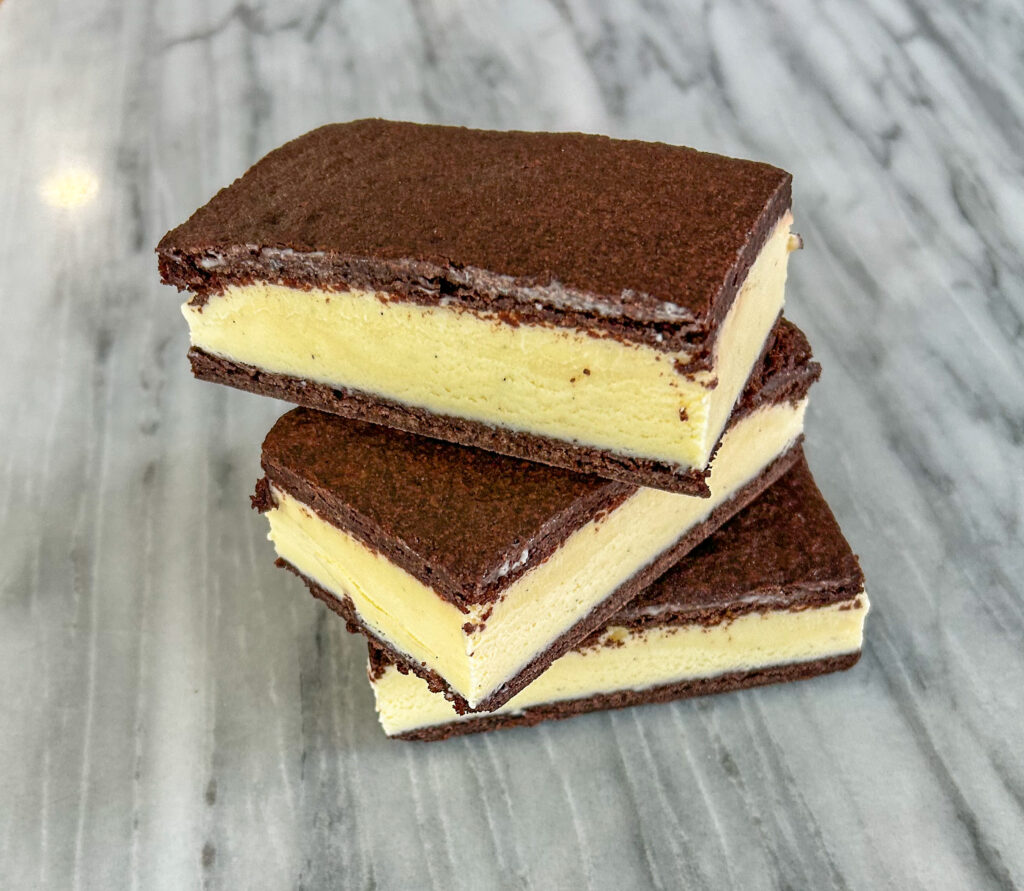
Gluten Free Ice Cream Sandwiches
Ingredients
Ice Cream
- 1 QT Ice Cream – I used homemade which is half a batch that fills my KitchenAid Ice Cream Maker
Ice Cream Sandwich
- 155 Grams Bob’s Red Mill 1-1 Gluten Free Flour or Adent Mills Gluten Free Flour
- 39 Grams Cocoa Powder
- 2 Grams Baking Powder
- 1 Gram Salt
- 115 Grams Butter – Softened
- 100 Grams Light Brown Sugar
- 50 Grams Sugar
- 1 Egg
- 2 Grams Vanilla
Instructions
- If you are making homemade ice cream, premake it the night before and put it in the freezer to harden.1 QT Ice Cream – I used homemade which is half a batch that fills my KitchenAid Ice Cream Maker
- In the bowl of a stand mixer, add in the light brown sugar, sugar and softened butter. Cream it until it is well combined.115 Grams Butter – Softened, 100 Grams Light Brown Sugar, 50 Grams Sugar
- Mix in the vanilla, salt and egg. It should be well mixed together and creamy.1 Gram Salt, 1 Egg, 2 Grams Vanilla
- Add in the rest of the dry ingredients. Mix until it is well combined and forms almost a dough.155 Grams Bob’s Red Mill 1-1 Gluten Free Flour or Adent Mills Gluten Free Flour, 39 Grams Cocoa Powder, 2 Grams Baking Powder
- Line a baking sheet with parchment paper. Put the dough on top. Then add another piece of parchment paper on top. Roll the dough flat until it fills the entire baking sheet.
- Place it in to the freezer.
- Preheat the oven to 350F
- Once the oven is preheated, remove the dough from the freezer. Remove the top piece of parchment paper. If it doesn’t feel off nicely, place it back into the freezer.
- Remove the ice cream from the freezer and set on the counter.
- Bake for 8 minutes.
- Remove and let cool on the baking sheet.
- Once it is cooled, cut it in half. I used a flat cake scrapper to get under it so it is easy to remove.
- On a new baking sheet with parchment paper, take one of the half’s and flip it so the top is now on the bottom. (Nice side out). Take the softened ice cream, and put it all over the cookie in an even layer. Then place the top cookie on top of the ice cream.
- Wrap it up with plastic wrap, and then place it back in the freezer. Once it is frozen solid, remove it from the oven.
- Take a sharp knife, and cut them into roughly 4”x2” sandwiches. I then individually wrapped them in plastic wrap and put into a freezer bag. Place back in the freezer.
- When you are ready to enjoy, take one out of the freezer and set it down for a couple minutes to become the perfect temperature to enjoy.
Did you make this recipe?
Lovely. Now let me know how you liked it and how easy it was to bake. Tag @laurabakesglutenfree on Instagram and hashtag it #laurabakesglutenfree.
While I have you here, may I suggest few you try next:
Until next time. Keep following and commenting. Join me on Instagram, where I will be revealing my secret tips and tricks! Yes, that’s right!