

Making a tender, flaky gluten free pie crust doesn’t have to be complicated—especially when you let your stand mixer do the work! This recipe is perfect for both sweet and savoury pies and comes together in just a few simple steps. Whether you’re making a holiday classic or a weeknight quiche, this crust holds its shape, bakes beautifully, and tastes just like the real thing. I’ll walk you through exactly how to make it, plus share my go-to tips for gluten free pastry success.
do you really make this gluten free pie crust in a stand mixer?
Yes, I really do make this gluten free pie crust in my stand mixer!
Using a stand mixer helps evenly cut the butter and shortening into the gluten free flour without overworking the dough—which is especially helpful in gluten free baking, where texture can be tricky. It keeps everything cool, consistent, and quick. Just a few pulses with the paddle attachment, and your dough comes together perfectly with minimal fuss.
Of course, you can make it by hand with a pastry cutter too, but the stand mixer is my favourite shortcut for this crust!
ingredients
Here are the ingredients you will need to make these.
- Gluten Free 1-1 Gluten Free Flour
- Cold Butter
- Vegetable Shortening
- Salt
- Cold Water
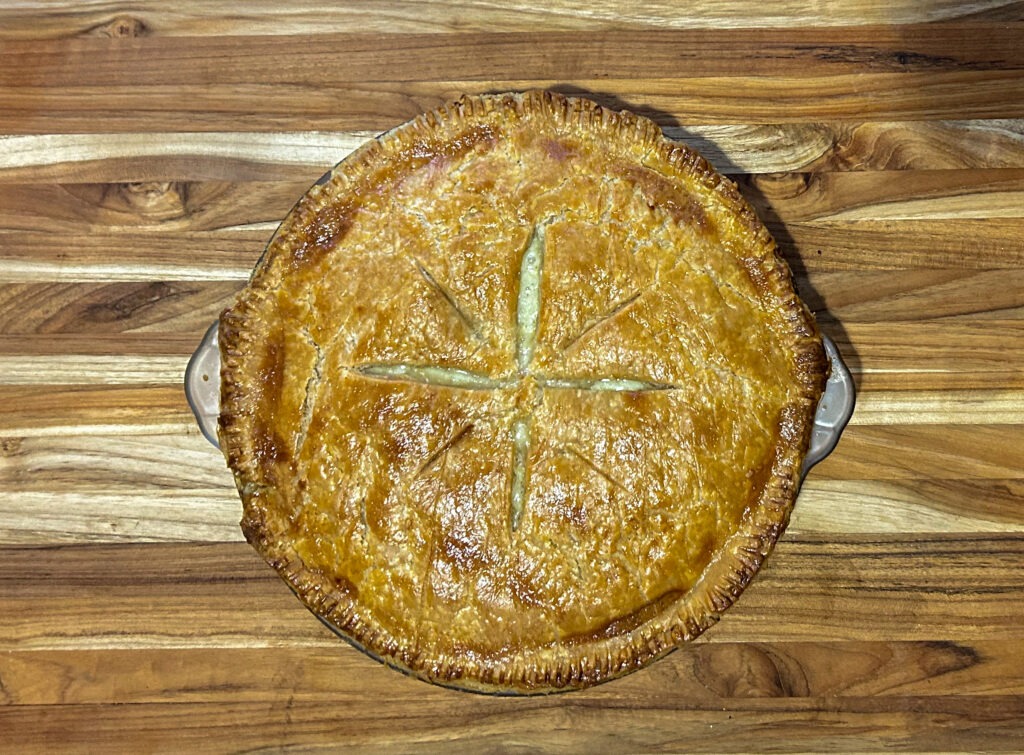
How do you get it golden brown when baking?
I find some gluten free baking seems pale when it comes out of the oven, even when it is fully baked.
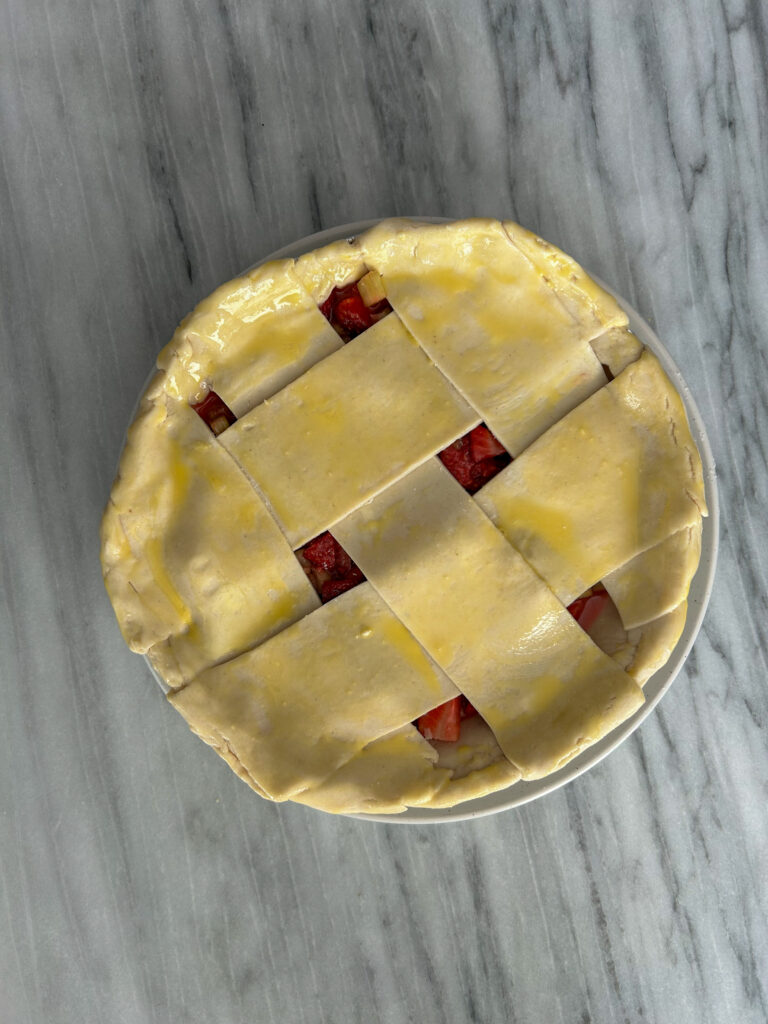
Solution: Brush the top of the pastry with an egg yolk and splash of milk before you bake it. You can also use just milk or a full egg, however that will not get it as golden.
Storing
To Store Unbaked Pie Crust:
In the freezer: Wrap it well in plastic wrap and place in a freezer-safe bag or container. Freeze for up to 3 months. Let it thaw in the fridge overnight before using.
In the fridge: Wrap the dough tightly in plastic wrap and refrigerate for up to 3 days.

Gluten Free Flaky Pie Crust
Ingredients
- 385 Grams Bob’s Red Mill 1-1 Gluten Free Flour or Adent Mills Gluten Free Flour
- 150 Grams Cold Cubed Butter
- 182 Grams Vegetable Shortening
- 1 Grams Salt
- 160 Grams Cold Water
Instructions
- In your stand mixer, add in flour, butter, salt and vegetable shortening. Turn it on with a paddle attachment until it is crumbly in about pea sized pieces of dough.385 Grams Bob’s Red Mill 1-1 Gluten Free Flour or Adent Mills Gluten Free Flour, 150 Grams Cold Cubed Butter, 182 Grams Vegetable Shortening, 1 Grams Salt
- Slowly Add cold water until it comes together. You might not need all the water, so slowly pour it in. Mix together for about 1 minute.160 Grams Cold Water
- Once it is completed, pour half onto a sheet of plastic wrap. Tightly wrap it together in a flat disc. Now do the same with the second half. Place it into the fridge for at least 30 minutes until it is cold. If it is not getting cold enough, place it into the freezer for 5 minutes.
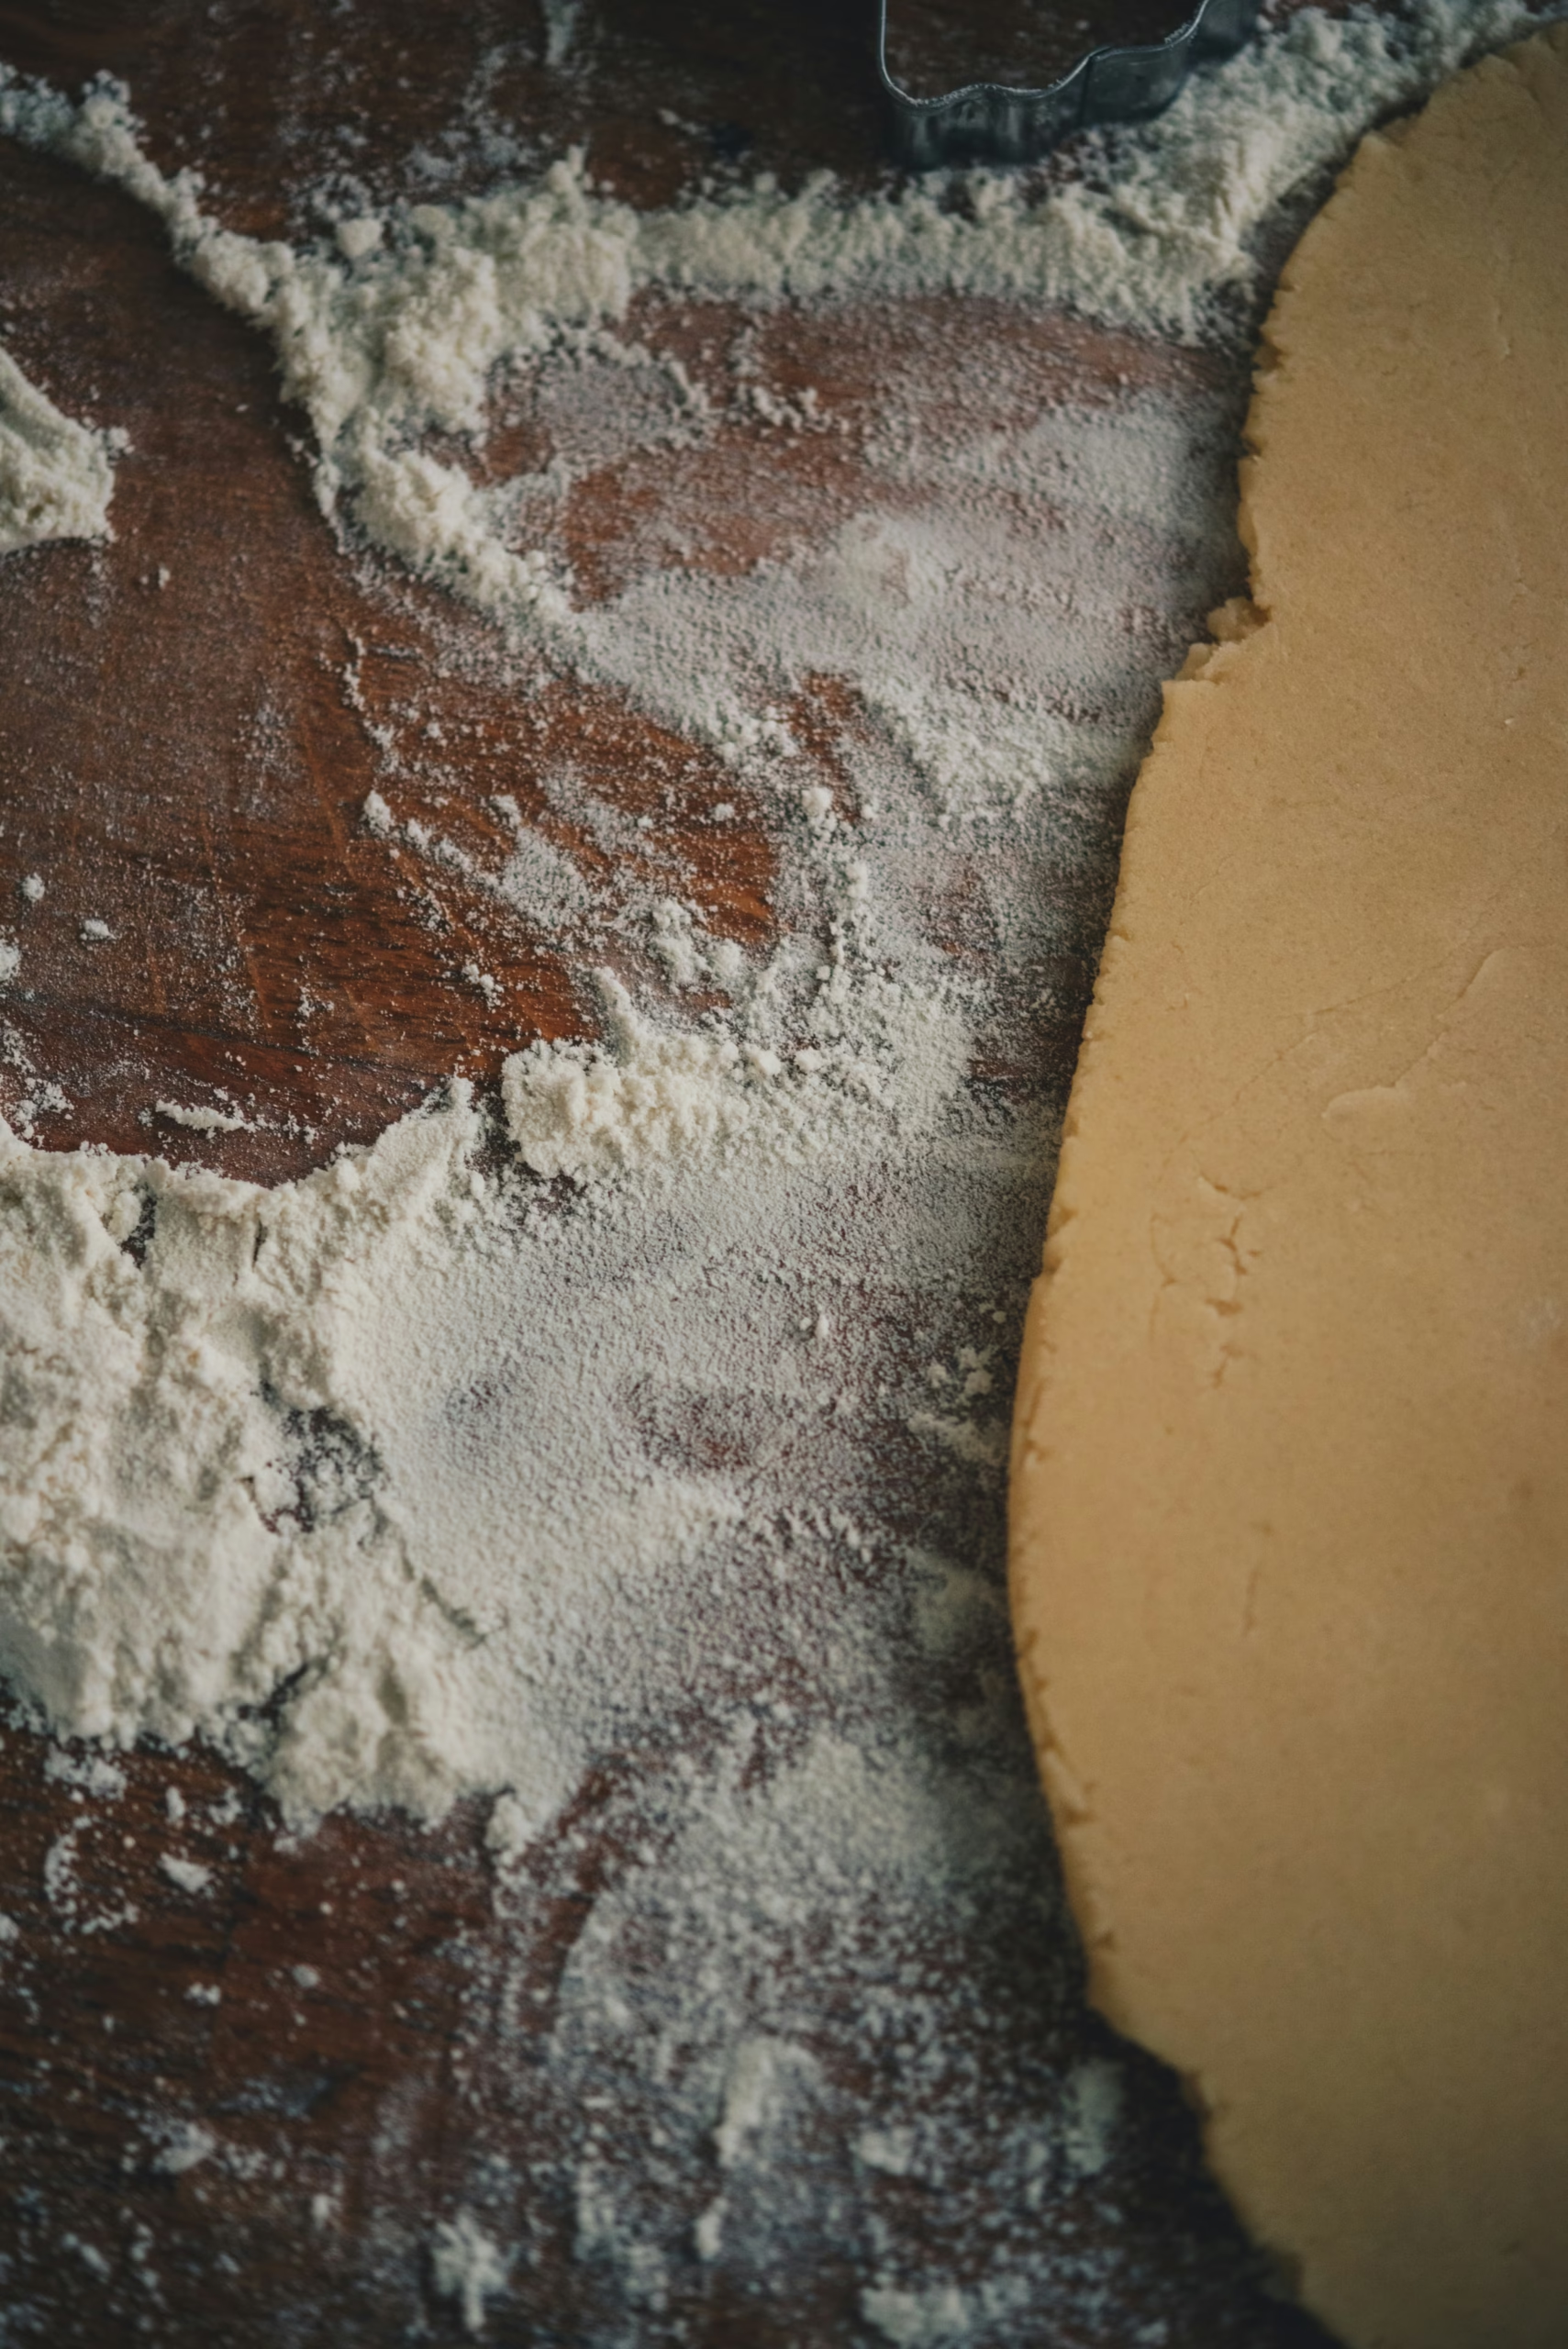
- Once it is cold, pull it out from the fridge or freezer. Lightly flour your surface. Unwrap the dough, lightly fold it together to get it pliable again. Lightly flour the flour top and bottom. Roll out the dough until it is even and larger than your pie plate. Fold the dough over so you can lift it and put it into the pie plate.
- Gently picking up the sides and lightly making sure it is the corners of the pie plate. Gently trim off some of the excess dough. You can either stop and now blind bake the pie crust, or you can fill the dough and top with another crust.
- If you are blind baking, trim the dough so it does not fall over the pie plate. Place it into the freezer. Preheat the oven to 425F. Once the oven is preheated, remove the pie crust from the freezer and place it on a baking sheet. Take a piece of parchment paper. Crumble it up. Place it into the pie crust and then fill with pie weights. Place it into the oven at 425F for 15 minutes. Then turn down the oven to 350F for 20 minutes. Remove the pie from the oven, remove the pie weights and then place it back into the oven for 20 minutes until it is fully baked. Remove it out of the oven. Wait until it cools before filling.
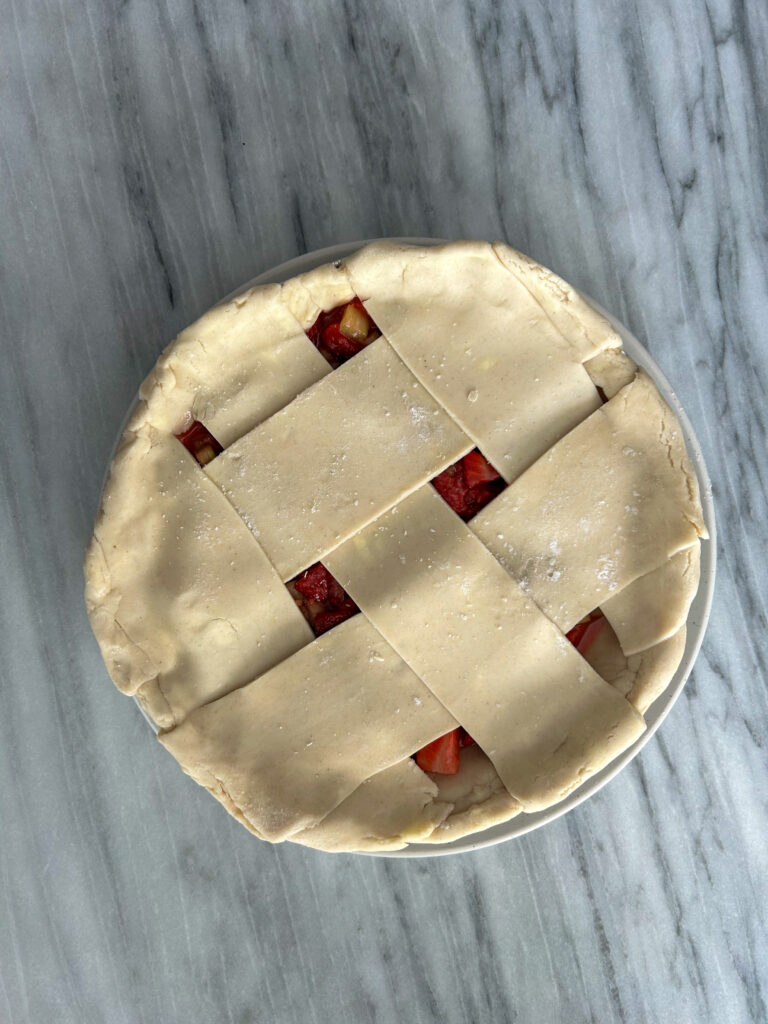
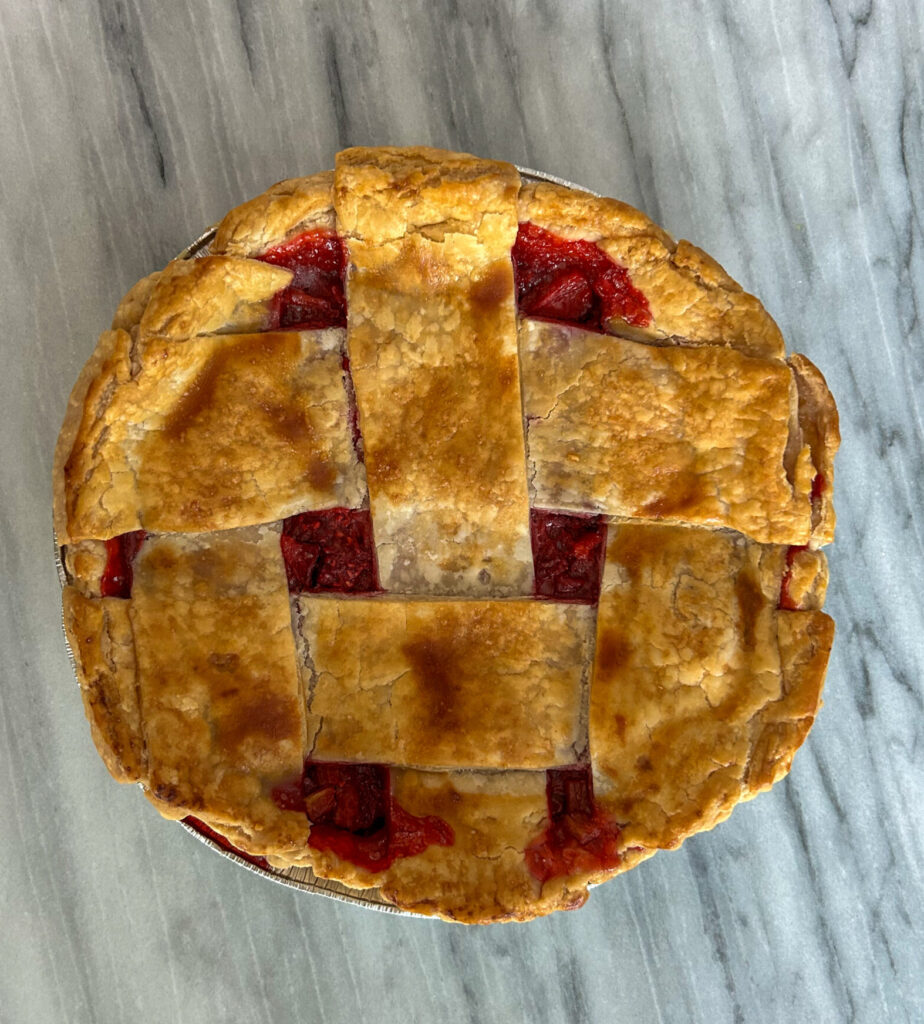
- If you are filling and topping with pastry: fill the pie that you just put in the pie plate. Roll out the second disc of pie dough. Cut it into whatever design you would like and top the pie. Crumb the bottom of the pie with the top of the pie to seal in the pie filling. Place it into the freezer while the oven is preheating. Follow the pie recipe for baking instructions.
Did you make this recipe?
Lovely. Now let me know how you liked it and how easy it was to bake. Tag @laurabakesglutenfree on Instagram and hashtag it #laurabakesglutenfree.
While I have you here, may I suggest few you try next:
Until next time. Keep following and commenting. Join me on Instagram, where I will be revealing my secret tips and tricks! Yes, that’s right!

2 Comments
Pingback: Gluten Free Lemon Meringue Pie Recipe - Laura Bakes Gluten Free
Pingback: Gluten Free Apple Galette Recipe - Laura Bakes Gluten Free