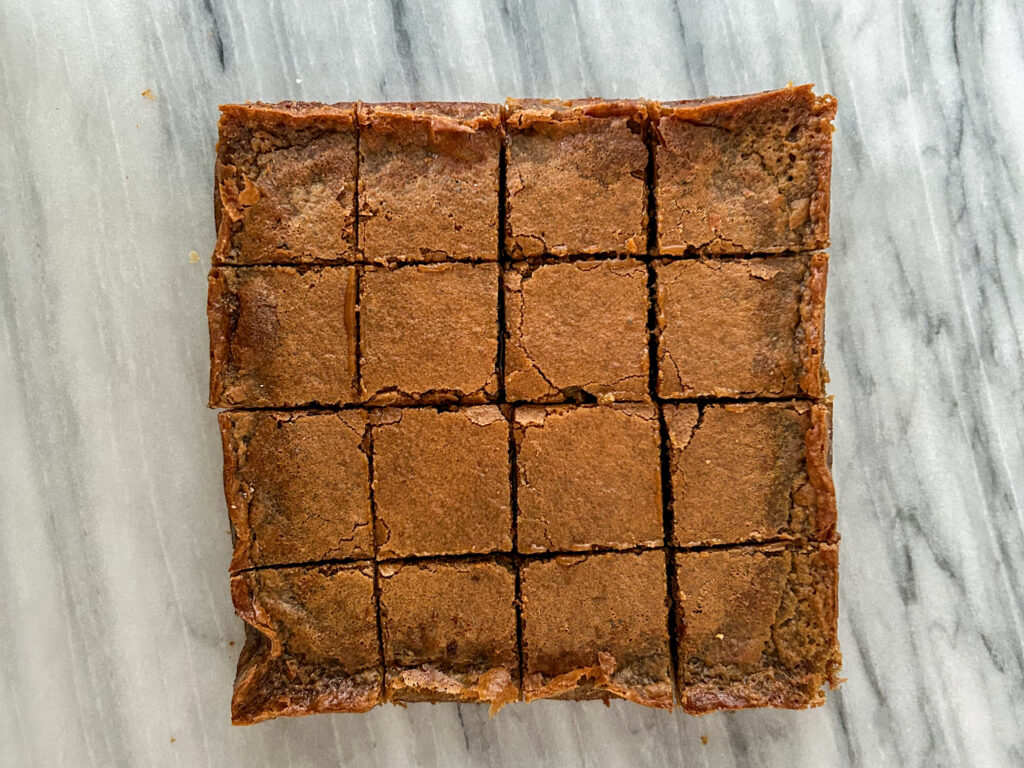
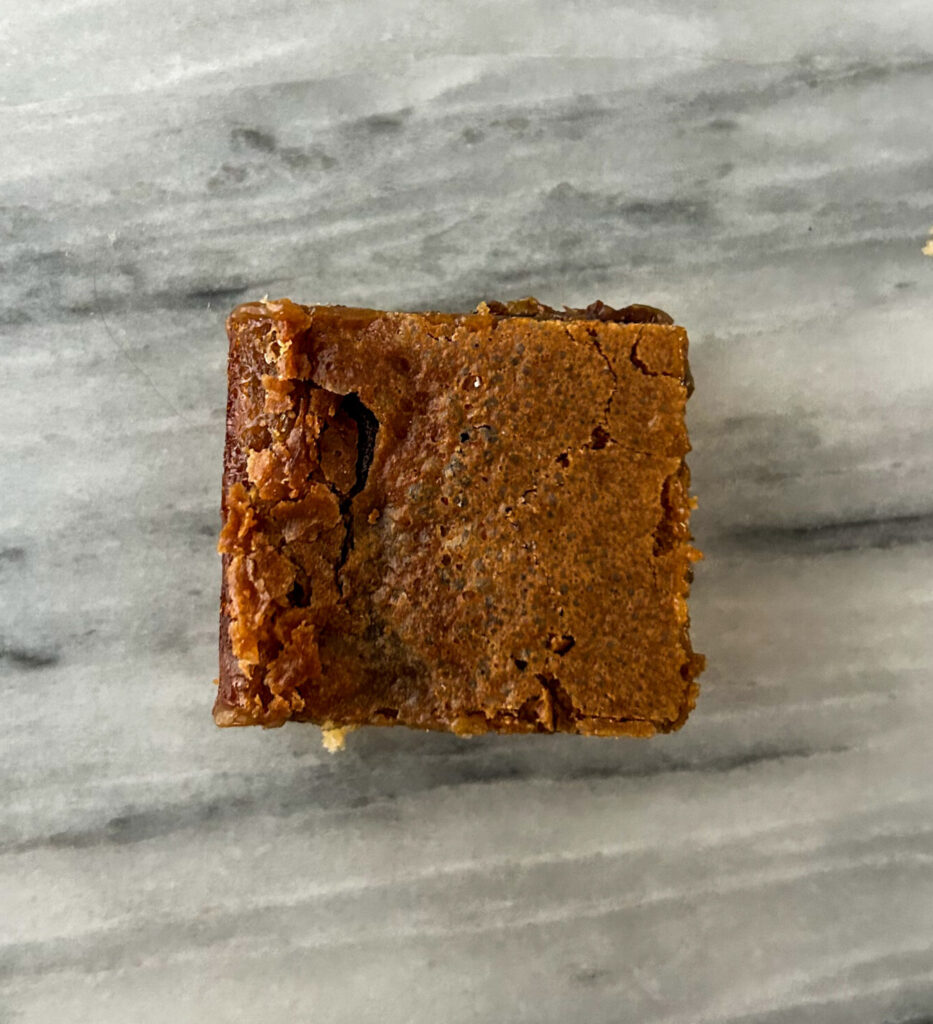
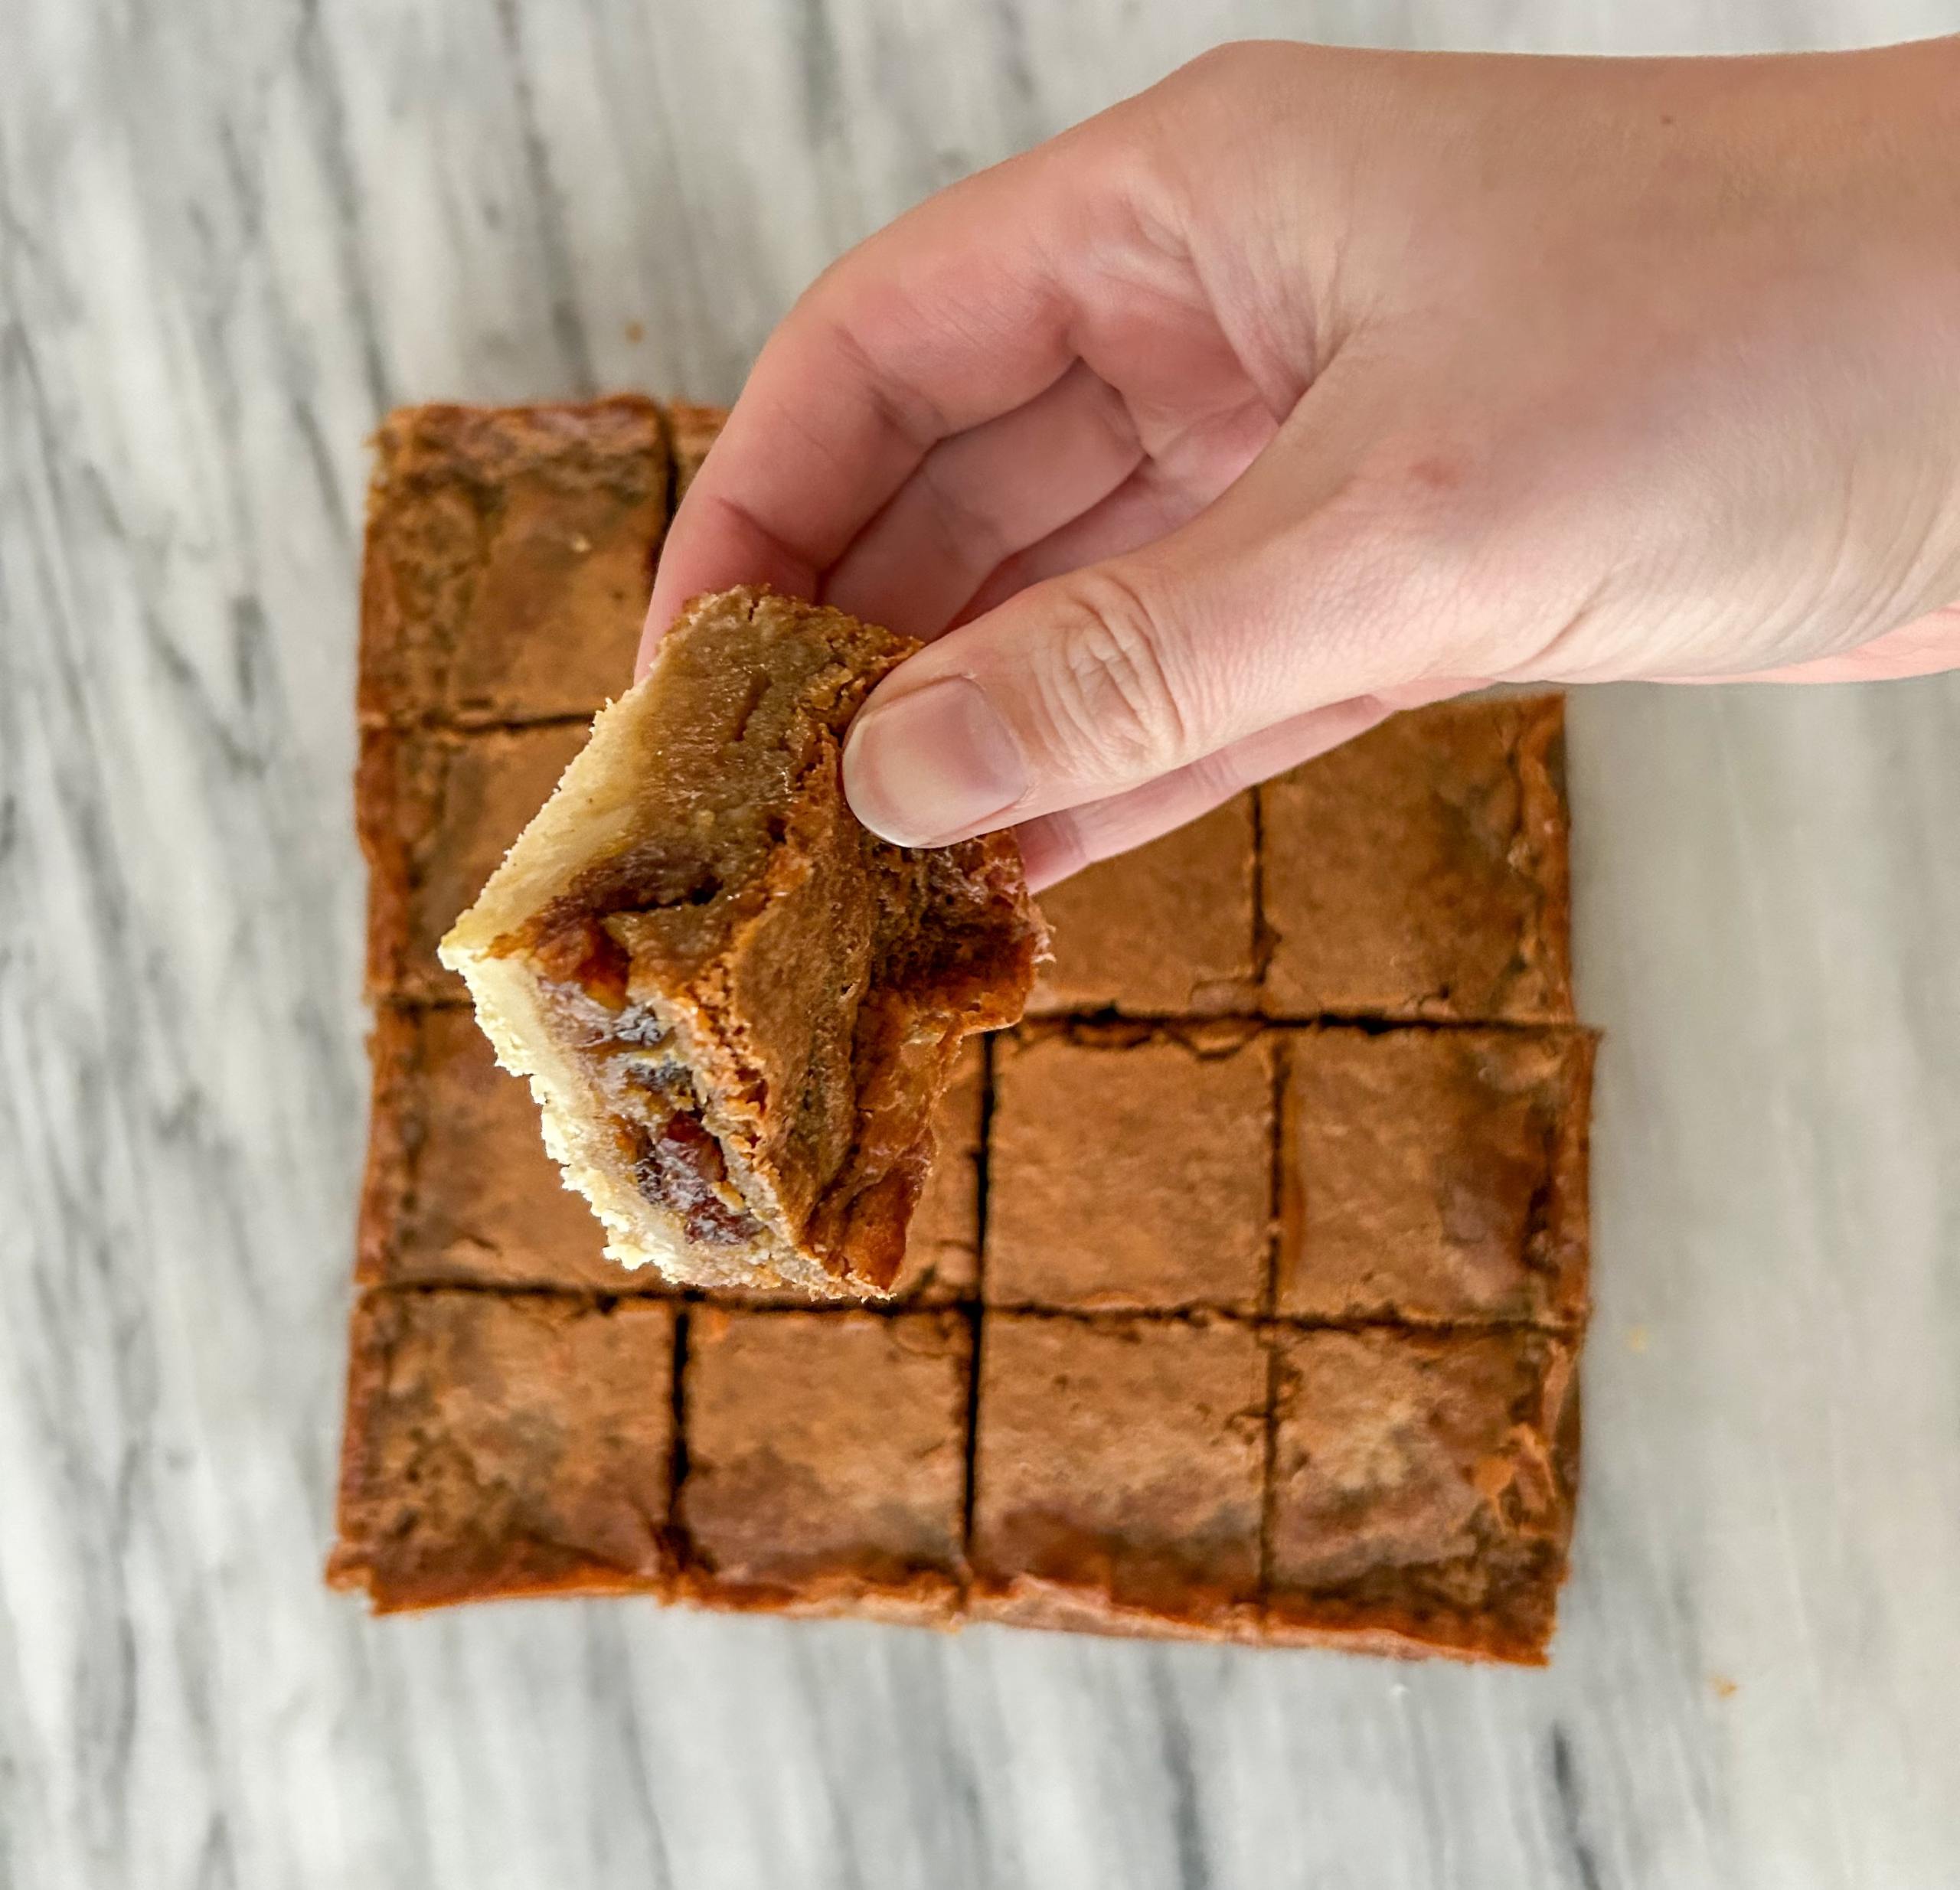
These gluten-free butter tart bars bring all the rich, gooey goodness of classic Canadian butter tarts—without the fuss of making pastry! A buttery shortbread crust is topped with a sweet, caramelized filling for the perfect balance of chewy and crisp. Whether you’re serving them for a holiday treat or a simple indulgence, these bars are easy to make and impossible to resist!
easy to bake
These gluten-free butter tart bars are incredibly easy to bake—no rolling, chilling, or shaping dough required! Simply press the shortbread crust into the pan, bake until golden, then pour over the rich, gooey filling and let the oven do the rest. With just a few simple steps, you’ll have a delicious treat that captures all the flavour of classic butter tarts in an effortless bar form!
ingredients
Here are a couple of ingredients you will need to make these easy bars.
- Bob’s Redmill 1-1 Gluten Free Flour
- Sugar
- Salt
- Butter
- Brown Sugar
- Eggs
- Vanilla
- White Vinegar
- Raisins (optional, but is how I like to enjoy my butter tarts)

Storing
To keep your gluten-free butter tart bars fresh and delicious, follow these storage tips:
Room Temperature (Up to 3 Days)
If you plan to enjoy them within a few days, store the bars in an airtight container at room temperature. Keep them in a cool, dry place away from direct sunlight to maintain their texture and flavour.
Refrigerator (Up to 1 Week)
For longer storage, place the bars in an airtight container and refrigerate them for up to 7 days. The cooler temperature helps keep the filling set and prevents the crust from becoming too soft. If you prefer them at room temperature, just let them sit out for 10–15 minutes before serving.
Freezer (Up to 3 Months)
To store them for an extended period, freeze the bars:
- Let them cool completely before freezing to prevent condensation.
- Cut into squares and layer them between sheets of parchment paper in an airtight container or freezer-safe bag.
- Store in the freezer for up to 3 months.
Thawing & Reheating
- Let frozen bars thaw at room temperature for about 30 minutes before serving.
- For a warm, fresh-baked taste, microwave individual bars for 10–15 seconds or place them in a 300°F (150°C) oven for a few minutes.
This way, you’ll always have a batch of buttery, caramelized gluten-free butter tart bars ready to enjoy whenever the craving strikes!
Gluten Free Butter Tart Bars
Ingredients
Shortbread Crust
- 170 Grams Bob’s Red Mill 1-1 Gluten Free Flour or Adent Mills Gluten Free Flour
- 55 Grams Sugar
- 1 Gram Salt
- 115 Grams Cold Butter
- 60 Grams Cold Water
Filling
- 115 Grams Butter – melted
- 400 Grams Brown Sugar
- 4 Eggs
- 10 Grams Bob’s Red Mill 1-1 Gluten Free Flour or Adent Mills Gluten Free Flour
- 3 Grams Vanilla
- 10 Grams White Vinegar
- 1 Gram Salt
- 90 Grams Raisins (optional)
Instructions
- Preheat the oven to 350F.
- Prepare an 8”x8” pan with parchment paper and set aside.
- In a bowl, add in the crust ingredients (minus the water) and blend the butter into the flour mixture like when you are making a pie crust. Once the butter is about pea size you are ready for the next step.170 Grams Bob’s Red Mill 1-1 Gluten Free Flour or Adent Mills Gluten Free Flour, 55 Grams Sugar, 1 Gram Salt, 115 Grams Cold Butter
- Add in the water slowly and mix together until it holds together.60 Grams Cold Water
- Once it is ready, pour the dough into the prepared 8×8 dish. Push the dough to the edges and as even as you can.
- Bake for 25 minutes.
- While the crust is baking, combine the melted butter and brown sugar together. Whisk until well combined.115 Grams Butter – melted, 400 Grams Brown Sugar
- Add in the eggs and whisk until frothy and well blended.4 Eggs
- Add in the flour, vanilla, vinegar and salt. Mix until well combined.10 Grams Bob’s Red Mill 1-1 Gluten Free Flour or Adent Mills Gluten Free Flour, 3 Grams Vanilla, 10 Grams White Vinegar, 1 Gram Salt
- If you are adding raisins, add them in at the end and mix together. If you are not, skip this step.90 Grams Raisins (optional)
- Once the crust is baked, pull it out from the oven and pour the filling into the crust. Add it back in to the oven for 25 minutes. It will be slightly jiggle in the middle when it is baked.
- Once it is baked, remove it from the oven and let it cool until it is warm. Then put the pan into the fridge to solidify the bars quickly so you can eat them sooner. Once they are cold, remove from the pan, cut into squares and enjoy!
Did you make this recipe?
Lovely. Now let me know how you liked it and how easy it was to bake. Tag @laurabakesglutenfree on Instagram and hashtag it #laurabakesglutenfree.
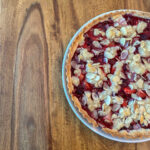
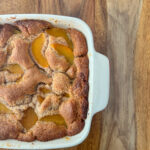
While I have you here, may I suggest few you try next:
Until next time. Keep following and commenting. Join me on Instagram, where I will be revealing my secret tips and tricks! Yes, that’s right!