Rich, smooth, and irresistibly fudgy, these Chocolate Chewy Caramels are the perfect blend of deep cocoa flavour and classic caramel chew. They’re simple to make, wonderfully indulgent, and ideal for gifting during the holidays—or sneaking from the pan one piece at a time. With their velvety texture and balanced sweetness, these homemade caramels are a chocolate lover’s dream and a festive favourite you’ll want to make every year.
Wrapping chewy caramels
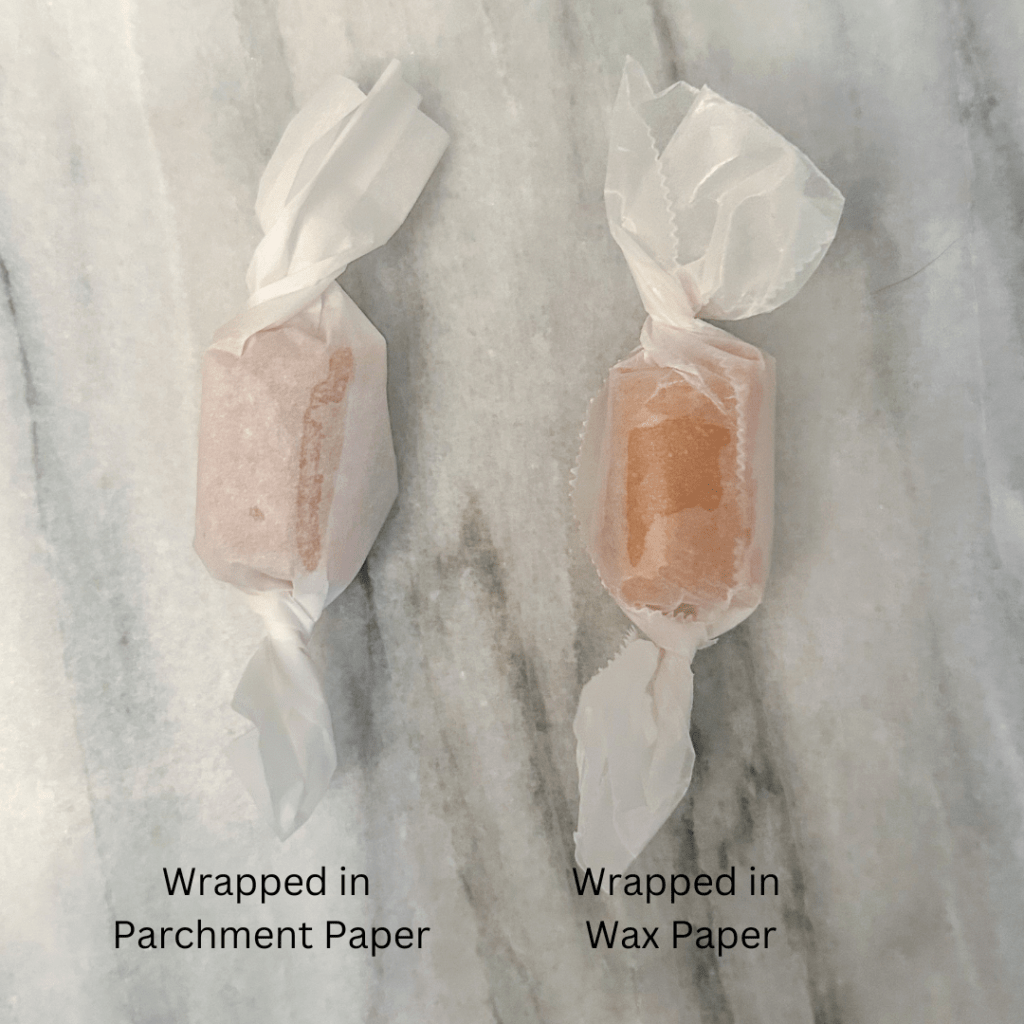
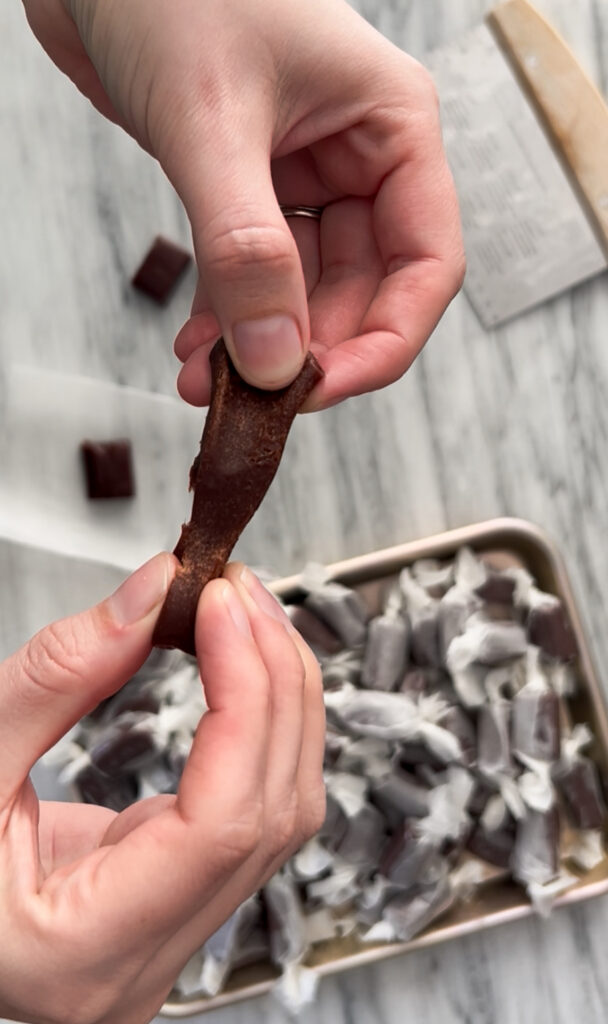
Wrapping caramels is one of those little finishing touches that makes homemade candy feel extra special. You can use either parchment paper or wax paper, both work well and give a slightly different look. I usually reach for wax paper because it creates that classic, glossy candy-wrap finish, while parchment is great for other treats. No matter what you use, neatly wrapping each caramel gives them a professional look that’s just as delightful as the flavour inside.
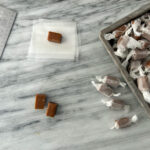
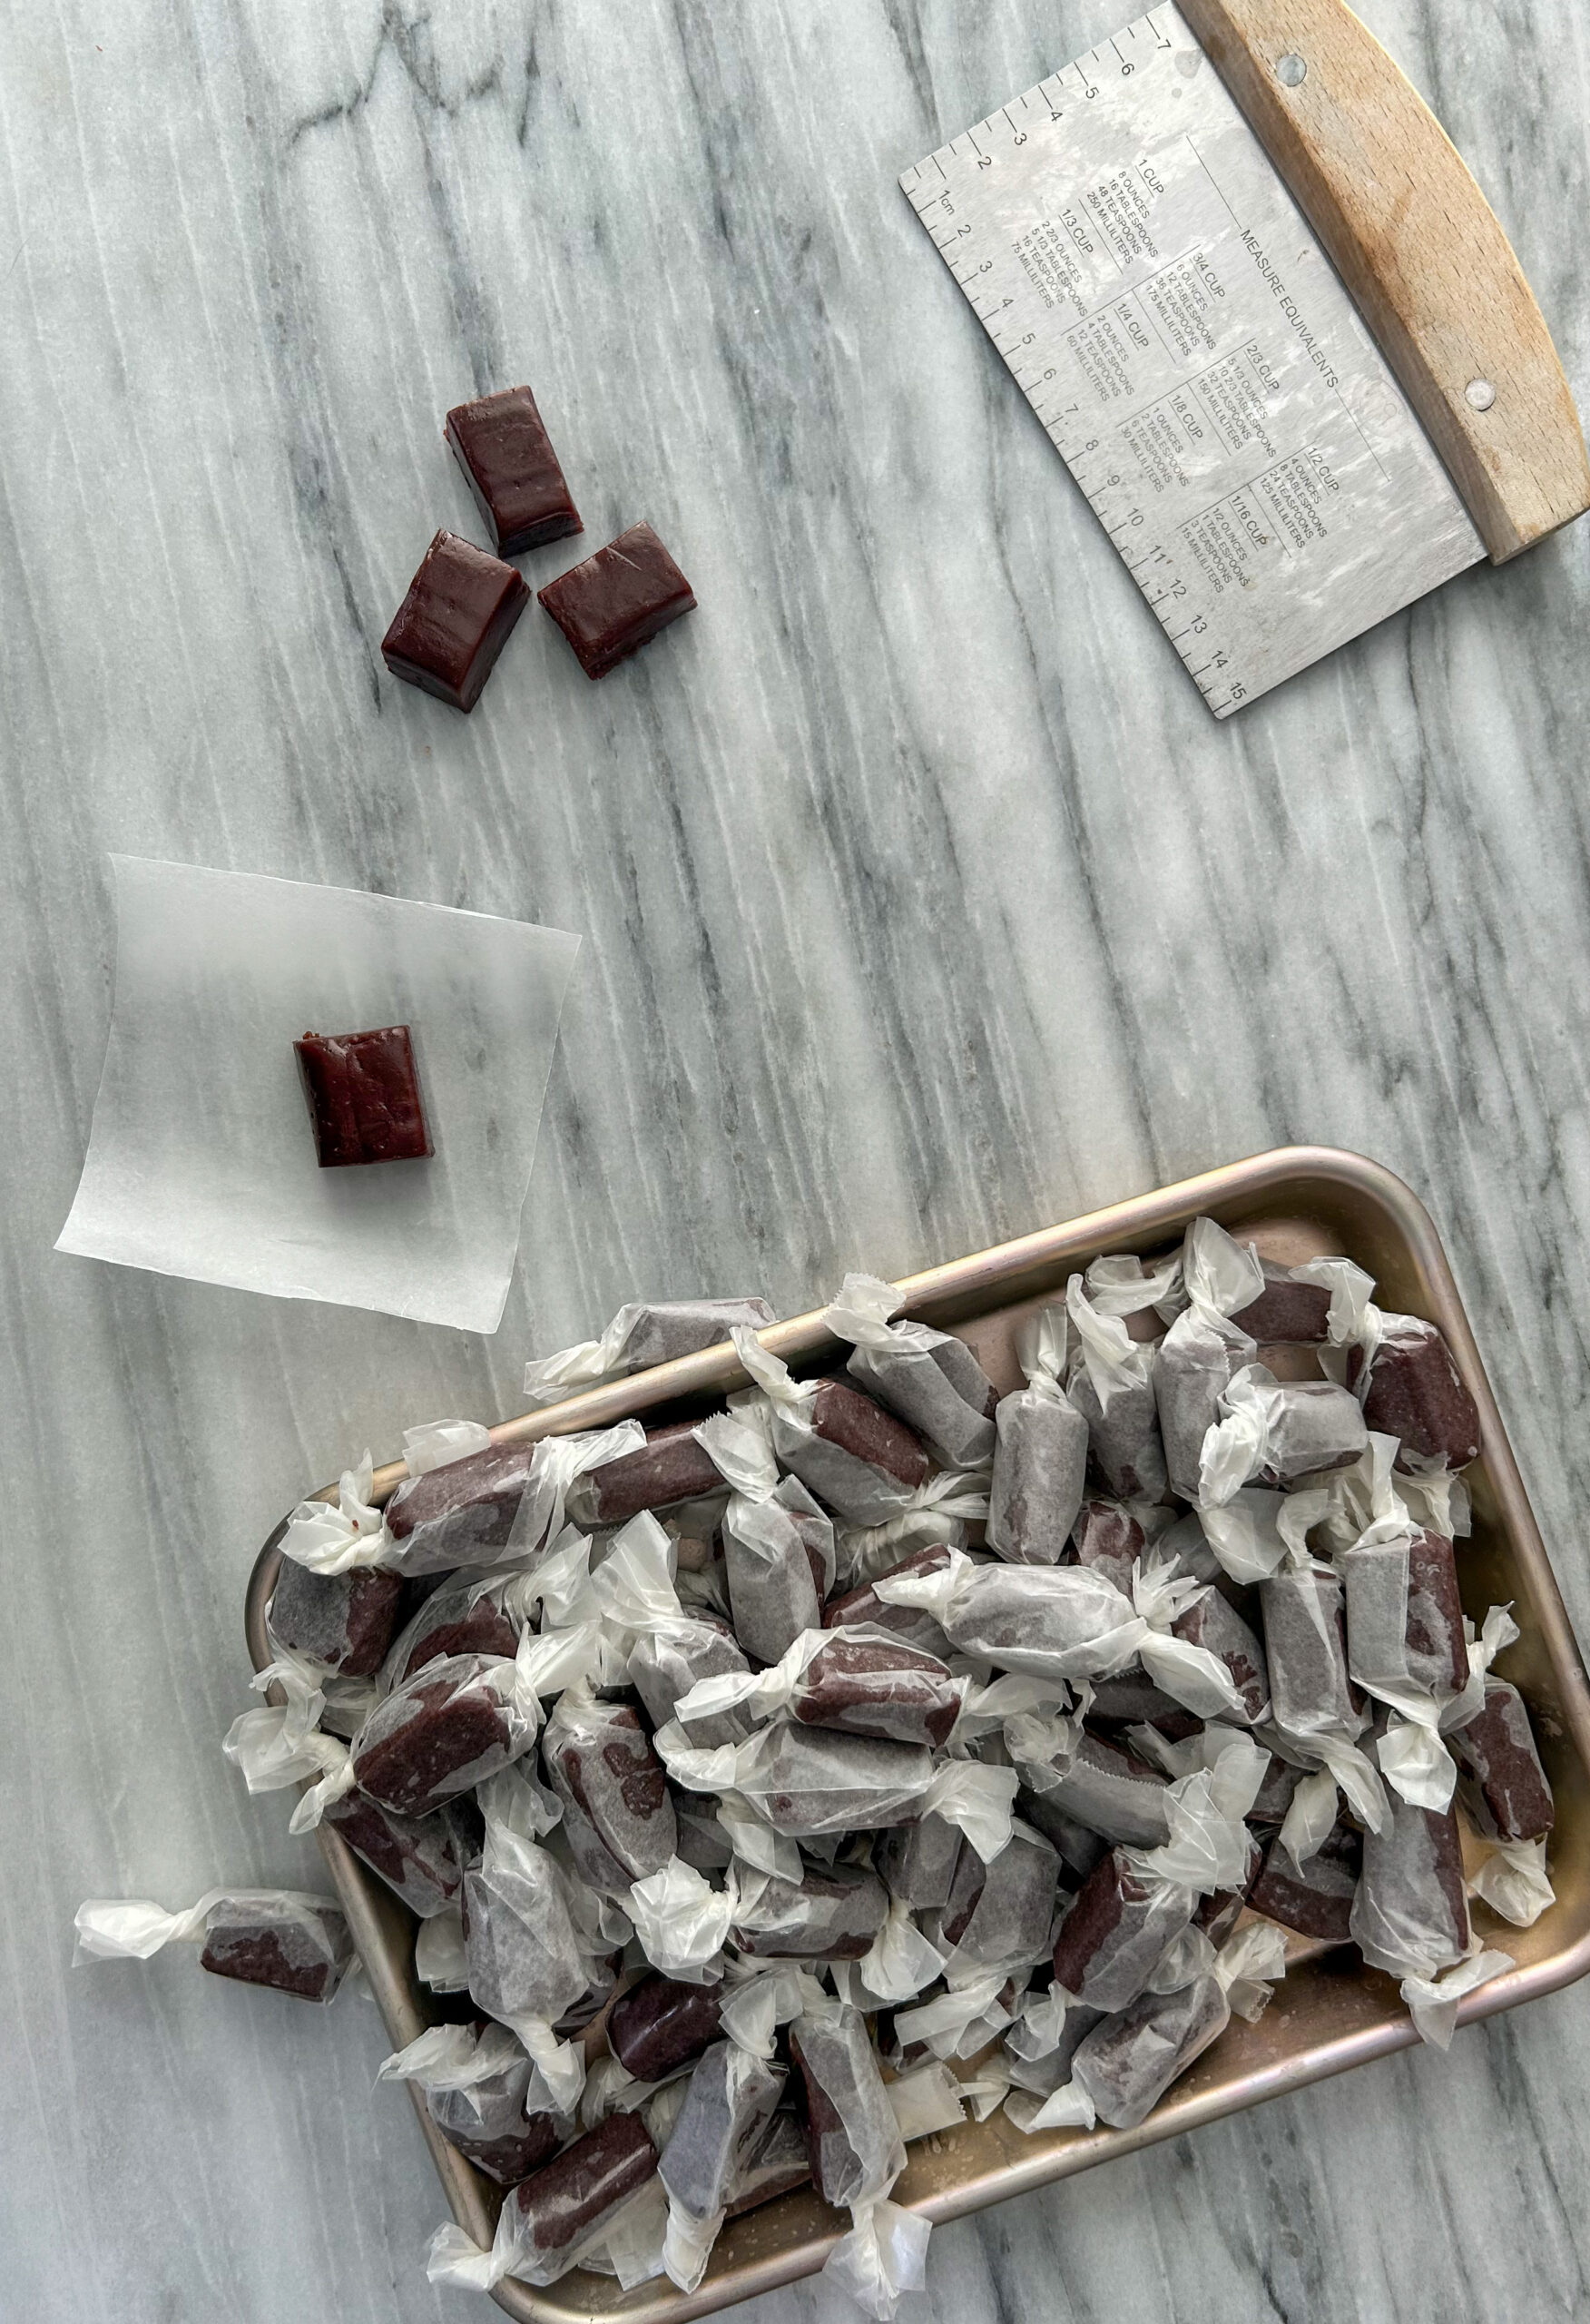
To wrap, cut your wax or parchment paper into squares roughly 3-4 inches on each side, adjusting the size based on how big you cut your caramels. I like to cut my caramels into bite-sized pieces, about 1 inch by 0.5 inches, so they’re small enough to enjoy without feeling overwhelming. This way, you can always go back for seconds, thirds, or even fourths! The key is to ensure the wrapping is snug to keep the caramels fresh and looking their best.
Ingredients
I bet you have most or all of the ingredients in your pantry.
- Sugar
- Light Brown Sugar
- Corn Syrup
- Whipping Cream
- Butter
- Salt
- Vanilla
- Chocolate
Supplies
- Parchment Paper to line the baking sheet. My favourite brand is the Kirkland parchment paper. It is available at Costco or on Amazon. The rolls are thick and it is a great value as you get two rolls.
- Wax Paper for wrapping the caramels. I typically buy a roll and cut my own squares. However amazon does sell some that would be the right size if you do not want to cut your own.
- Quarter Sheet Pan: Or something 9”x12” roughly
- Thermometer
Storing
When wrapped properly in wax or parchment paper, chewy caramels can last for 2-3 months without any issues. For added protection, I store the wrapped caramels in an airtight container or resealable bag to keep them safe from moisture and heat. This ensures they stay fresh and maintain their perfect chewy texture, ready to enjoy whenever you crave a sweet treat!
Chocolate Chewy Caramels
Ingredients
- 422 Grams Sugar
- 182 Grams Light Brown Sugar
- 320 Grams Corn Syrup
- 445 Grams Whipping Cream
- 560 Grams Butter
- 325 Grams Dark Chocolate
- 6 Grams Flaky Sea Salt
- 3 Grams Vanilla
Instructions
- In a large heavy bottomed pot, add in the sugar, light brown sugar, corn syrup, whipping cream, chocolate and butter.422 Grams Sugar, 182 Grams Light Brown Sugar, 320 Grams Corn Syrup, 445 Grams Whipping Cream, 560 Grams Butter, 325 Grams Dark Chocolate
- On a low heat, stir until all ingredients have melted together.
- Turn the heat up to low/medium. The mixture needs to come to 245F. This will take about 40 minutes. Stir the pot every 5 minutes to ensure it is not burning and continue to check the temperature.
- While the mixture is coming to temperature start preparing your pan. In a roughly 11”x8”, take a sheet of parchment paper and either spray it with non-stick spray (I don’t buy any, so I do not use this), OR rub butter onto the parchment paper. Put the parchment paper into the baking pan, and set aside.
- Once the mixture has come to around 230F pour in the vanilla and half the salt.
- Continue stirring as after 230F it will go quickly. You do not want to over cook the caramel as it will become hard.
- Once the caramel reaches temperature, pull it from the heat and pour it right into the prepared pan. Let it sit for 5 minutes and then sprinkle the top with the remaining salt.
- Let the caramel sit overnight for everything to set up. You can cut it earlier, but I spread this candy making over 2 nights so I am not handling warm caramel.
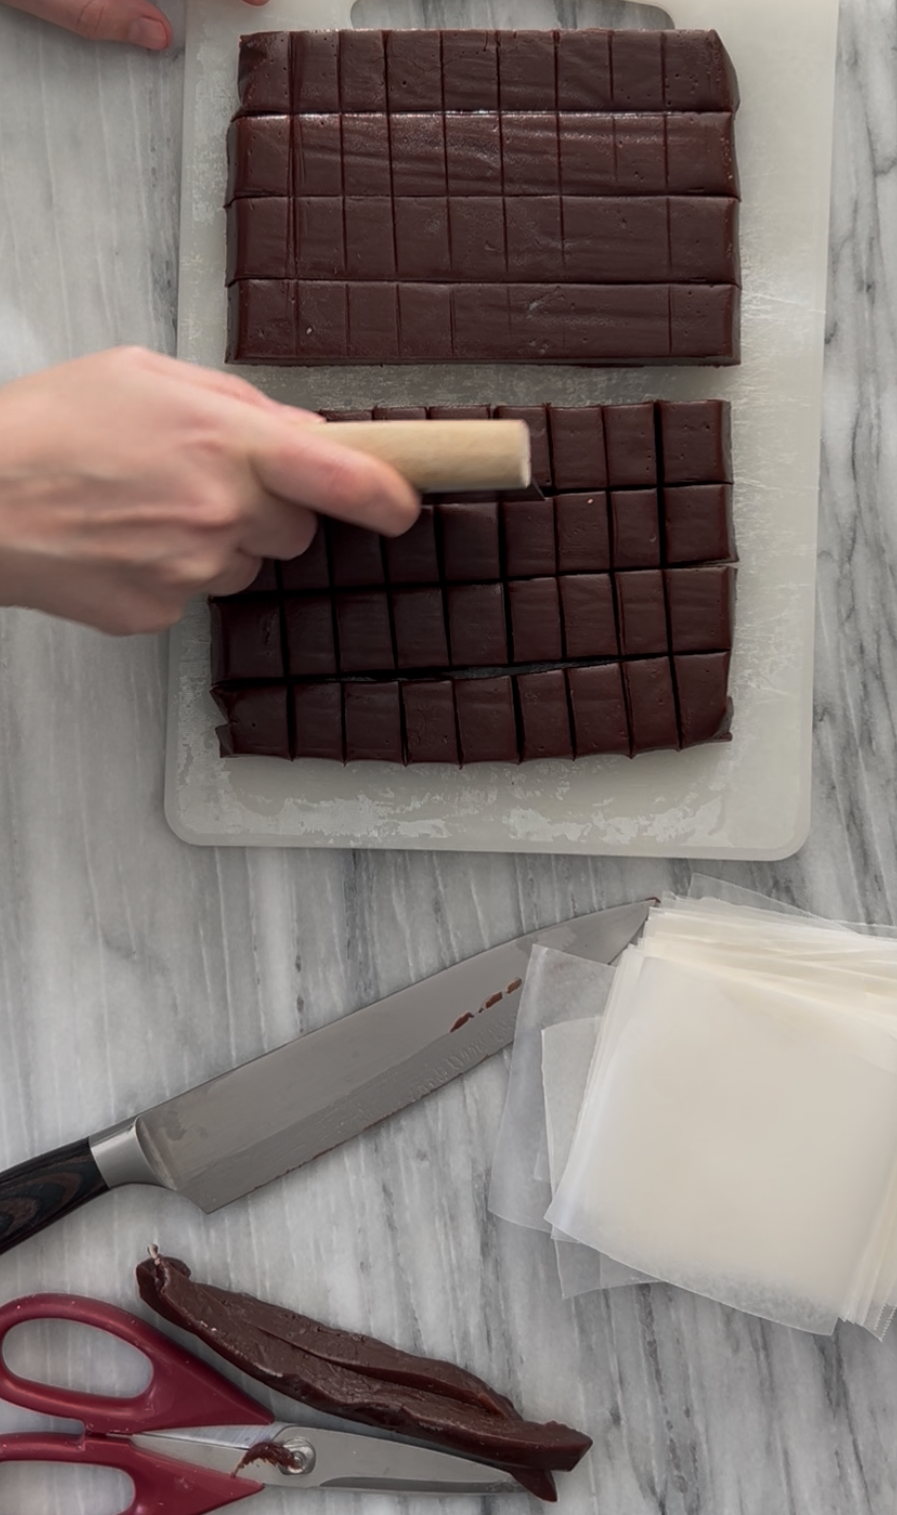
- When you are ready to cut the caramel, organize your work station with pieces of wax paper/ parchment paper that you are going to wrap your caramels in, a sharp knife, a ruler, and a cutting board. Remove the caramel from the tray, and remove the parchment paper that will be stuck to the bottom. Place the caramel on the tray. Taking a ruler, measure out the size of caramels you would like. I usually do 1” x 0.5” as I prefer mine bite sized. Cut long strips of caramel and then the individual caramels.
- Using the pieces of wax paper or parchment paper, individually wrap all the caramels. Enjoy!
Did you make this recipe?
Lovely. Now let me know how you liked it and how easy it was to bake. Tag @laurabakesglutenfree on Instagram and hashtag it #laurabakesglutenfree.
While I have you here, may I suggest few you try next:
Until next time. Keep following and commenting. Join me on Instagram, where I will be revealing my secret tips and tricks! Yes, that’s right!