Gluten free waffle cones are a delightful, offering all the crunch and flavour without the gluten. These cones provide the perfect crispy texture to complement your favourite ice creams or sorbets. Enjoy the classic, sweet taste with every bite, knowing they’re easy to make at home. Whether for a summer treat or a special dessert, these cones add an extra layer of enjoyment to your ice cream experience.
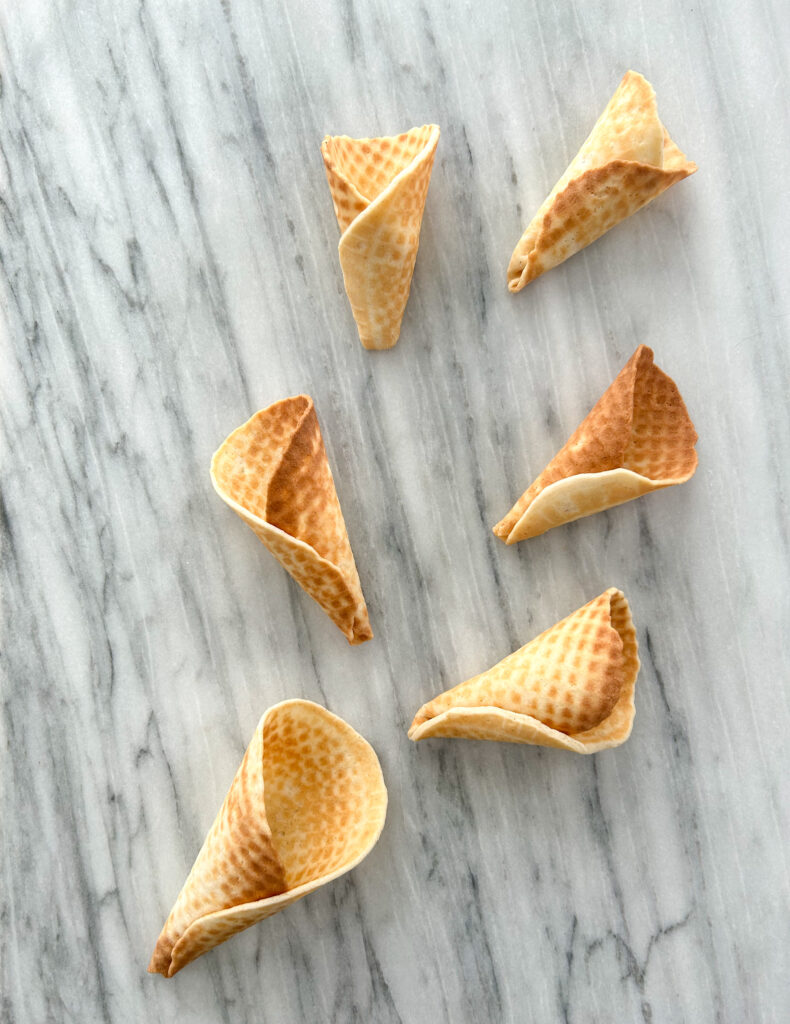
Gluten free waffle cones
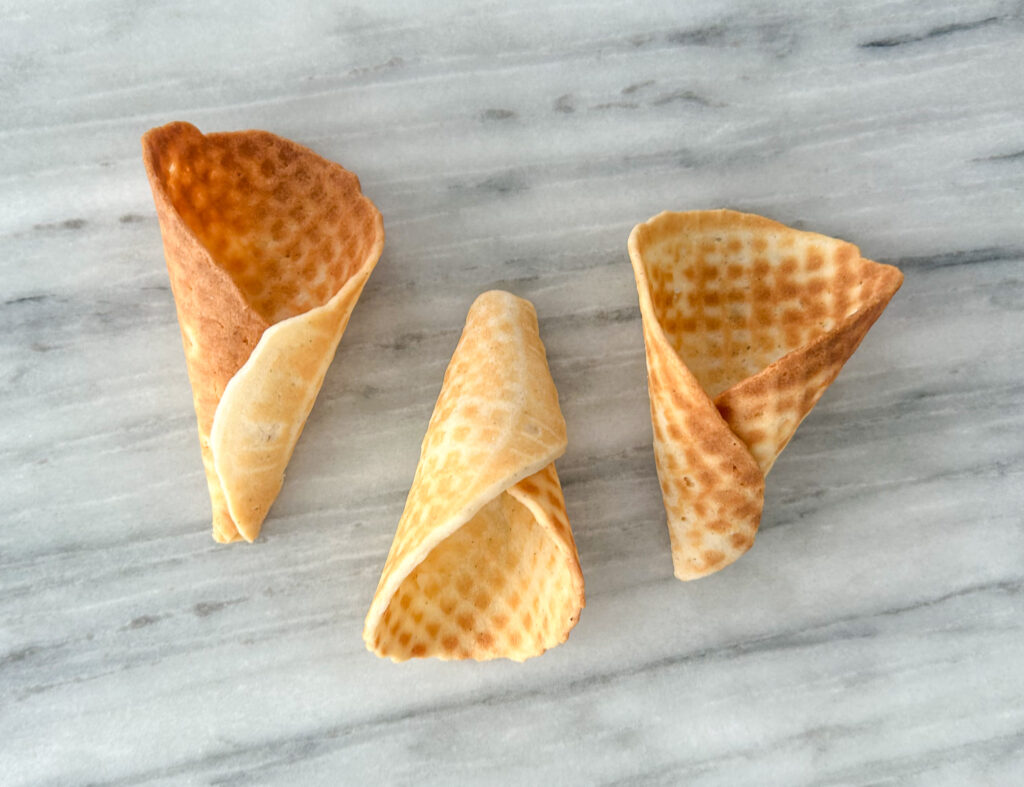
- I have to admit, I kept wanting them to break while I was making them, so I could eat them. My love for ice cream started young, my dad always needed to drive to find the best ice cream spots. I also celebrated my birthdays with an ice cream cake instead of a traditional cake. I have never been an ice cream cone person, until I started making my own cones and ice cream.
- These have a hint of sweetness, and taste like a sugar cookie waffle cone. These cones add a delightful, cookie-like flavour to every bite, making your dessert experience even more enjoyable.
Ingredients
This recipe uses ingredients most of us have on hand.
- Bob’s Redmill 1-1 Gluten Free Flour: This is my favourite flour to bake with. I sift it when using it in this recipe to ensure everything is smooth to make delicious cones.
- Egg Whites: I always prefer to use fresh egg whites from eggs, and not from a carton. They tend to have better results, and I always have eggs on hand. What do you do with the egg yolks? This is what makes this recipe so perfect, you use the egg yolks in a homemade ice cream recipe (coming soon), and use the egg whites to create these delicious waffle cones.
- Vanilla Bean Paste Or Vanilla Bean Extract
- Salt
- Butter
- Whipping Cream
tool
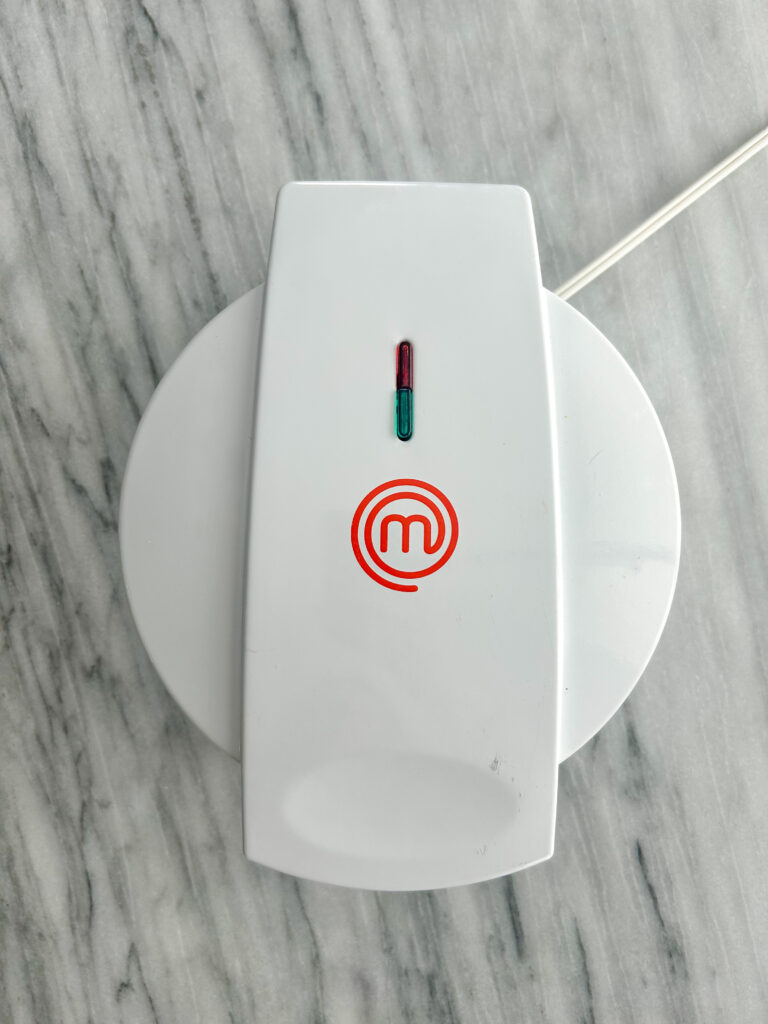
To create these waffle cones, you will need a waffle iron. And, not just any waffle iron, it needs to have shallow waffle indents. It is the same iron I use to make stroop waffles. It comes complete with a cone perfect for making these waffle cones, and then a bowl press to make waffle bowls.
I purchased this off Amazon, and it came with the tools to make waffle bowls and waffle cones. It heats up quickly, and it’s already non-stick so I never put butter or spray it with anything. I just heat it up and I am ready to use it.
Decorating
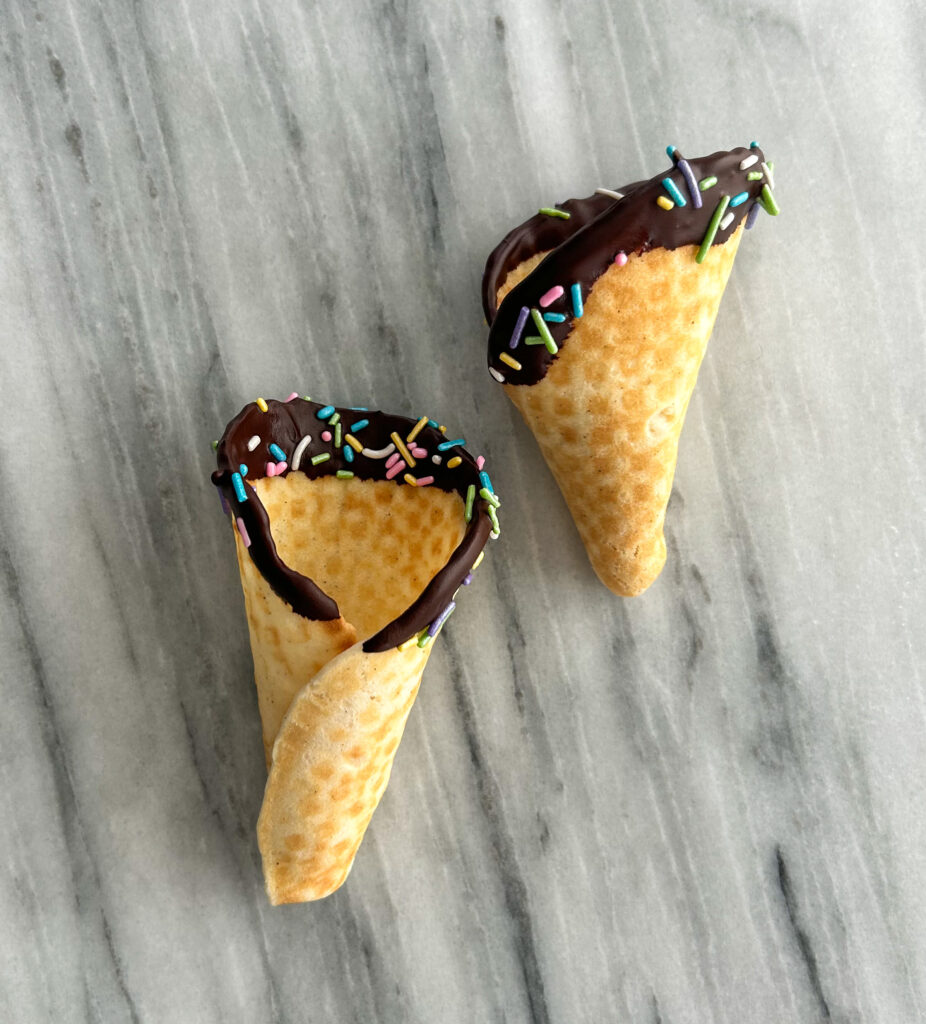
These cones are easy to decorate in multiple different ways. I love a classic cone without a decorating to let the ice cream be the star, however you can use chocolate to decorate them in fun ways.
For these cones, I have dipped them in melted chocolate and sprinkled with colourful sprinkles while the chocolate is still wet so they stick. Another way is just dipped into chocolate.
Storing
The best day to eat these cones is on the first day they are made. If there are any leftovers, you can put them in a ziplock to keep them crispy and fresh. If there is a lot of humidity and they are not as crisp as you would like, pop them into the oven at 350F for 3-5 minutes to freshen them up.

Gluten Free Waffle Cones
Equipment
- 1 Ice Cream Cone Waffle Iron
Ingredients
- 100 grams Egg White (This is roughly 4 large egg whites)
- 118 grams Whipping Cream
- 193 grams Sugar
- 1 pinch Salt
- 1 Splash Vanilla
- 140 grams Butter (melted and cooled)
- 290 grams Bob’s Red Mill 1-1 Gluten Free Flour or Adent Mills Gluten Free Flour
Instructions
- Melt the butter, and set aside.140 grams Butter
- Using a stand mixer with a whisk attachment, mix cream and egg whites together for a minute until well combined.100 grams Egg White, 118 grams Whipping Cream
- Add sugar, vanilla and salt into the mixer bowl until well combined.193 grams Sugar, 1 pinch Salt, 1 Splash Vanilla
- While the mixer is on a low/medium speed, slowly pour the cooled melted butter into the mixture. Continue mixing until it is fully incorporated.
- Sift flour into the mixing bowl.290 grams Bob’s Red Mill 1-1 Gluten Free Flour or Adent Mills Gluten Free Flour
- Whisk until it is fully combined, and there are no lumps.
- Heat your waffle iron.
- Place 1/4 cup scoop full of batter onto the waffle iron and close the lid.
- Once it is brown, remove it from the waffle press and place it on a lint free kitchen towel. This takes about 2 minutes.
- On a kitchen towel, use the cone attachment and roll it into a cone shape. Ensure the bottom does not have a hole, or your ice cream will drip through.
- Continue this process until you use up all the batter.
- Enjoy!
Notes
Did you make this recipe?
Lovely. Now let me know how you liked it and how easy it was to bake. Tag @laurabakesglutenfree on Instagram and hashtag it #laurabakesglutenfree.
While I have you here, may I suggest few you try next:
Until next time. Keep following and commenting. Join me on Instagram, where I will be revealing my secret tips and tricks! Yes, that’s right!