

This gluten free tart pastry or also known as gluten free pâte sucrée is a sweet, buttery pastry dough that’s perfect for tarts, pies, and other desserts. With its delicate, crumbly texture and rich flavour, it’s an ideal base for both fruity and creamy fillings. Easy to make and versatile, it comes together quickly and can be used in any recipe that calls for a sweet tart crust. Whether you’re preparing a lemon tart, fruit galette, or a decadent chocolate dessert, this gluten free version ensures everyone can enjoy a classic, delicious treat.
Difference in tart pastry and pie crust
Pâte sucrée and pie crust differ primarily in their texture and sweetness.
- Texture: Pâte sucrée is a sweeter, more delicate dough that results in a crisp, crumbly texture once baked. It’s often used for desserts like tarts where a more refined, tender base is desired. Pie crust, on the other hand, is typically flakier and sturdier, designed to hold up to heavier fillings like those in traditional pies.
- Sweetness: Pâte sucrée contains powdered sugar, which gives it a sweeter flavour, while a traditional pie crust is usually made with just flour, fat (like butter or shortening), and salt, making it less sweet and more neutral in flavour.
In short, pâte sucrée is a sweet, rich dough best suited for tarts and delicate desserts, while pie crust is more versatile and often used for both sweet and savoury pies.
To chill or not to chill?
I go both ways on chilling or not chilling the dough before rolling it out. Personally, I find it easier to roll the dough first, then chill it before baking, as it allows me to work with a softer dough that is easier to shape. However, I’ve also made the dough the night before, chilled it overnight, and rolled it out the next morning. While this method works just fine, I do find that the dough is a bit firmer and harder on my hands when I go this route. Either way, chilling is an important step to ensure a great final result!
Chilling the dough helps to:
- Firm up the fat: This prevents the butter or shortening from melting too quickly while baking, which helps achieve a flaky texture in pie crusts and a crisp texture in pâte sucrée.
- Make the dough easier to handle: It firms up the dough, making it less sticky and easier to roll out.
- Prevent shrinkage: Chilling allows the dough to rest and relax, reducing the likelihood of shrinkage as it bakes.
what is my favourite tart to bake?
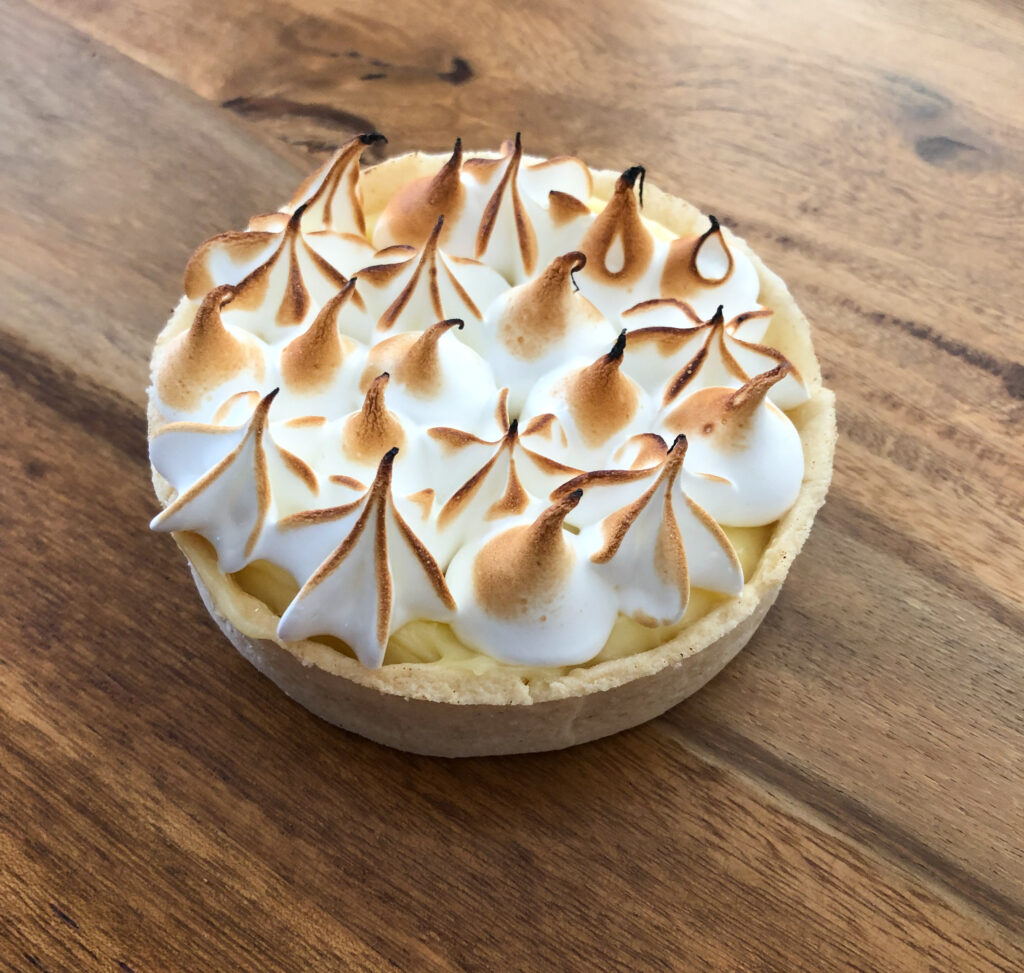
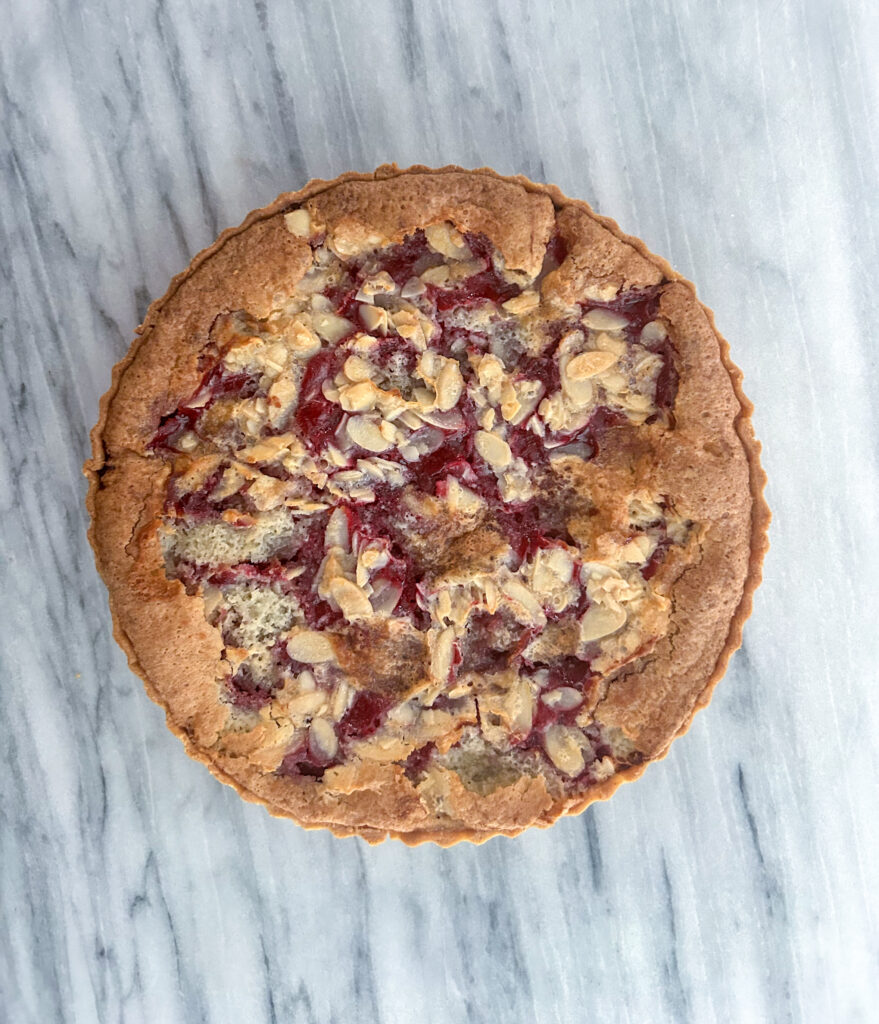
What is my favourite tart to bake? Well if you know me, I love anything lemon so I do love a lemon cream tart, but I also love meringue so I typically put meringue on my lemon tarts. This summer, I used rhubarb and raspberries from my garden and created a raspberry rhubarb almond frangipane tart. Chocolate tarts are also delicious, you can make a chocolate tart party and fill it with caramel and chocolate filling.
how do you stop a tart from getting a soggy bottom?
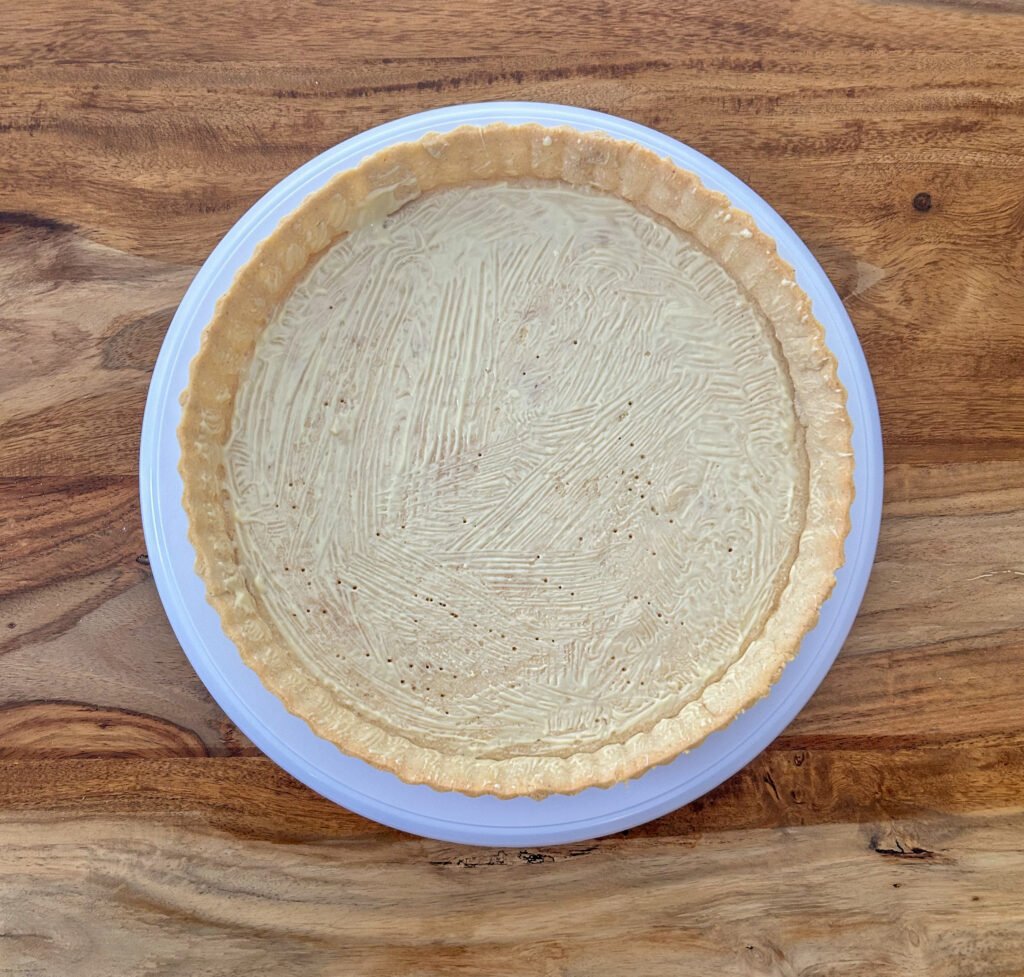
I shared this with a friend the other day and it blew her mind. After you bake the tart and you’re waiting for it to cool down melt a little bit of white chocolate and brush it on the inside of the tart. You will not be able to taste it, but it will create a barrier from the filling to the tart base. This will leave you perfectly buttery and crunchy tart shell with a beautiful filling.
ingredients
- Bob’s Redmill 1-1 Gluten Free Flour
- Powdered Sugar: I sift all the powdered sugar when using it. I find the powdered sugar, even when it sealed up collect moisture, and I do not want pockets of unmixed sugar in my dough or icing.
- Almond Flour: almond flour gives the stove a little structure and a nice nutty tone to the dough when it bakes.
- Salt
- Butter
- Egg
- Vanilla
Supplies
- KitchenAid Bowl-Lift Stand Mixer
- Tart Ring: If you are making this recipe as a tart, then I would suggest you use a tart ring. I use small tart rings when making individual tarts. Or you can use a larger tart ring to make one large tart.
- Baking Sheets: it is important to put your tart or individual tarts on a prepared baking sheet before putting in the oven so it’s easier to handle
- Parchment Paper
Storing
You can mix this dough in advance, wrap it in plastic wrap and put it in the fridge for a couple days. If you’re doing that, I would pull it out of the fridge about 15 minutes before using so it’s not as hard to roll.
I have also frozen this dough by wrapping in plastic wrap and putting it in a freezer bag. When I want to use it, I transfer it from the freezer to the fridge and wait till it comes back to life before using if you do this the night before you wanna use it it should be good to use the next day.
Gluten Free Tart Pastry (Pâte Sucrée)
Ingredients
- 245 Grams Bob’s Red Mill 1-1 Gluten Free Flour or Adent Mills Gluten Free Flour
- 75 Grams Icing Sugar
- 35 Grams Almond Flour
- 1 Gram Salt
- 145 Grams Butter – Softened
- 1 Egg
- 1 Splash Vanilla
Instructions
- In the bowl of a stand mixer, mix the butter on medium to start creaming it.145 Grams Butter – Softened
- Add in the egg. It will look weird, but you just want to incorporate it.1 Egg
- Add in all the dry ingredients and vanilla. Mix until it comes together into a dough.245 Grams Bob’s Red Mill 1-1 Gluten Free Flour or Adent Mills Gluten Free Flour, 75 Grams Icing Sugar, 35 Grams Almond Flour, 1 Gram Salt, 1 Splash Vanilla
- Remove the dough from the stand mixer and wrap it in plastic wrap and place it in the fridge for 30 minutes. This will help it set up.
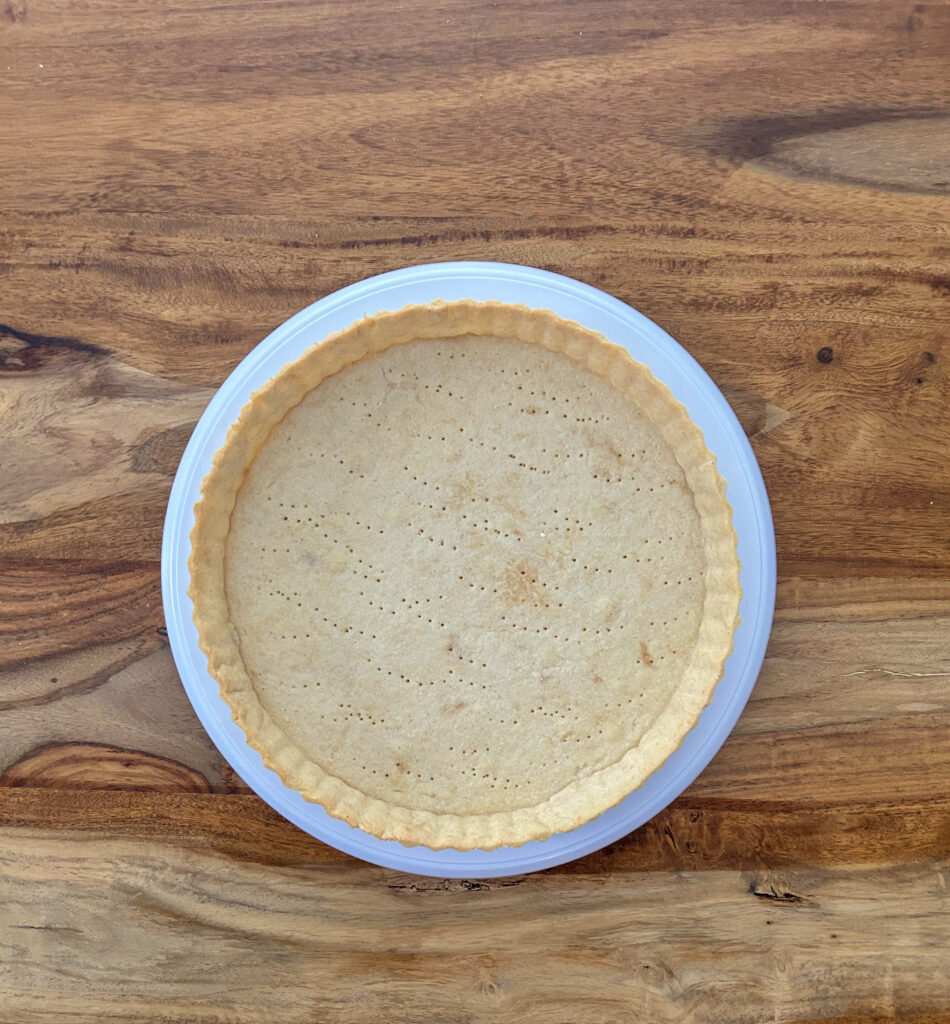
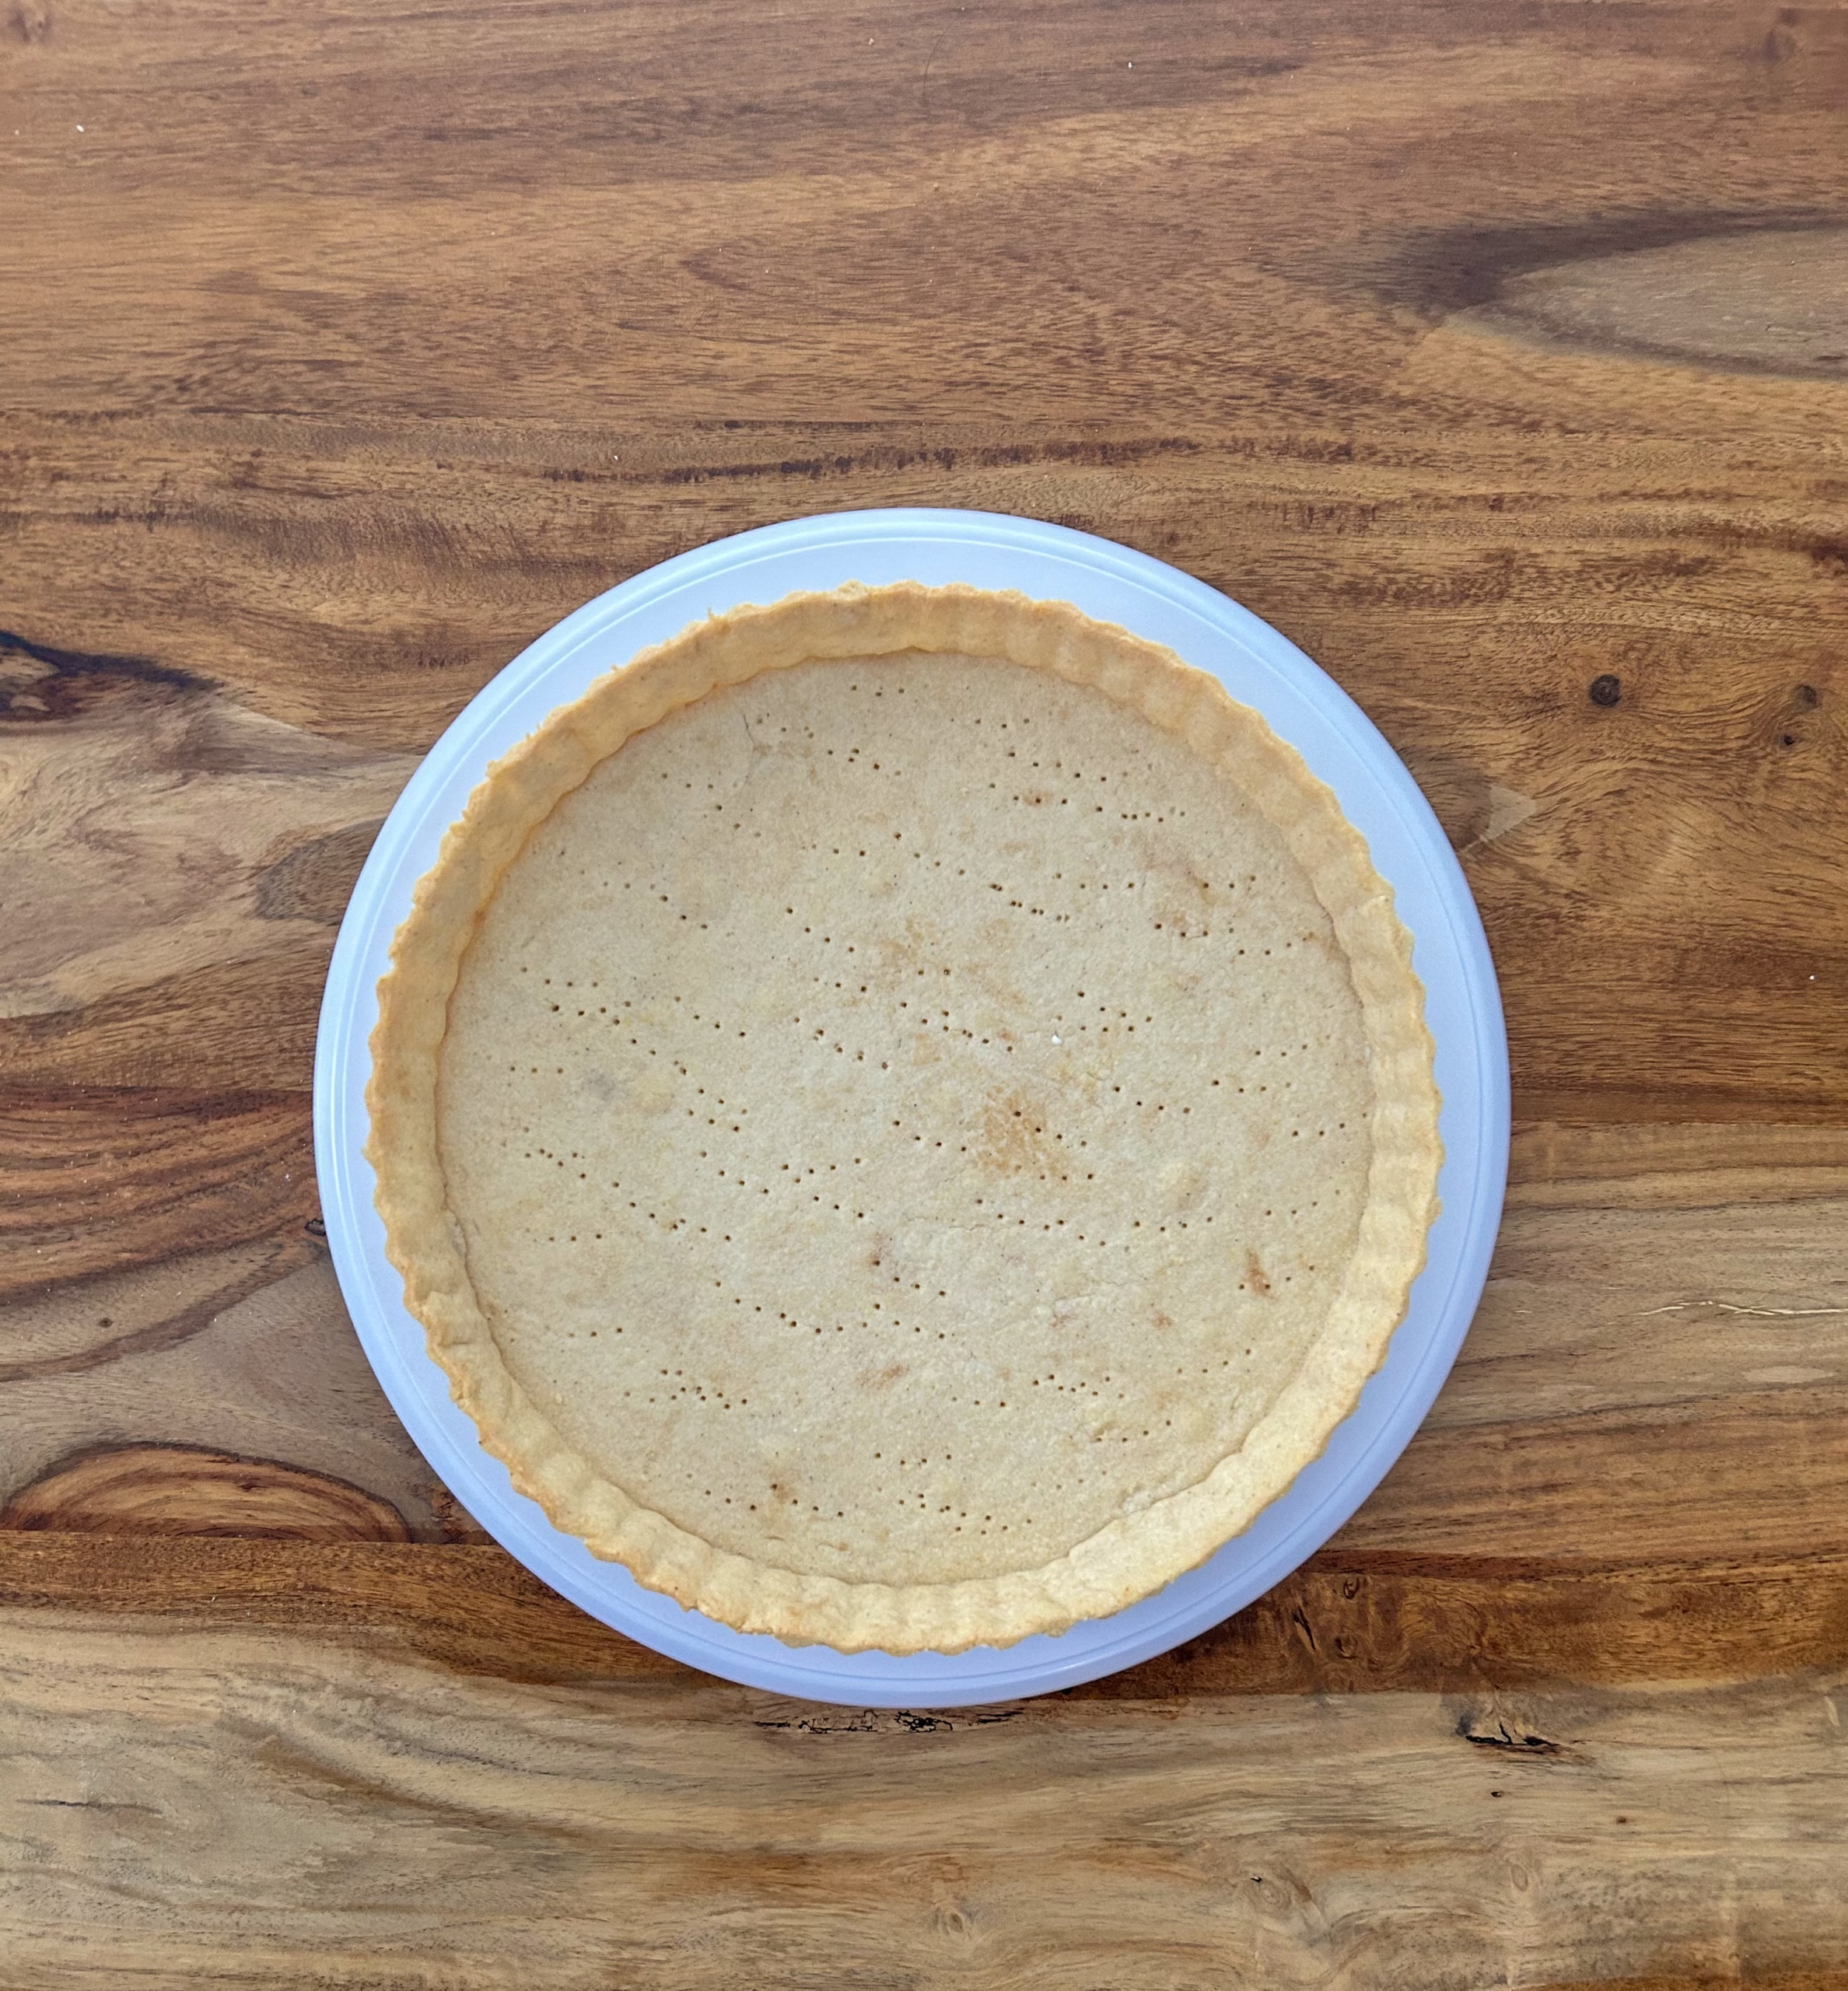
- Roll out the dough ensuring you continue to move it so it doesn’t stick to your surface. I use extra Bob’s Red Mill 1-1 Gluten Free flour on my rolling mat and on top. Once you have it rolled out to your desired thickness, ensure it is large enough to cover your tart ring. Lift the tart pastry and place it into the tart ring that is on a prepared baking sheet. Ensure it is pressed into the bottom and the sides of the tart ring. If there is a hole, it is easy to patch it with the cut off pastry.
- Prick the bottom of the tart shell to ensure the air can escape.
- Stick the tart shell back in the fridge for 10-15 minutes.
- While it is setting up, preheat the oven to 400F.
- Once the oven is preheated, place the tart on a prepared baking sheet into the oven for 20 minutes.
- Remove it from the oven, and let it cool completely inside the tart ring. Once it is cool, remove the ring, and begin filling it.
Did you make this recipe?
Lovely. Now let me know how you liked it and how easy it was to bake. Tag @laurabakesglutenfree on Instagram and hashtag it #laurabakesglutenfree.
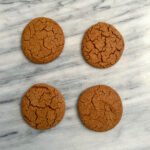
While I have you here, may I suggest few you try next:
Until next time. Keep following and commenting. Join me on Instagram, where I will be revealing my secret tips and tricks! Yes, that’s right!

1 Comment
Pingback: Gluten Free Raspberry Frangipane Tart Recipe - Laura Bakes Gluten Free