

Homemade gluten-free marshmallows are a sweet, fluffy treat that’s surprisingly easy to make! With just a few simple ingredients, you can create soft, pillowy marshmallows that are perfect for roasting over a fire, stirring into hot chocolate, or adding to your favourite desserts. Free from gluten and customizable with flavours or colours, these marshmallows are a fun and delicious upgrade from store-bought options. Perfect for any occasion, they’ll quickly become a household favourite!
customization
- Homemade gluten-free marshmallows are incredibly easy to customize to suit your taste or occasion. For a flavourful twist, add extracts like vanilla, peppermint, almond, or even citrus. You can also mix in food colouring to match a holiday theme or celebration.
- For extra texture and flavour, try coating the marshmallows in shredded coconut, crushed candy canes, or cocoa powder. You can even swirl in melted chocolate or caramel before setting the marshmallows. Whether you’re making them for a party, gifting, or just for fun, the possibilities are endless!
ingredients
Creating homemade marshmallows are easy and delicious. You will never go back to store bought marshmallows after tasting these.
- Water
- Gelatin
- Corn Syrup
- Sugar
- Vanilla
Supplies
Storing
To store homemade gluten-free marshmallows, first, ensure they are fully set and dried before transferring them to an airtight container. Next, separate the layers with parchment paper to prevent them from sticking together. Then, store the container at room temperature in a cool, dry place, ensuring it is kept away from heat or humidity. With these steps, the marshmallows will stay fresh for up to 2–3 weeks.
Avoid refrigerating homemade marshmallows, as the moisture can make them sticky.
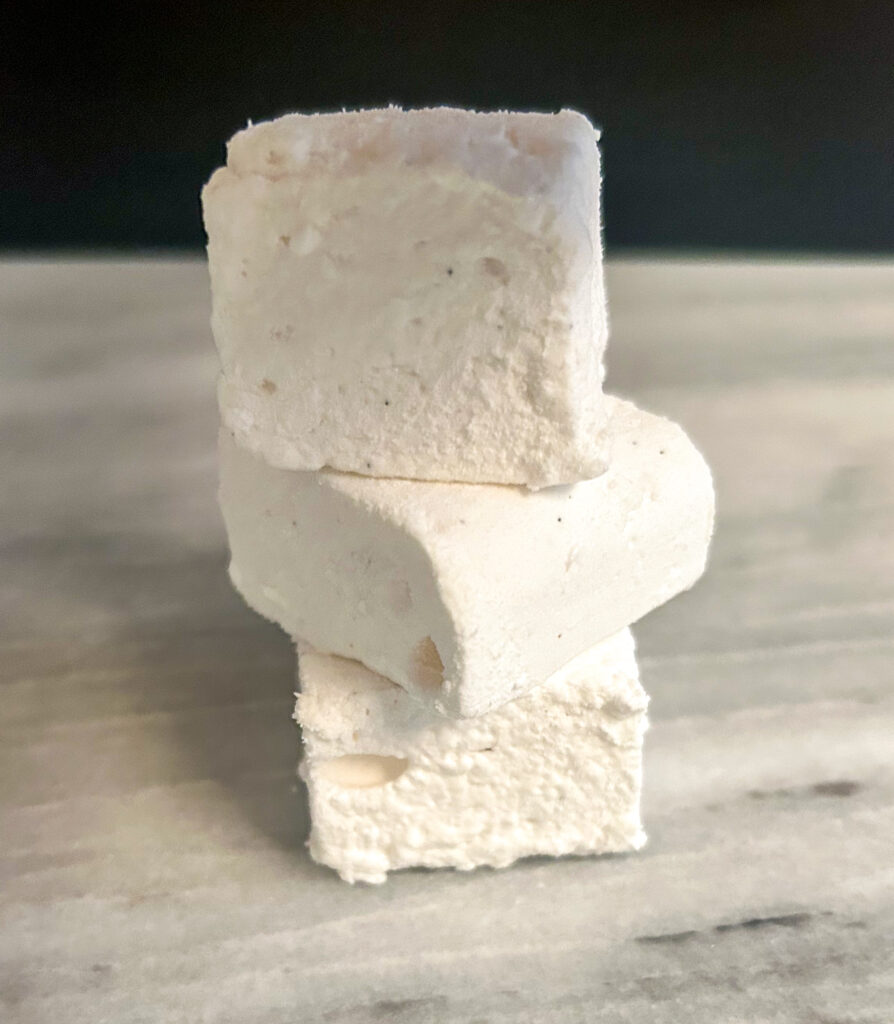
Gluten Free Marshmallows
Ingredients
- 85 Grams Ice Cold Water
- 20 Grams Gelatin Powder
- 125 Grams Corn Syrup
- 340 Grams Sugar
- 85 Grams Water
- 125 Grams Corn Syrup
- 3 Grams Vanilla Bean
Instructions
- In a small bowl, sprinkle the gelatin over the water and set aside until it gels. About 3-4 minutes.85 Grams Ice Cold Water, 20 Grams Gelatin Powder
- In a stand mixer bowl, add corn syrup and set aside.125 Grams Corn Syrup
- In a medium pot, add in sugar, water and corn syrup. Heat the mixture together until 235F.340 Grams Sugar, 85 Grams Water, 125 Grams Corn Syrup
- As the sugar mixture is almost to temperature, put the gelled gelatin bowl in the microwave and heat for 30 seconds. It should become liquid. Pour it into the stand mixer bowl with the corn syrup.
- With the mixer on low speed, gradually pour the hot sugar mixture down the bowl slowly. This ensures hot sugar is not flung around and at you.
- Turn the stand mixer to medium/high for 5 minutes until it has stiff peaks.
- Add in the vanilla bean and continue beating on high for 1 minute.
- In a 8”x8” pan, cover it in parchment paper with an overhang. With a little bit of a neutral oil, spread it all over the parchment paper.
- Slowly pour the marshmallows into the prepared pan and smooth it as best you can.
- Cover the marshmallows with plastic wrap that has been lightly covered in a neutral oil. Set aside for at least 6 hours, but I typically set mine over night.
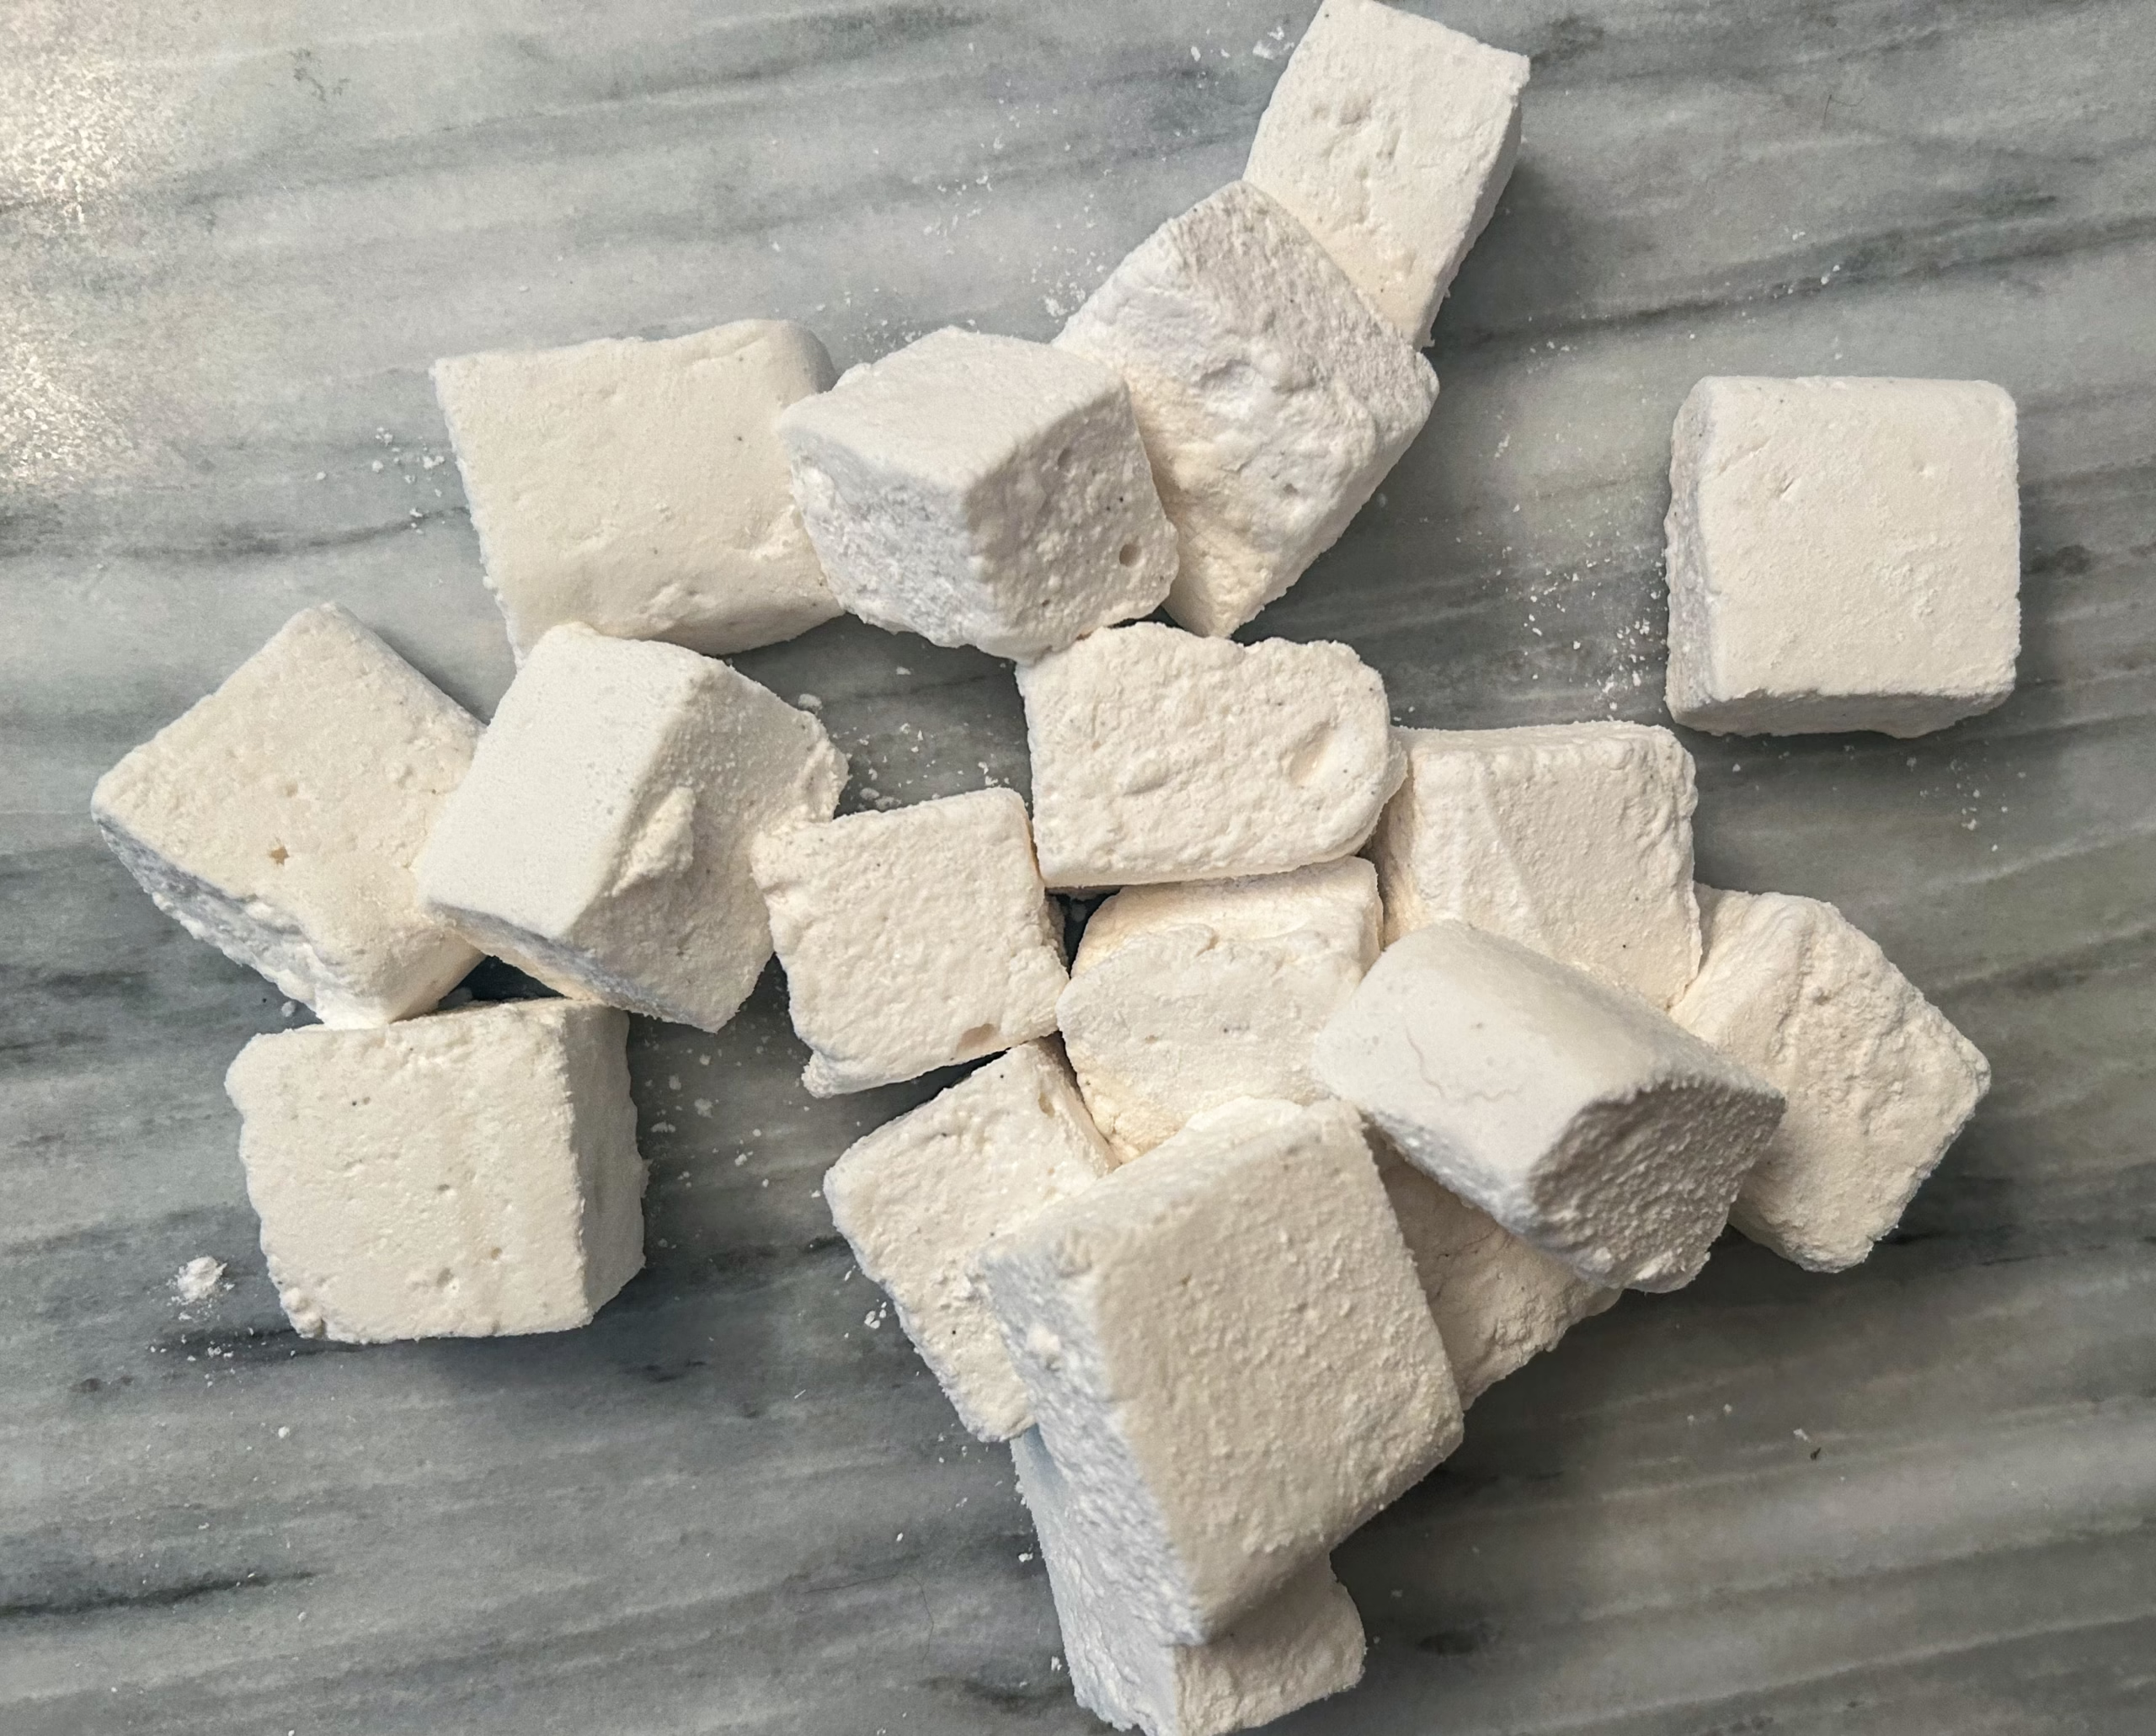
- Once you are ready to cut into them, remove the plastic wrap, and place it on a cutting board. Lightly oil a knife, and cut the marshmallows into squares.
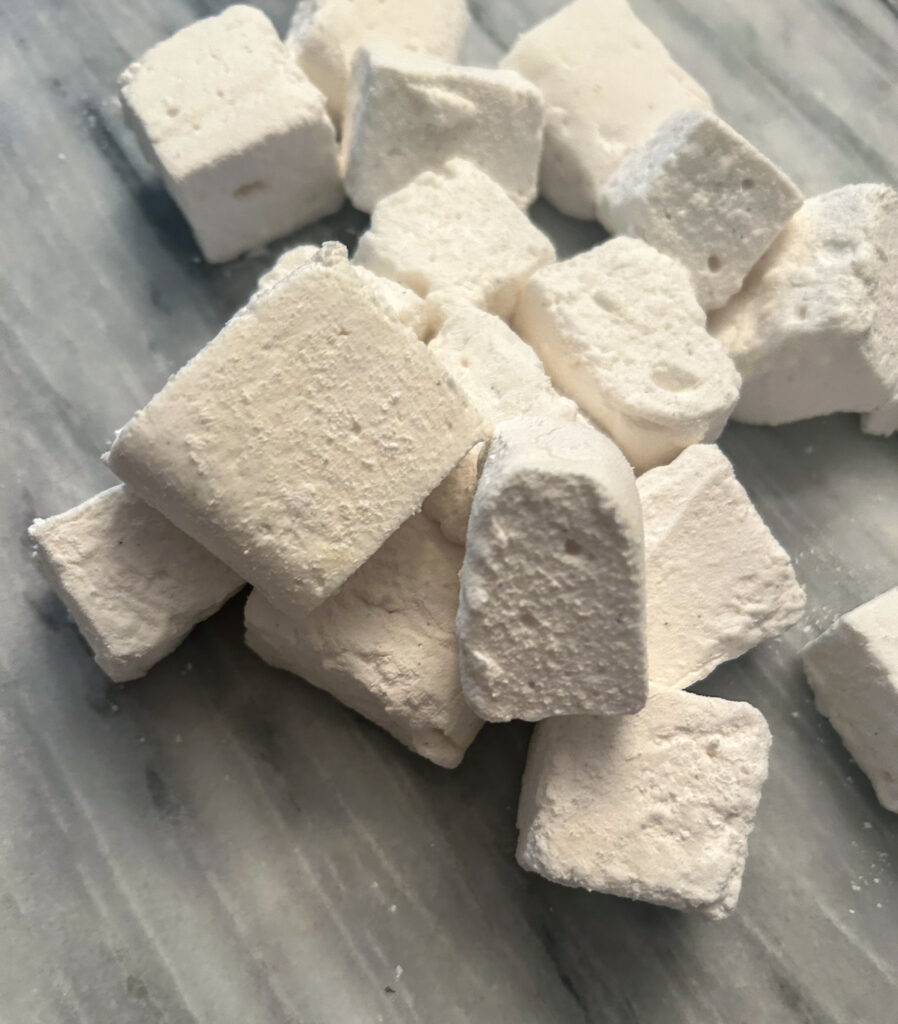
- In a large container, sift icing sugar into it. Remove the marshmallow that were cut, and place them into the container with the icing sugar. Roll them around so they are fully covered and no longer sticky.
- Put them into air tight container and enjoy!
Did you make this recipe?
Lovely. Now let me know how you liked it and how easy it was to bake. Tag @laurabakesglutenfree on Instagram and hashtag it #laurabakesglutenfree.
While I have you here, may I suggest few you try next:
Until next time. Keep following and commenting. Join me on Instagram, where I will be revealing my secret tips and tricks! Yes, that’s right!


1 Comment
Pingback: Gluten Free Scothmallows Recipe - Laura Bakes Gluten Free