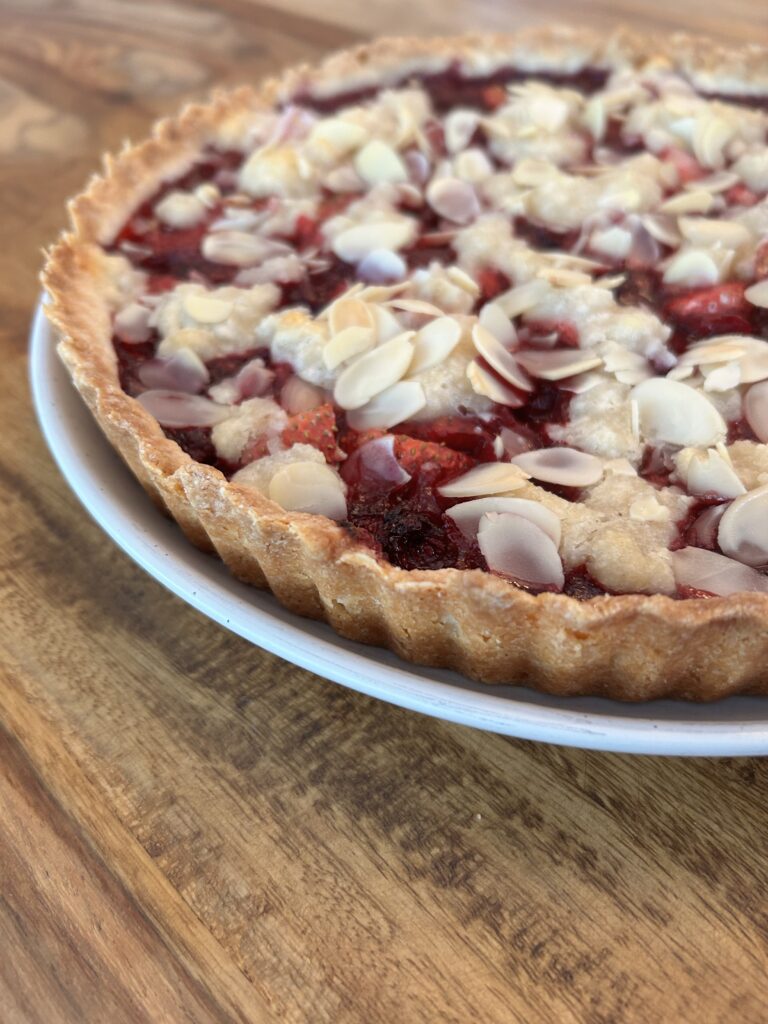
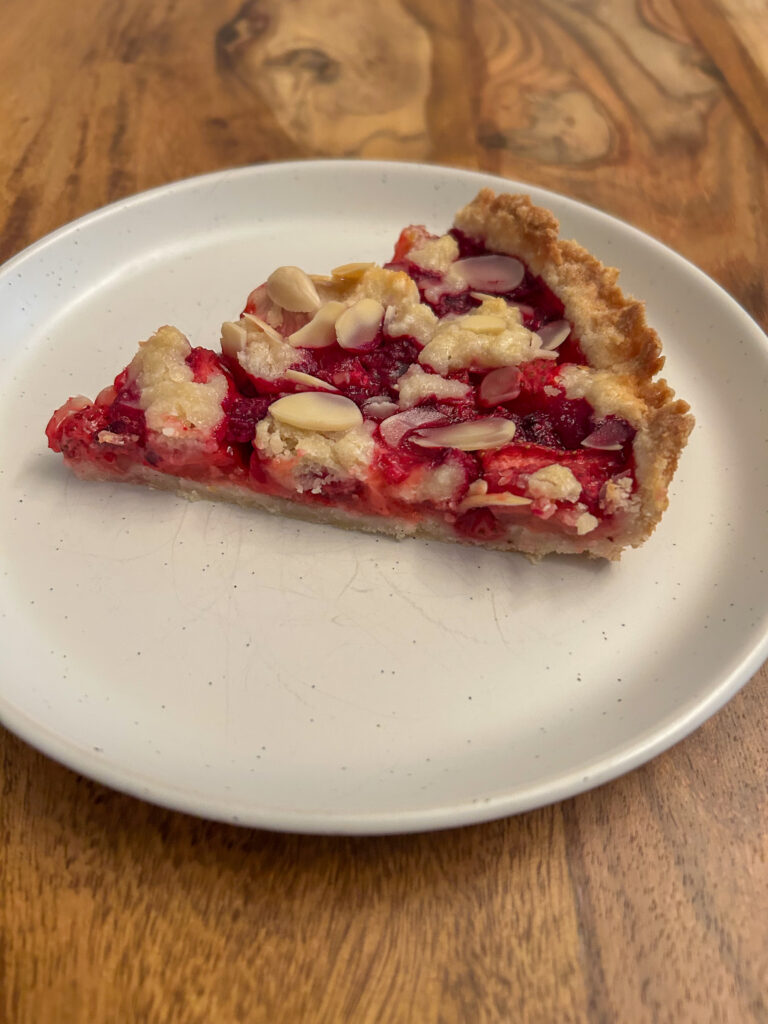
This easy gluten-free strawberry raspberry tart is a perfect balance of sweet, juicy berries and a buttery, flaky crust. Made with fresh strawberries and raspberries, this simple dessert comes together effortlessly for a light and refreshing treat. Whether you’re baking for a special occasion or just craving something fruity and delicious, this tart is sure to impress—no one will guess it’s gluten-free!

easy to bake
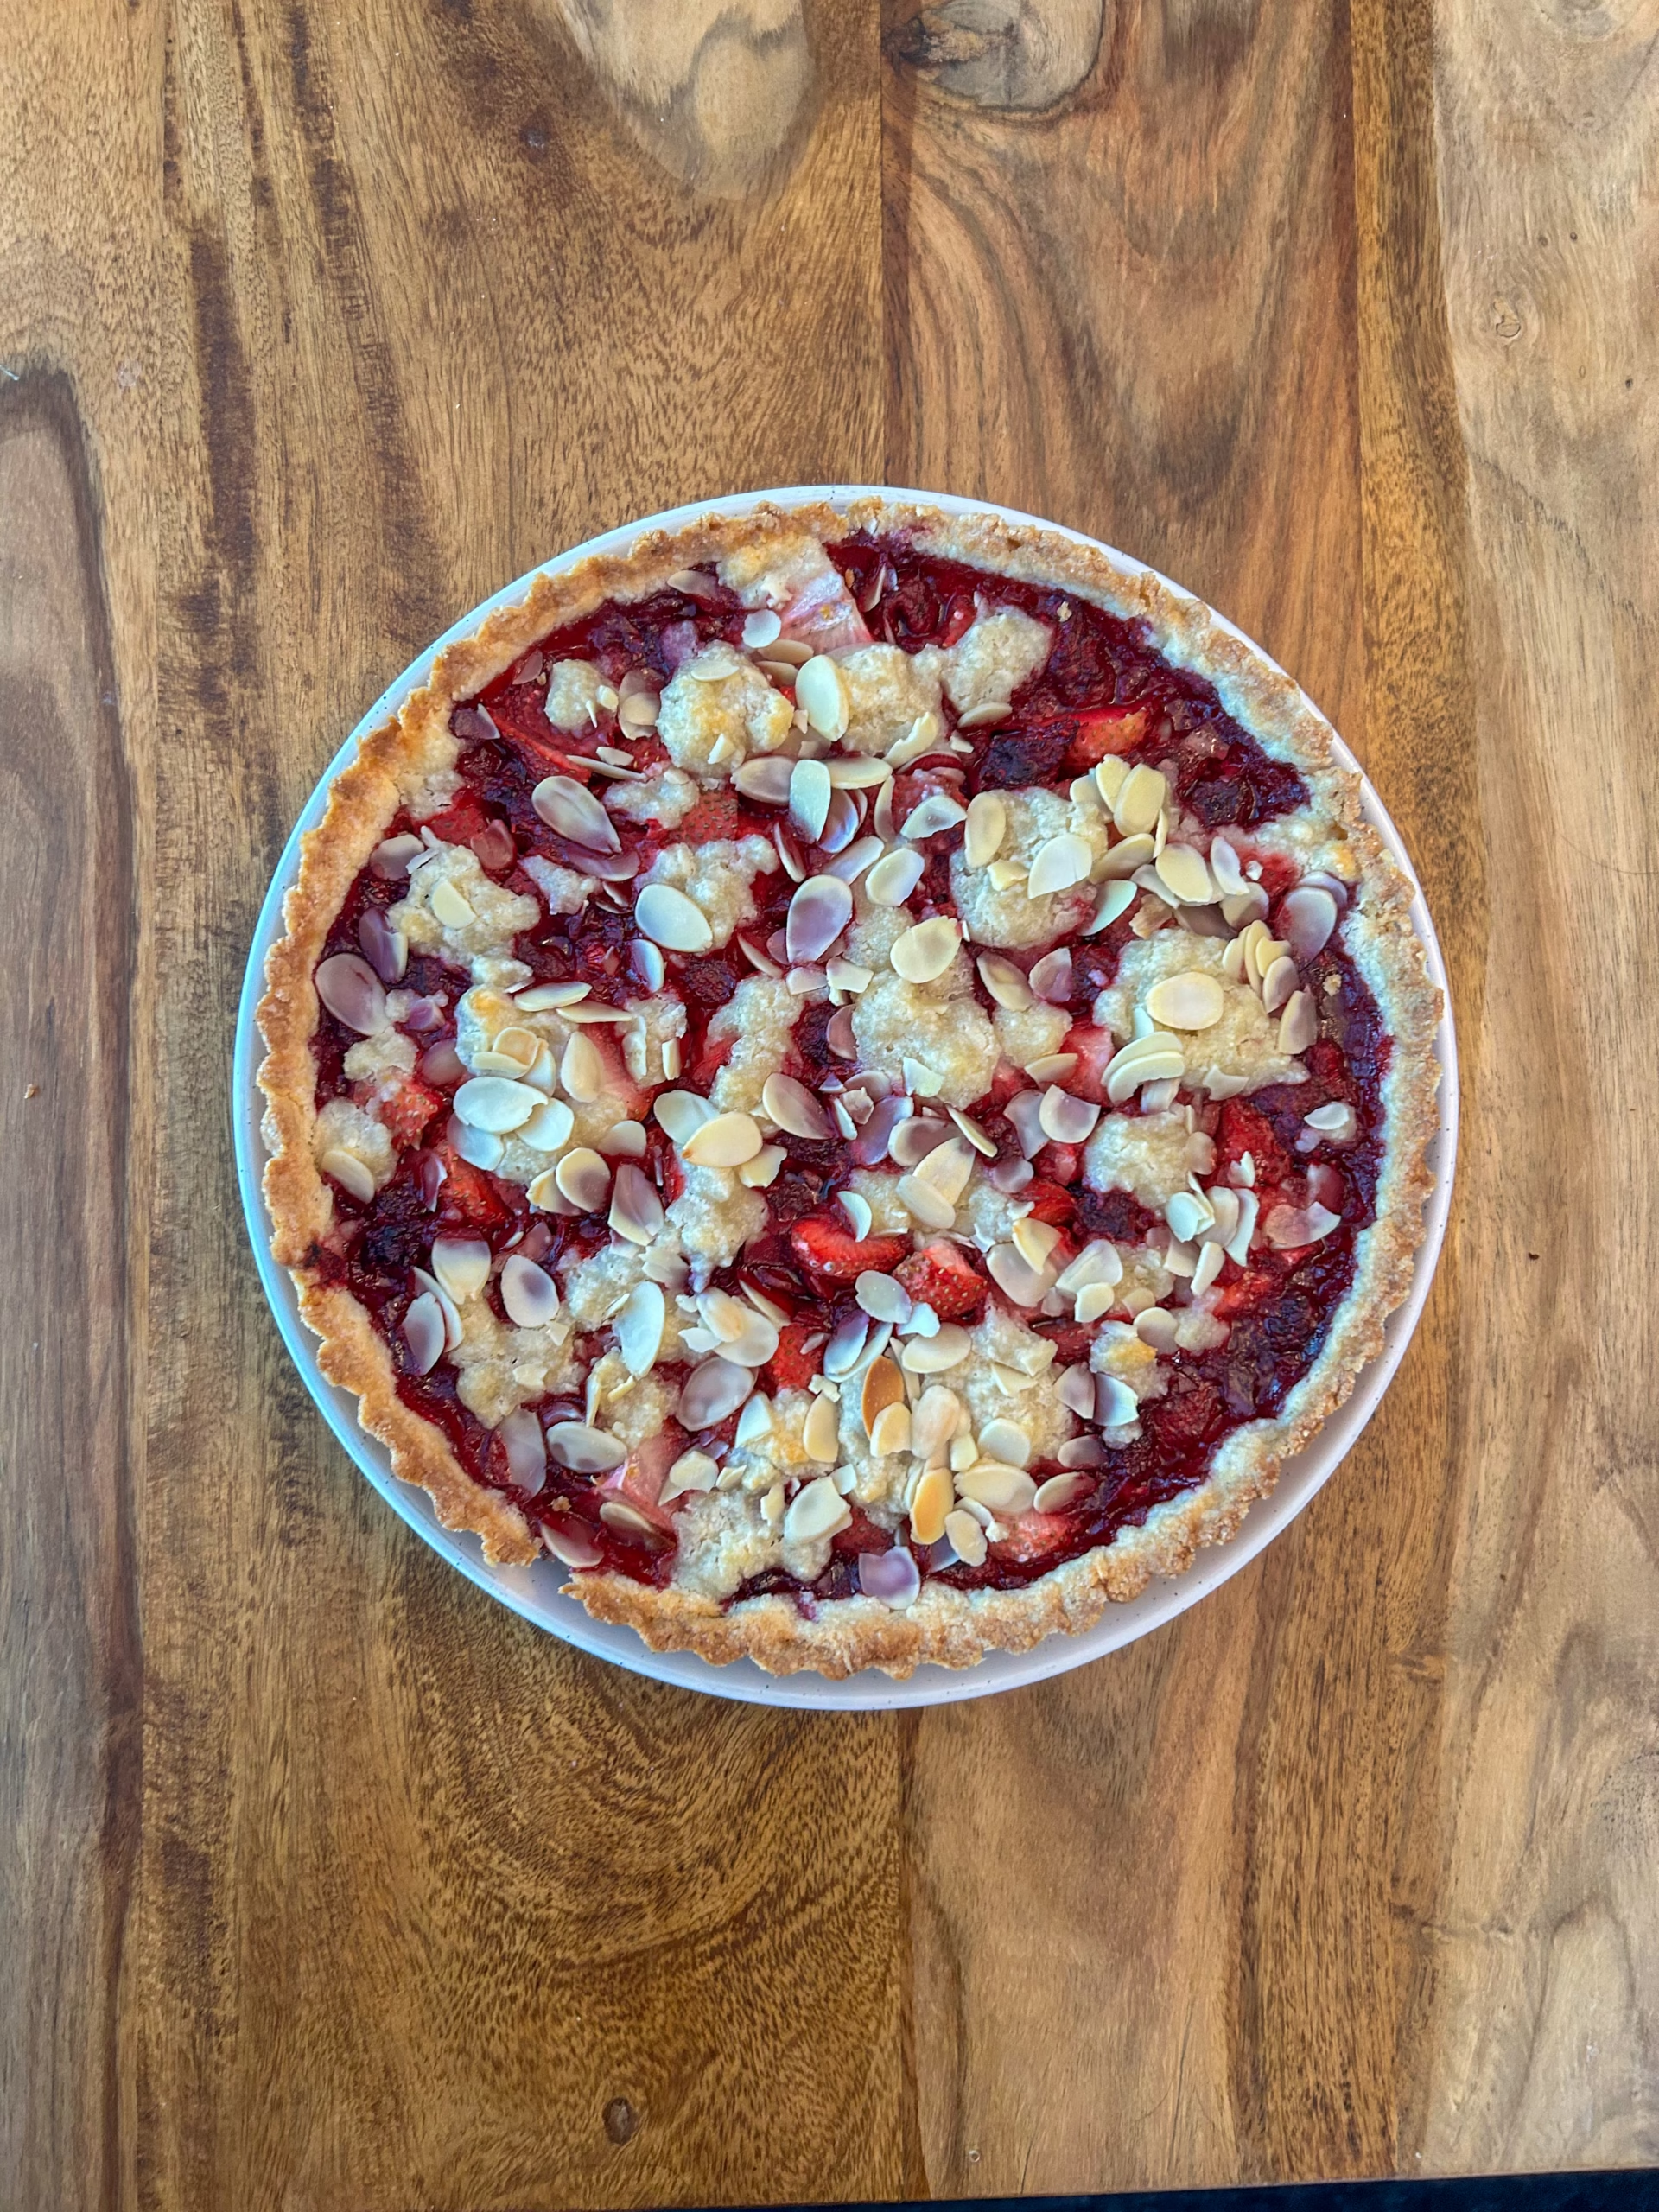
Making this gluten-free strawberry raspberry tart is simple! Start by mixing the dough, then press it directly into the tart pan—no rolling required. Reserve a portion of the dough for the topping. Fill the crust with fresh strawberries and raspberries, letting their natural sweetness shine. Crumble the reserved dough over the top for a rustic finish, then bake until golden and bubbling. It’s an easy, fuss-free dessert that looks as good as it tastes!
ingredients
Here are a couple of ingredients you will need to make this easy tart. I used strawberries and raspberries as I had them available. You could make this easy tart with any fruit or berry that you have on hand.
- Bob’s Redmill 1-1 Gluten Free Flour
- Almond Flour
- Sugar
- Salt
- Butter
- Milk
- Fruit: I used strawberries and raspberries
- Vanilla
- Lemon Juice
- Cornstarch
- Silvered Almonds
Storing
- To keep your gluten-free strawberry raspberry tart fresh, follow these storage tips:
Room Temperature (1 Day) - If you plan to eat the tart within a day, store it loosely covered at room temperature.
- Keep it in a cool, dry place away from direct sunlight.
Refrigeration (Up to 4 Days) - Store leftovers in an airtight container in the fridge to maintain freshness.
- Let it sit at room temperature for about 20 minutes before serving for the best texture.
Freezing (Up to 3 Months) - Wrap the whole tart or individual slices tightly in plastic wrap, then place in a freezer-safe container.
- Thaw overnight in the fridge, then reheat in a low oven (300°F/150°C) for 10–15 minutes to refresh the crust.
- Since gluten-free crusts can soften over time, refrigeration helps keep it crisp while maintaining the tart’s flavour!
Easy Gluten Free Strawberry Raspberry Tart
Ingredients
Easy Tart Crust
- 120 Grams Bob’s Red Mill 1-1 Gluten Free Flour or Adent Mills Gluten Free Flour
- 100 Grams Almond Flour
- 100 Grams Sugar
- 3 Grams Salt
- 140 Grams Cold Butter
- 15 Grams Milk
Filling
- 300 Grams Fresh Strawberries, cut into quarters
- 300 Grams Frozen Raspberries
- 5 Grams Vanilla
- 15 Grams Lemon – Juiced
- 15 Grams Corn Starch
- 30 Grams Sliced Almonds
Instructions
- In a bowl, add together the flour, almond flour, sugar and salt.120 Grams Bob’s Red Mill 1-1 Gluten Free Flour or Adent Mills Gluten Free Flour, 100 Grams Almond Flour, 100 Grams Sugar, 3 Grams Salt
- Add in the butter into the bowl. With your fingers rub together the butter into the flour mixture until it is in pea-sized chunks of butter.140 Grams Cold Butter
- Stir in milk until everything sticks together when pressed together.15 Grams Milk
- Take about 2/3 of the crust mixture and push it into the bottom and up the sides of a tart pan with a removable bottom.
- Preheat the oven to 350F
- Place the tart pan into the fridge to get it cold while you work on the berries and the oven preheats.
- In a clean bowl, stir together the chopped strawberries, sugar, vanilla, cornstarch, and lemon juice. Let is side while the crust is chilling for 30 minutes.300 Grams Fresh Strawberries, cut into quarters, 5 Grams Vanilla, 15 Grams Lemon – Juiced, 15 Grams Corn Starch
- Once the oven is preheated, pour the berry mixture into the tart pan. Place the frozen raspberries into the tart where you would like them.300 Grams Frozen Raspberries
- Sprinkle the 1/3 leftover crust over the top of the tart and then sprinkle the almonds on top.30 Grams Sliced Almonds
- Place the tart pan onto a parchment paper lined baking tray to catch anything.
- Bake for 45-50 minutes. The inside of the tart will bubble and the tart will look golden.
- Remove from the oven, and let it cool for at least 30 minutes. Once it is cool, carefully remove it from the tart shell and place it on a serving tray. Enjoy!
Did you make this recipe?
Lovely. Now let me know how you liked it and how easy it was to bake. Tag @laurabakesglutenfree on Instagram and hashtag it #laurabakesglutenfree.
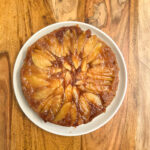
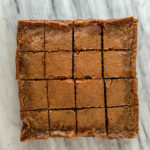
While I have you here, may I suggest few you try next:
Until next time. Keep following and commenting. Join me on Instagram, where I will be revealing my secret tips and tricks! Yes, that’s right!