Gluten free ginger molasses cookies are a timeless holiday classic, perfect for those who love warm spices and a soft, chewy texture. These cookies combine the deep, rich flavour of molasses with the zesty kick of ginger, making them a comforting and nostalgic treat.

Why ginger molasses cookies?
I first fell in love with ginger molasses cookies during my time working at Starbucks. At first, I thought they were “too spicy” for my taste, but everything changed when I paired one with the perfect cup of coffee. The flavours blended together in such a magical way that from that day forward, these cookies became a holiday staple for me. Now, every year as the festive season approaches, I find joy in baking batches of these cookies to share with family and friends.
Whether you’re enjoying them with coffee, tea, or simply on their own, these cookies are a must-try for the holiday season or anytime you crave something warm and comforting.
Why roll the cookies in sugar before baking?
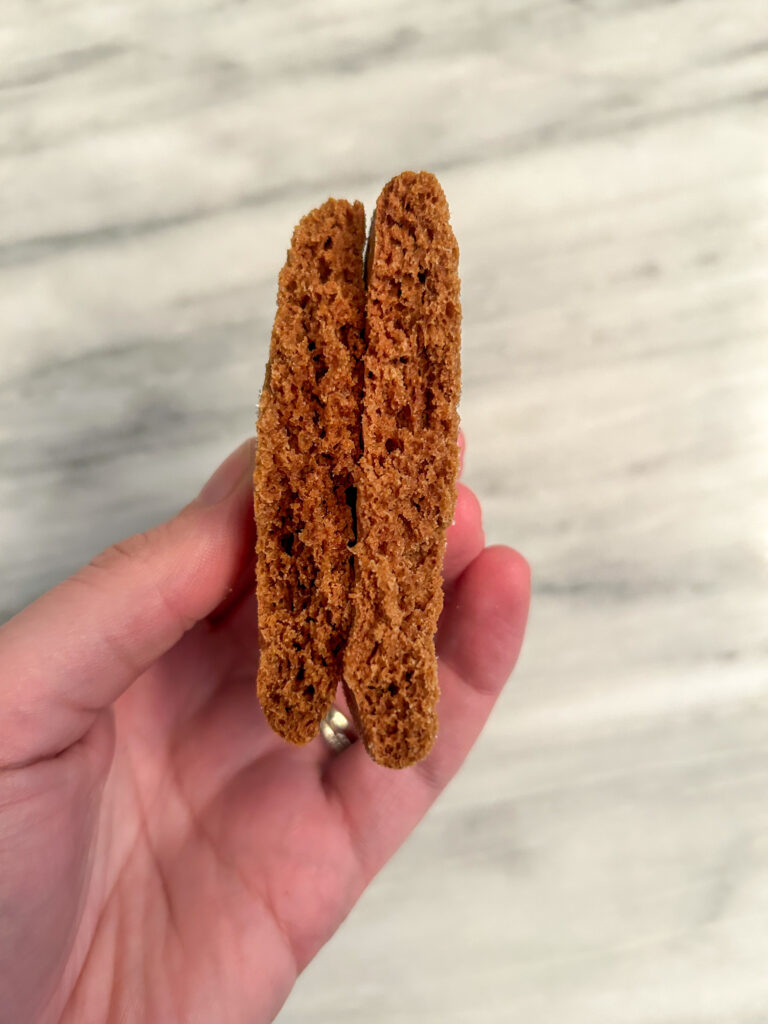
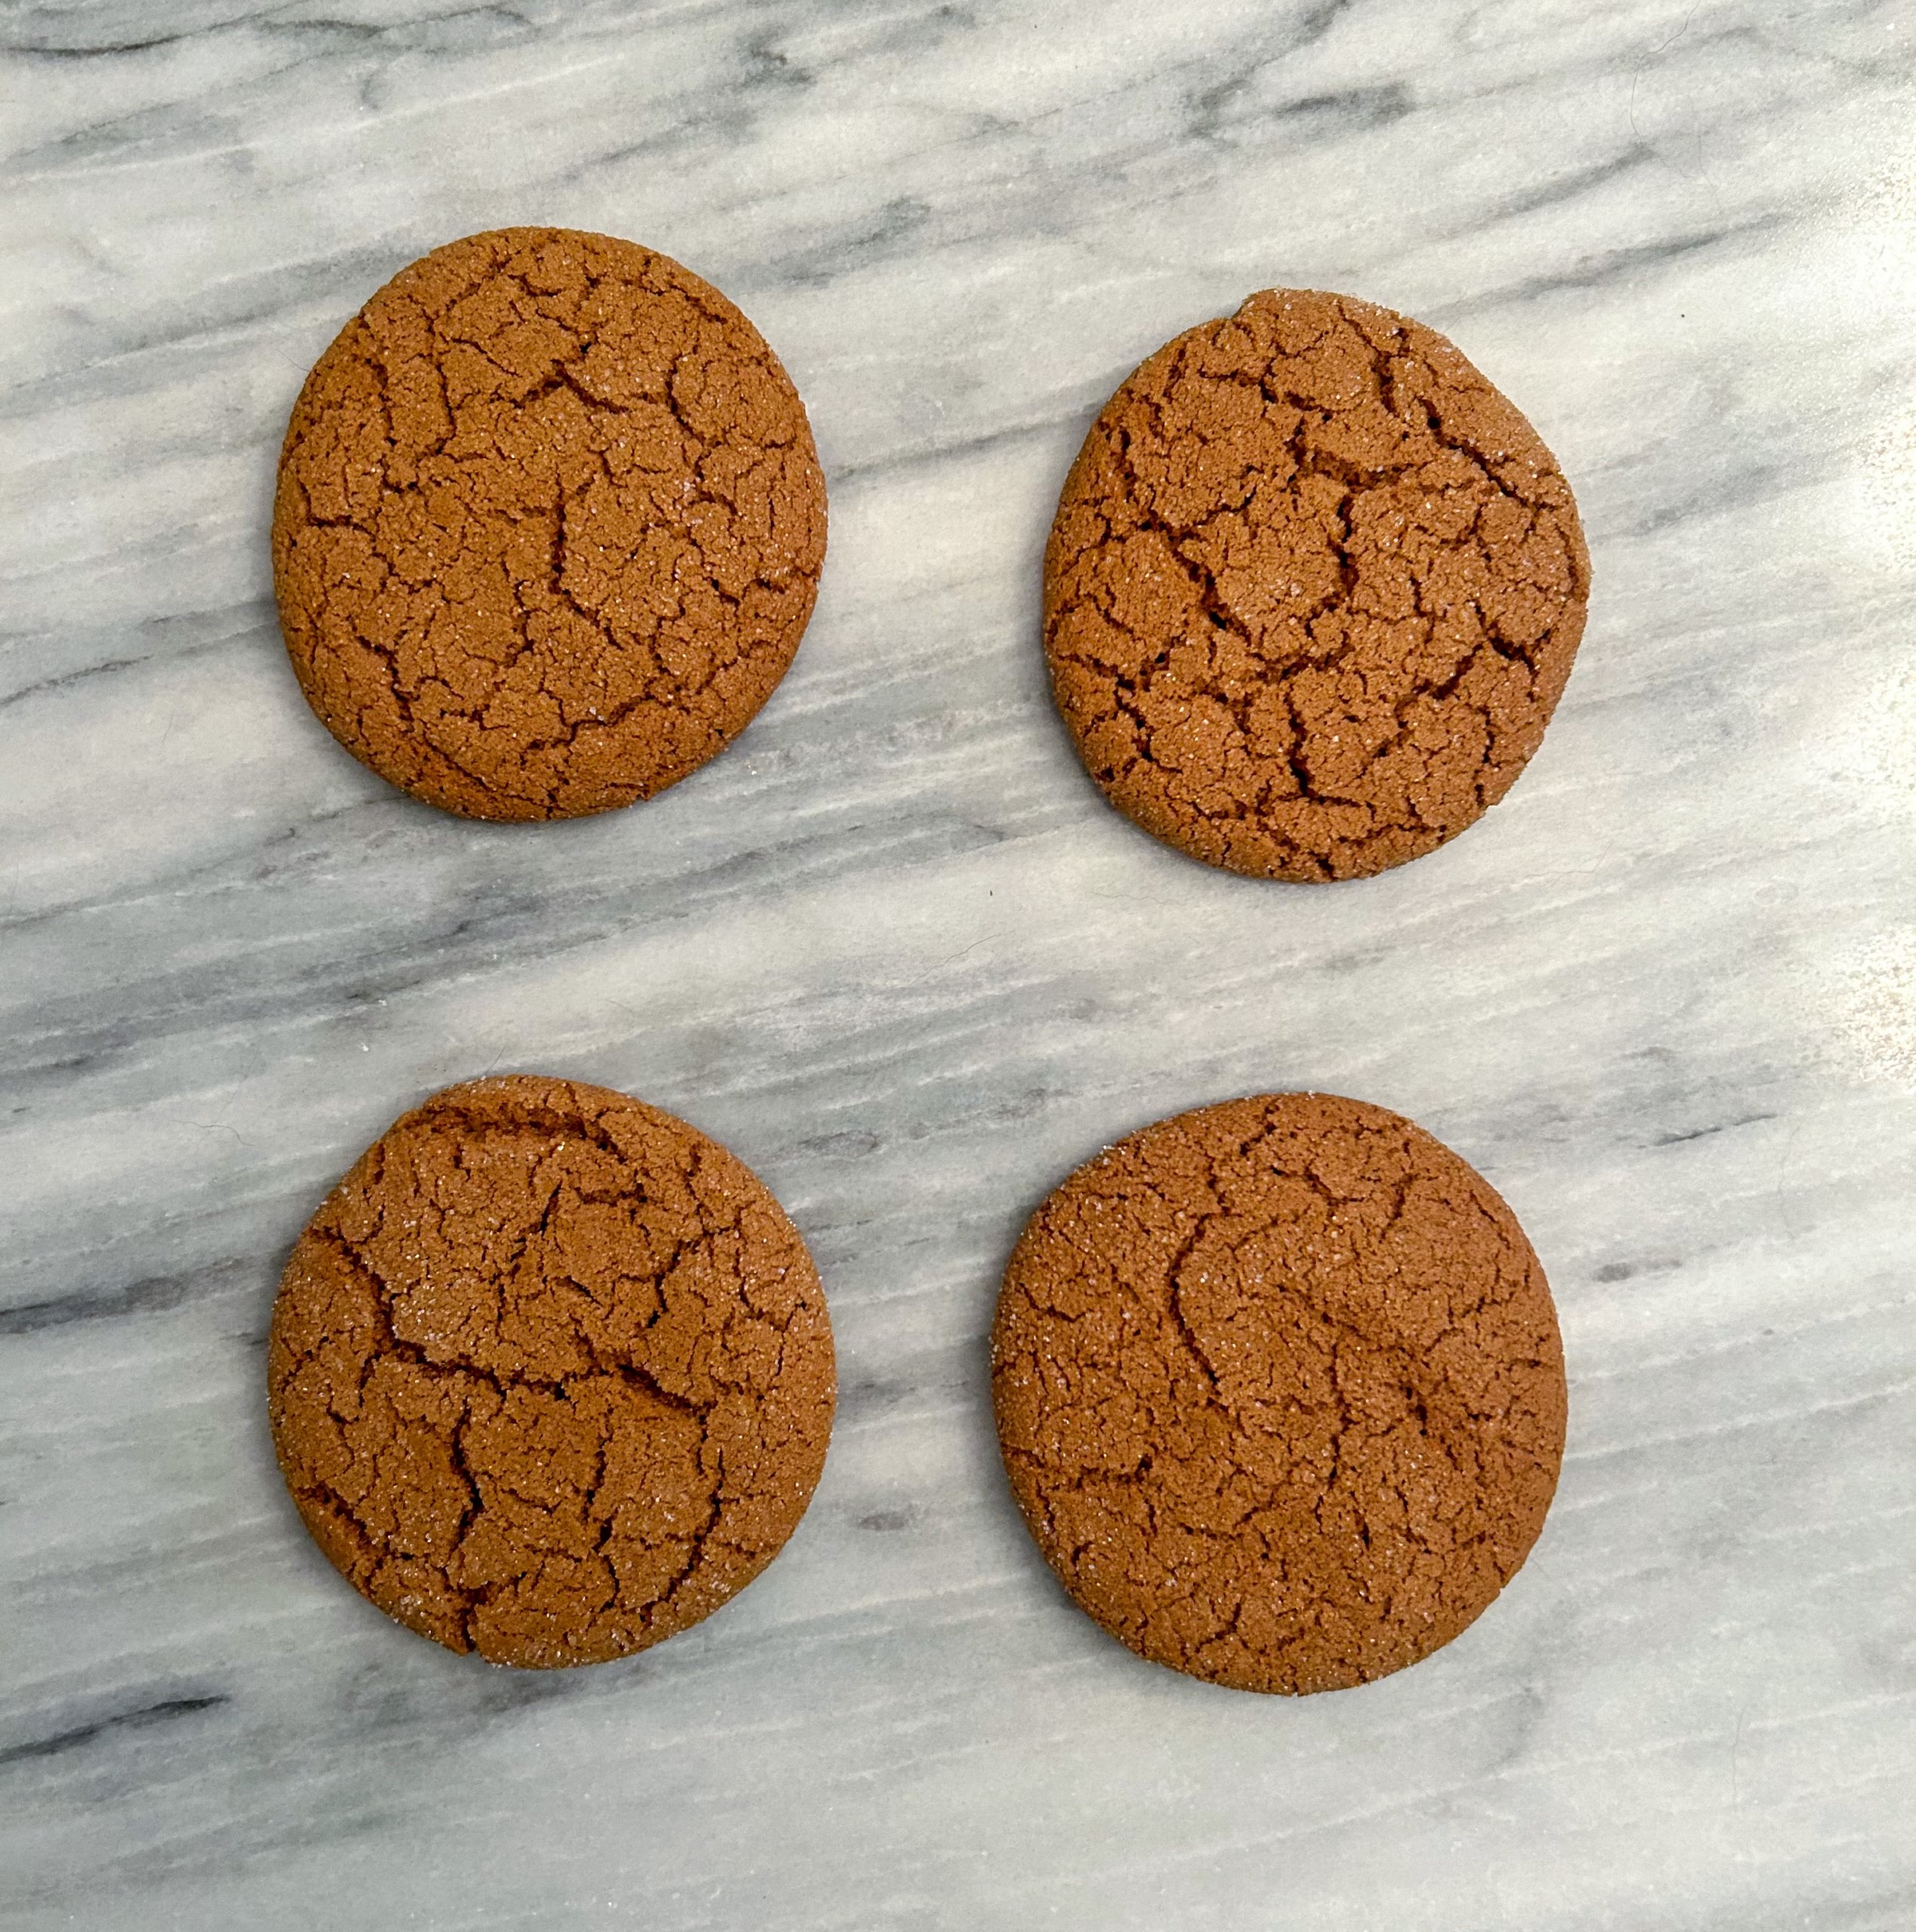
Rolling ginger molasses cookies in sugar before baking serves two main purposes. First, it creates a delightful, slightly crisp exterior that contrasts beautifully with the soft and chewy centre of the cookie. As the cookies bake, the sugar melts and forms a subtle, sweet crust that enhances the overall texture. Second, the sugar coating adds a touch of sparkle and an inviting visual appeal, making the cookies look even more tempting and festive—perfect for holiday baking or any special occasion!
ingredients
- Bob’s Redmill 1-1 Gluten Free Flour
- Cocoa Powder
- Baking Soda
- Salt
- Ginger Powder
- Cinnamon
- Cloves
- All Spice
- Brown Sugar
- Molasses
- Oil: I used olive oil, but you can use canola oil, avocado oil or coconut oil.
- Egg
- Sugar: Used to roll the cookies into.
Supplies
Storing
To store gluten free ginger molasses cookies, place them in an airtight container at room temperature for up to 5 days to maintain their soft and chewy texture. If you’d like to keep them longer, you can freeze the cookies for up to 3 months. Simply layer them with parchment paper in a freezer-safe container or bag to prevent sticking. When ready to enjoy, let them thaw at room temperature, and they’ll be just as delicious as when freshly baked!
Gluten Free Ginger Molasses Cookies
Ingredients
- 220 Grams Bob’s Red Mill 1-1 Gluten Free Flour or Adent Mills Gluten Free Flour
- 4 Grams Baking Soda
- 3 Grams Cinnamon
- 1 Gram Cloves
- 1 Gram Ginger Powder
- 0.5 Gram All Spice
- 1 Gram Salt
- 154 Grams Brown Sugar
- 72 Grams Molasses
- 40 Grams Olive Oil (or a neutral oil)
- 1 Egg
- 70 Grams Sugar (for rolling the cookies in)
Instructions
- Preheat the oven to 350F. Prepare baking sheets with parchment paper.
- In a stand mixer, mix together the olive oil, brown sugar and molasses. Ensure you scrap down the sides of the bowl. You will mix until it is well combined about 1-3 minutes.154 Grams Brown Sugar, 72 Grams Molasses, 40 Grams Olive Oil
- Next add in the egg. Mix this until the mixture is well incorporated and is lighter in colour. This will take about 2 minutes.1 Egg
- Add in all the dry ingredients. Mix until just combined.220 Grams Bob’s Red Mill 1-1 Gluten Free Flour or Adent Mills Gluten Free Flour, 4 Grams Baking Soda, 3 Grams Cinnamon, 1 Gram Cloves, 1 Gram Ginger Powder, 0.5 Gram All Spice, 1 Gram Salt
- Prepare a bowl of sugar.70 Grams Sugar
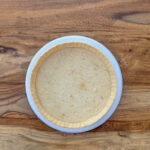
- Using a small ice cream scoop or a spoon, roll about 1 tablespoon worth of dough into a ball with your hands. Roll this ball around the bowl of sugar, coating it evenly. Place this ball onto the prepared baking sheet. The ball will start to flatten and spread natural. That is fine.
- Once all the balls are on the tray, place in the oven for 12-14 minutes. I prefer 12 minutes when using olive oil. If I am using canola oil, I tend to bake them a little bit longer at 14 minutes.
- Pull the trays from the oven once they are baked. Leave the cookies on the tray for 5-10 minutes to cool. Remove the cookies from the tray and place on a cookie cooling rack. Enjoy!
Did you make this recipe?
Lovely. Now let me know how you liked it and how easy it was to bake. Tag @laurabakesglutenfree on Instagram and hashtag it #laurabakesglutenfree.
While I have you here, may I suggest few you try next:
Until next time. Keep following and commenting. Join me on Instagram, where I will be revealing my secret tips and tricks! Yes, that’s right!