

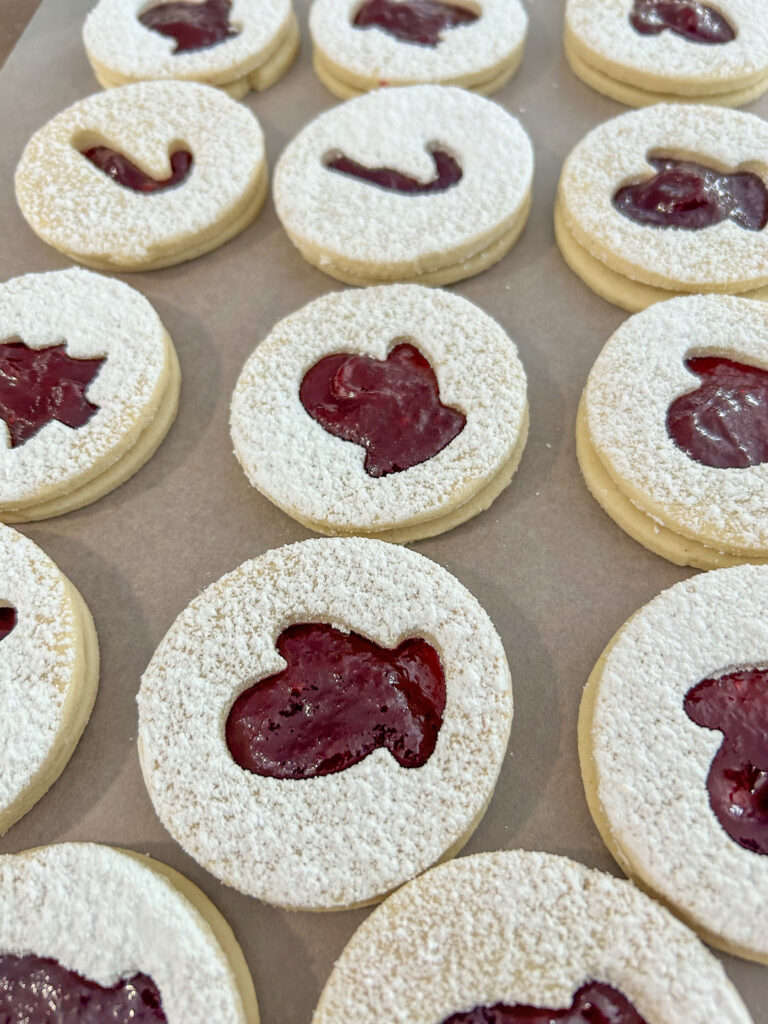
I know, I know—raspberry jam is delicious, but those pesky seeds can be a real nuisance! That’s why I created this seedless raspberry jam recipe. Using frozen raspberries harvested right from my garden, this recipe is smooth, flavourful, and perfect for spreading on everything from toast to desserts.
Seedless raspberry jam is a game-changer for anyone who loves the sweet, tangy flavour of raspberries without the seeds. With just three simple ingredients and 15 minutes, you can create a smooth, luscious jam perfect for spreading on toast, swirling into yogurt, or layering in desserts. Easy, quick, and absolutely delicious!
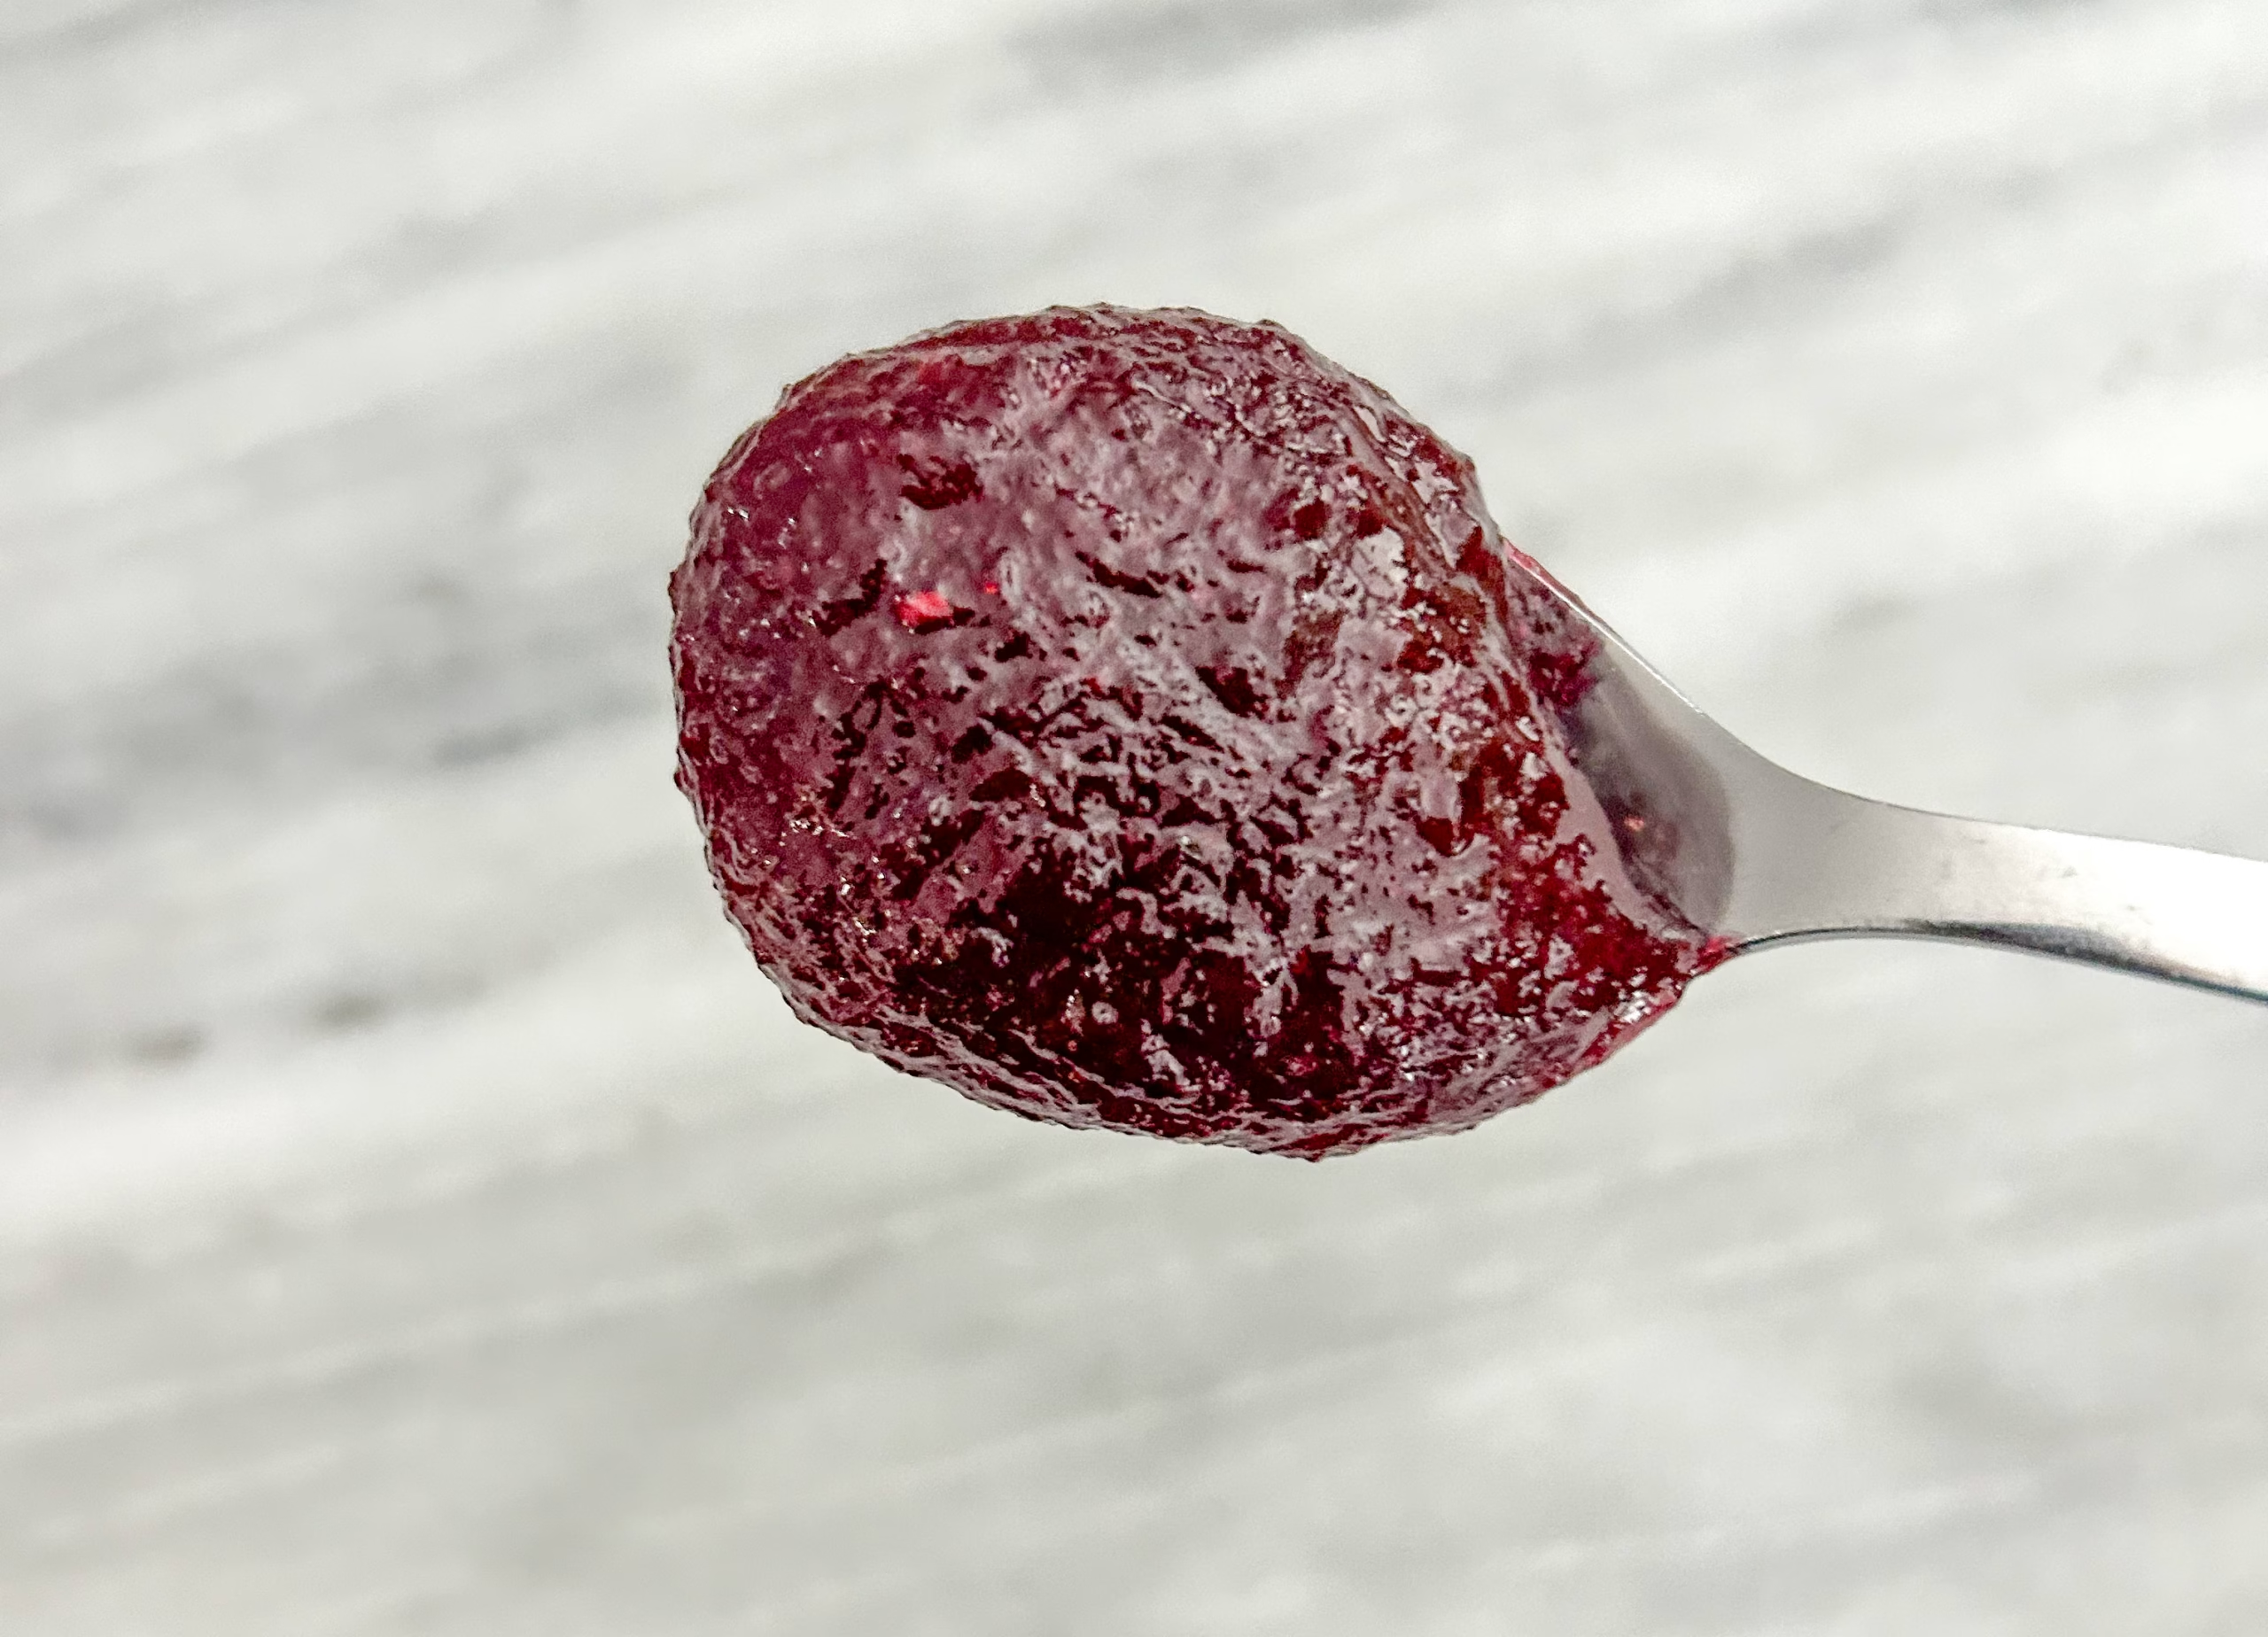
Raspberry jam
- Using frozen raspberries in jam is a convenient and practical choice. Since raspberries are typically harvested in the summer, freezing them allows you to enjoy their flavour year-round, even when fresh raspberries aren’t in season. Frozen raspberries also tend to break down more easily when cooking, making them perfect for creating a smooth, seedless jam. Plus, using frozen fruit ensures you can make your jam whenever you want, without worrying about the availability of fresh raspberries!
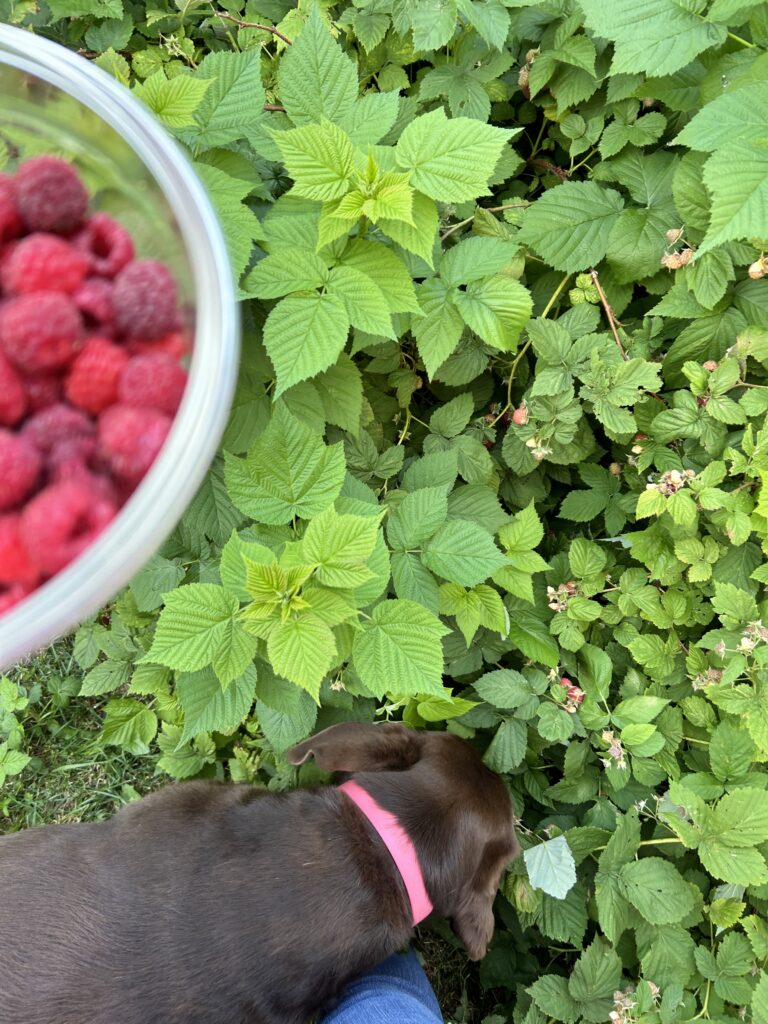
- This picture was taking in the summer, we went raspberry picking in our own backyard. We were given a couple raspberry plants from friends of ours a couple years ago. And every year they burst into so many raspberries. Lexi, our Chocolate Lab, also loves raspberries. She helps me pick them…. Well I pick them, she just eats them. Whenever I am over by the bush, she comes running over as she knows she is allowed to eat them. She will pick them right from the bush and get inside of it where I am not going… because there are spiders. These raspberries are also the star of my white chocolate raspberry scones, check out the recipe.
Creating the jam
When I make jam, I like to make sure it is easy, delicious and uses very little ingredients. The jams from the stores include a lot of preservatives, pectin or gelatin, which will give your jam a jelly like texture. However, you can achieve this with the three simple ingredients in the recipe. It just takes a little bit of time but it’s worth the wait in flavour.
If raspberries aren’t your jam, you can check out my other jam recipe of a roasted strawberry jam. It is made in the oven.
Storing
There are a couple ways to store this jam.
I typically make it and use it right away. To do this, I put it in a glass container with a lid, and put it in the fridge. It should last 2-3 weeks by doing this.
I have also frozen this jam, it was inside a baked Alaska cake and it froze beautifully!
Another way would be to can it. If you are caning it, I would remove it early from the oven. This is because the water bath will continue cooking it. It will be pipping hot, and put it directly into sanitized mason jars with the lids. Then you would put it into the water bath to seal the jars.
I have also put hot jam into a hot mason jar, and sealed it up. I then turned it upside down until it was cool. The temperature of the jam and the jar sealed itself.
Seedless Raspberry Jam
Ingredients
- 400 Grams Frozen Raspberries
- 240 Grams Sugar
- ½ Lemon
Instructions
- In a medium sized pot, add in the sugar, raspberries and the juice of 1/2 a lemon.400 Grams Frozen Raspberries, 240 Grams Sugar, 1/2 Lemon
- On low/medium heat, stir the jam every couple of minutes. This will break up the frozen raspberries and combine everything together.
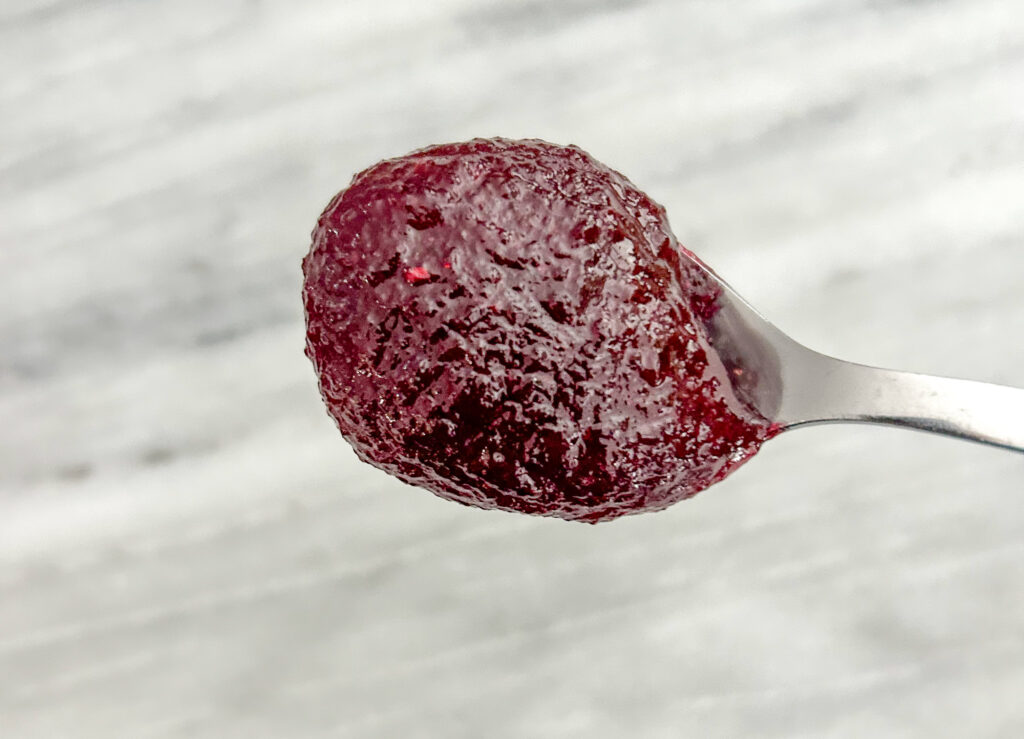
- Cook down the jam until it can coat the back of the spoon, using your finger you run it across the back of the spoon and it stays jam like. If it doesn’t, cook it for a little bit longer
- Once the jam is cooked, stain it through a fine sieve. This will remove all the seeds out of the jam. It will take some effort pushing the raspberries through without the seeds but it will be worth it.
- Store the jam in the fridge until cool, and then use as you need.
Did you make this recipe?
Lovely. Now let me know how you liked it and how easy it was to bake. Tag @laurabakesglutenfree on Instagram and hashtag it #laurabakesglutenfree.
While I have you here, may I suggest few you try next:
Until next time. Keep following and commenting. Join me on Instagram, where I will be revealing my secret tips and tricks! Yes, that’s right!
1 Comment
Pingback: Gluten Free Pop Tarts Recipe - Laura Bakes Gluten Free