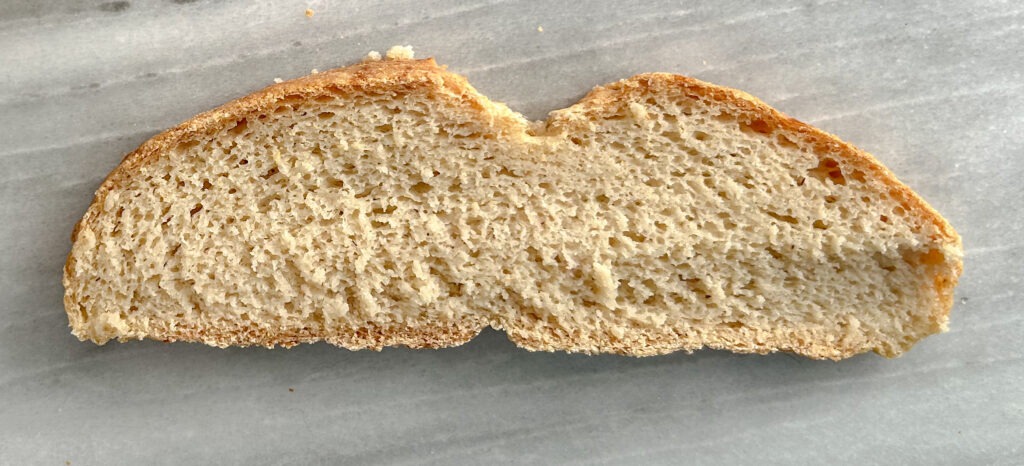
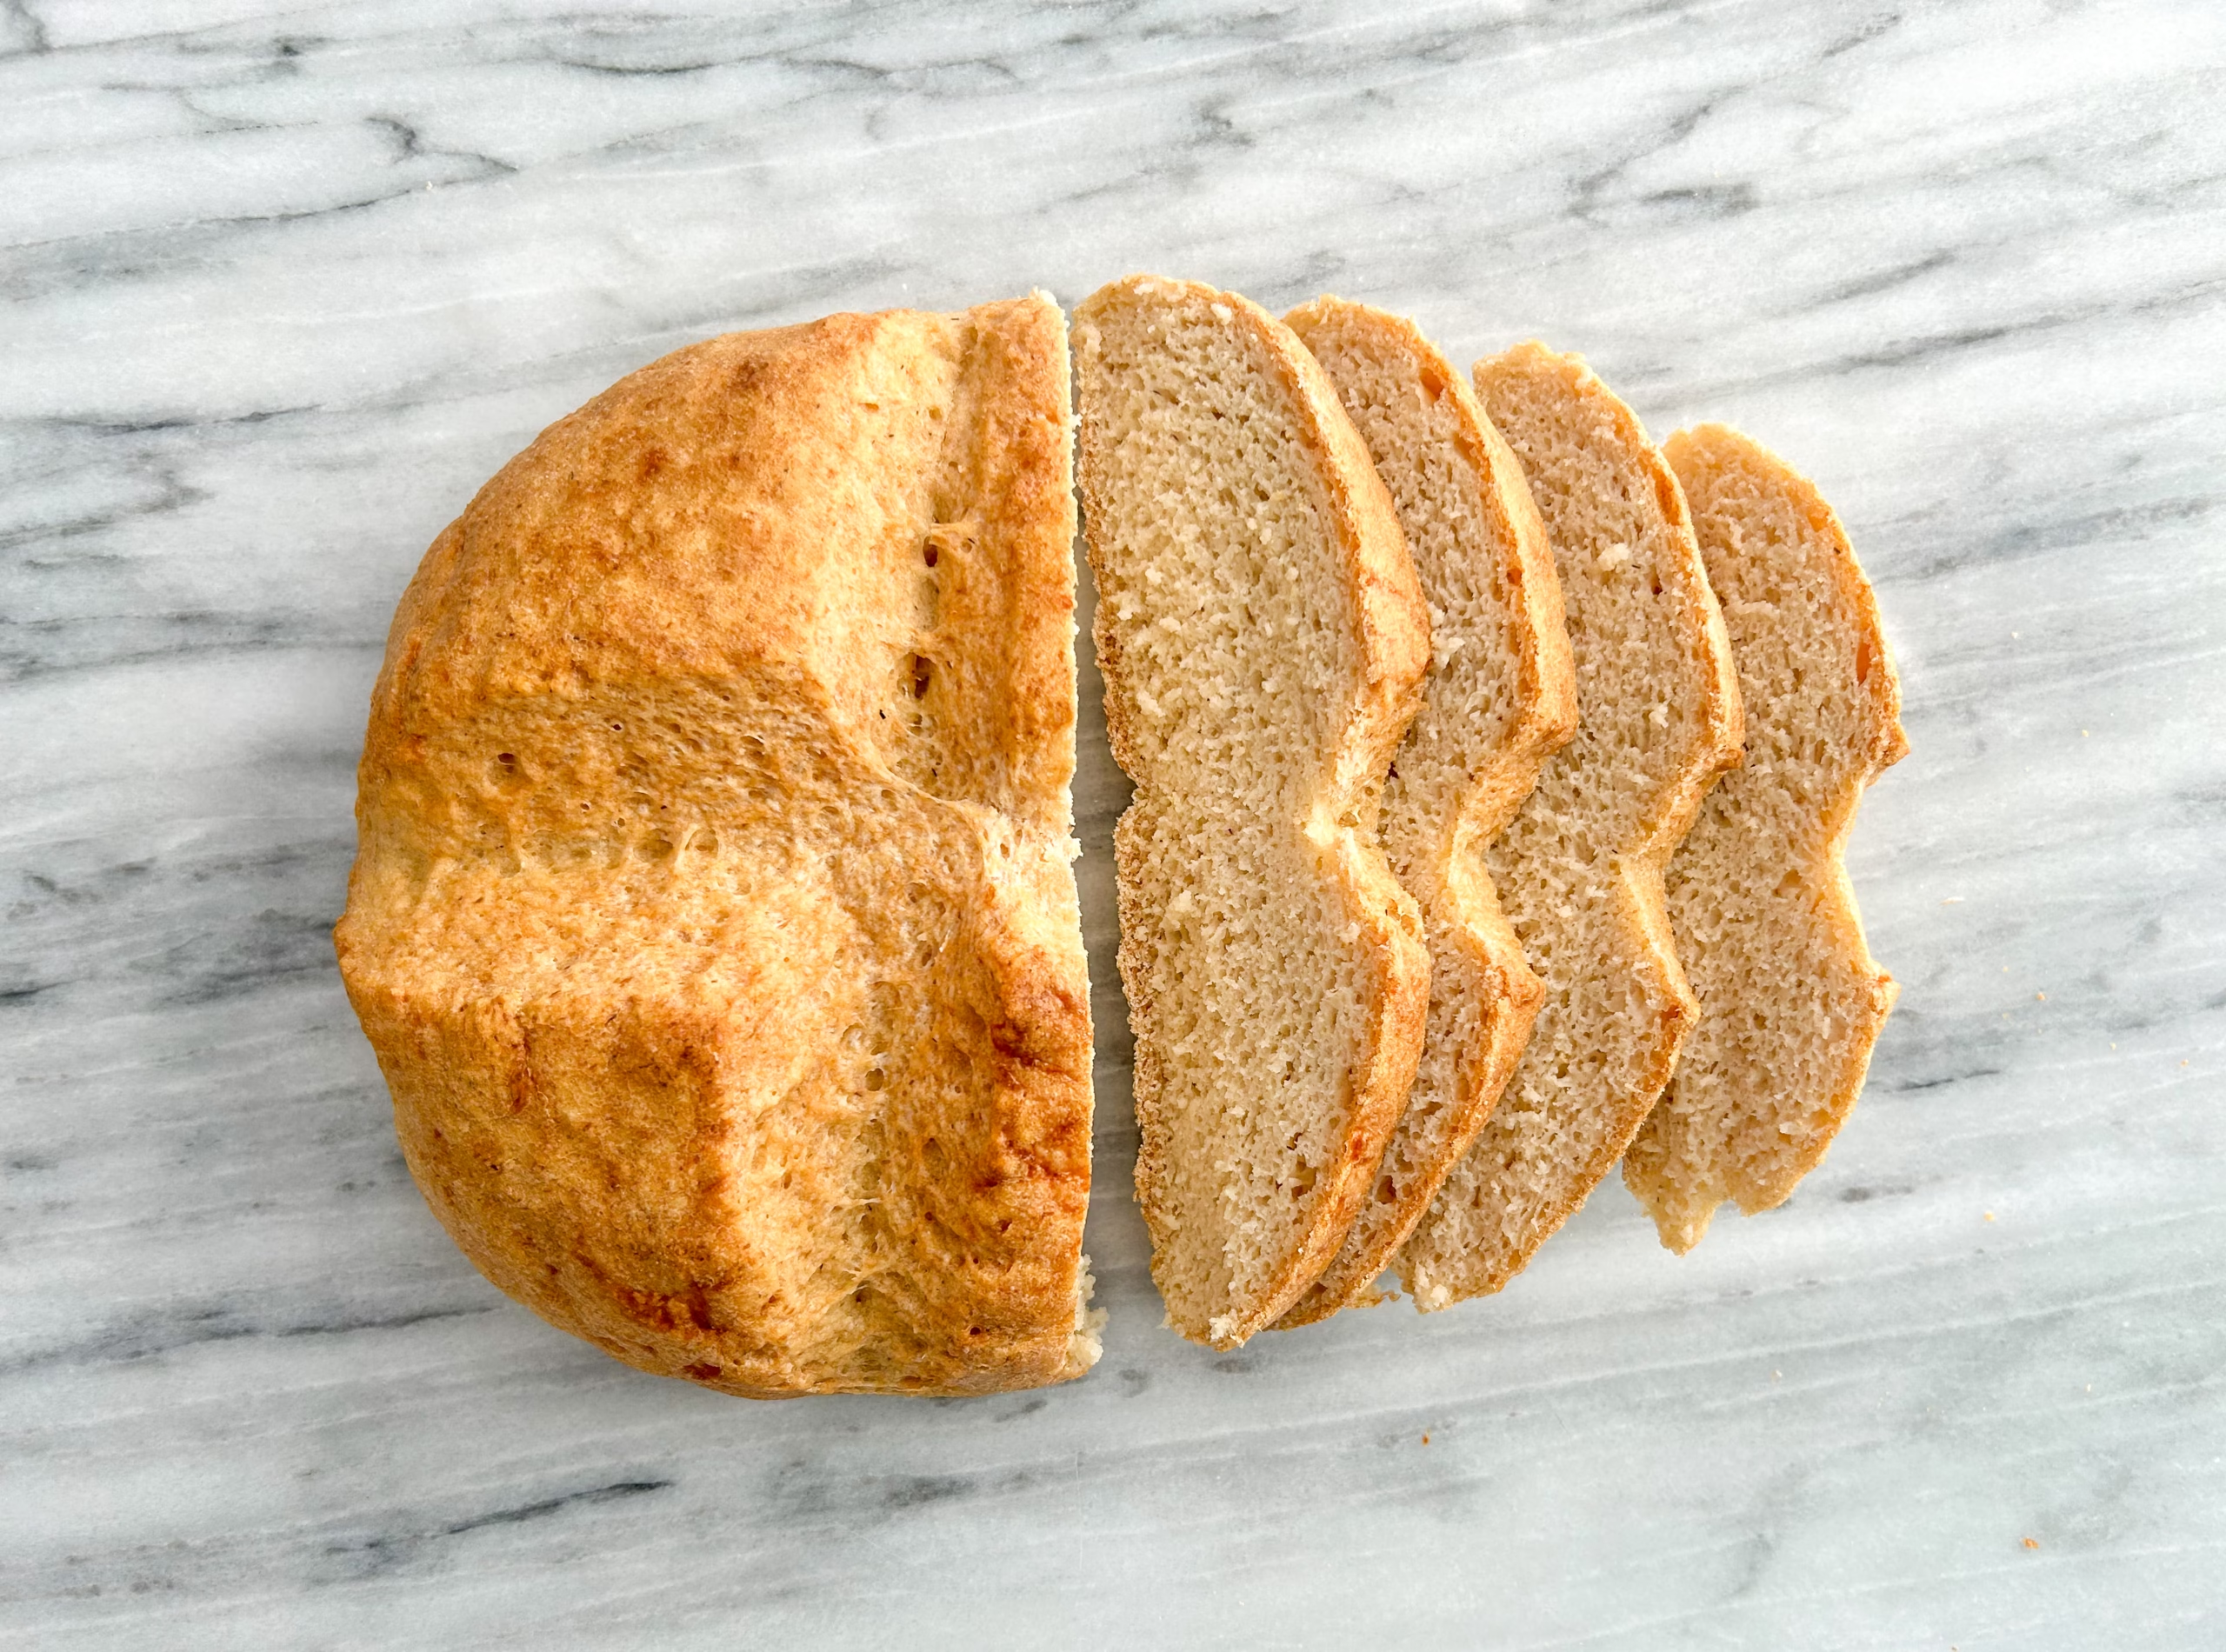
This gluten free boule bread recipe is a quick and satisfying way to enjoy homemade bread without the long wait of traditional sourdough. From mixing the ingredients to proofing and baking, this boule can be ready in under two hours, making it perfect for busy days when you still want a fresh, artisan-style loaf. It has a rustic, golden crust and a soft, airy interior that’s ideal for sandwiches, toast, or enjoying with butter and jam. With its easy preparation and delicious flavour, this gluten free boule is sure to become a go-to in your kitchen!
Gluten free bread
Gluten free bread does not have to be hard. This recipe can be used for this gluten free boule bread OR shaped into baguettes. Whatever shape you bake it, it is flavourful and delicious.
Why is it called boule Bread?
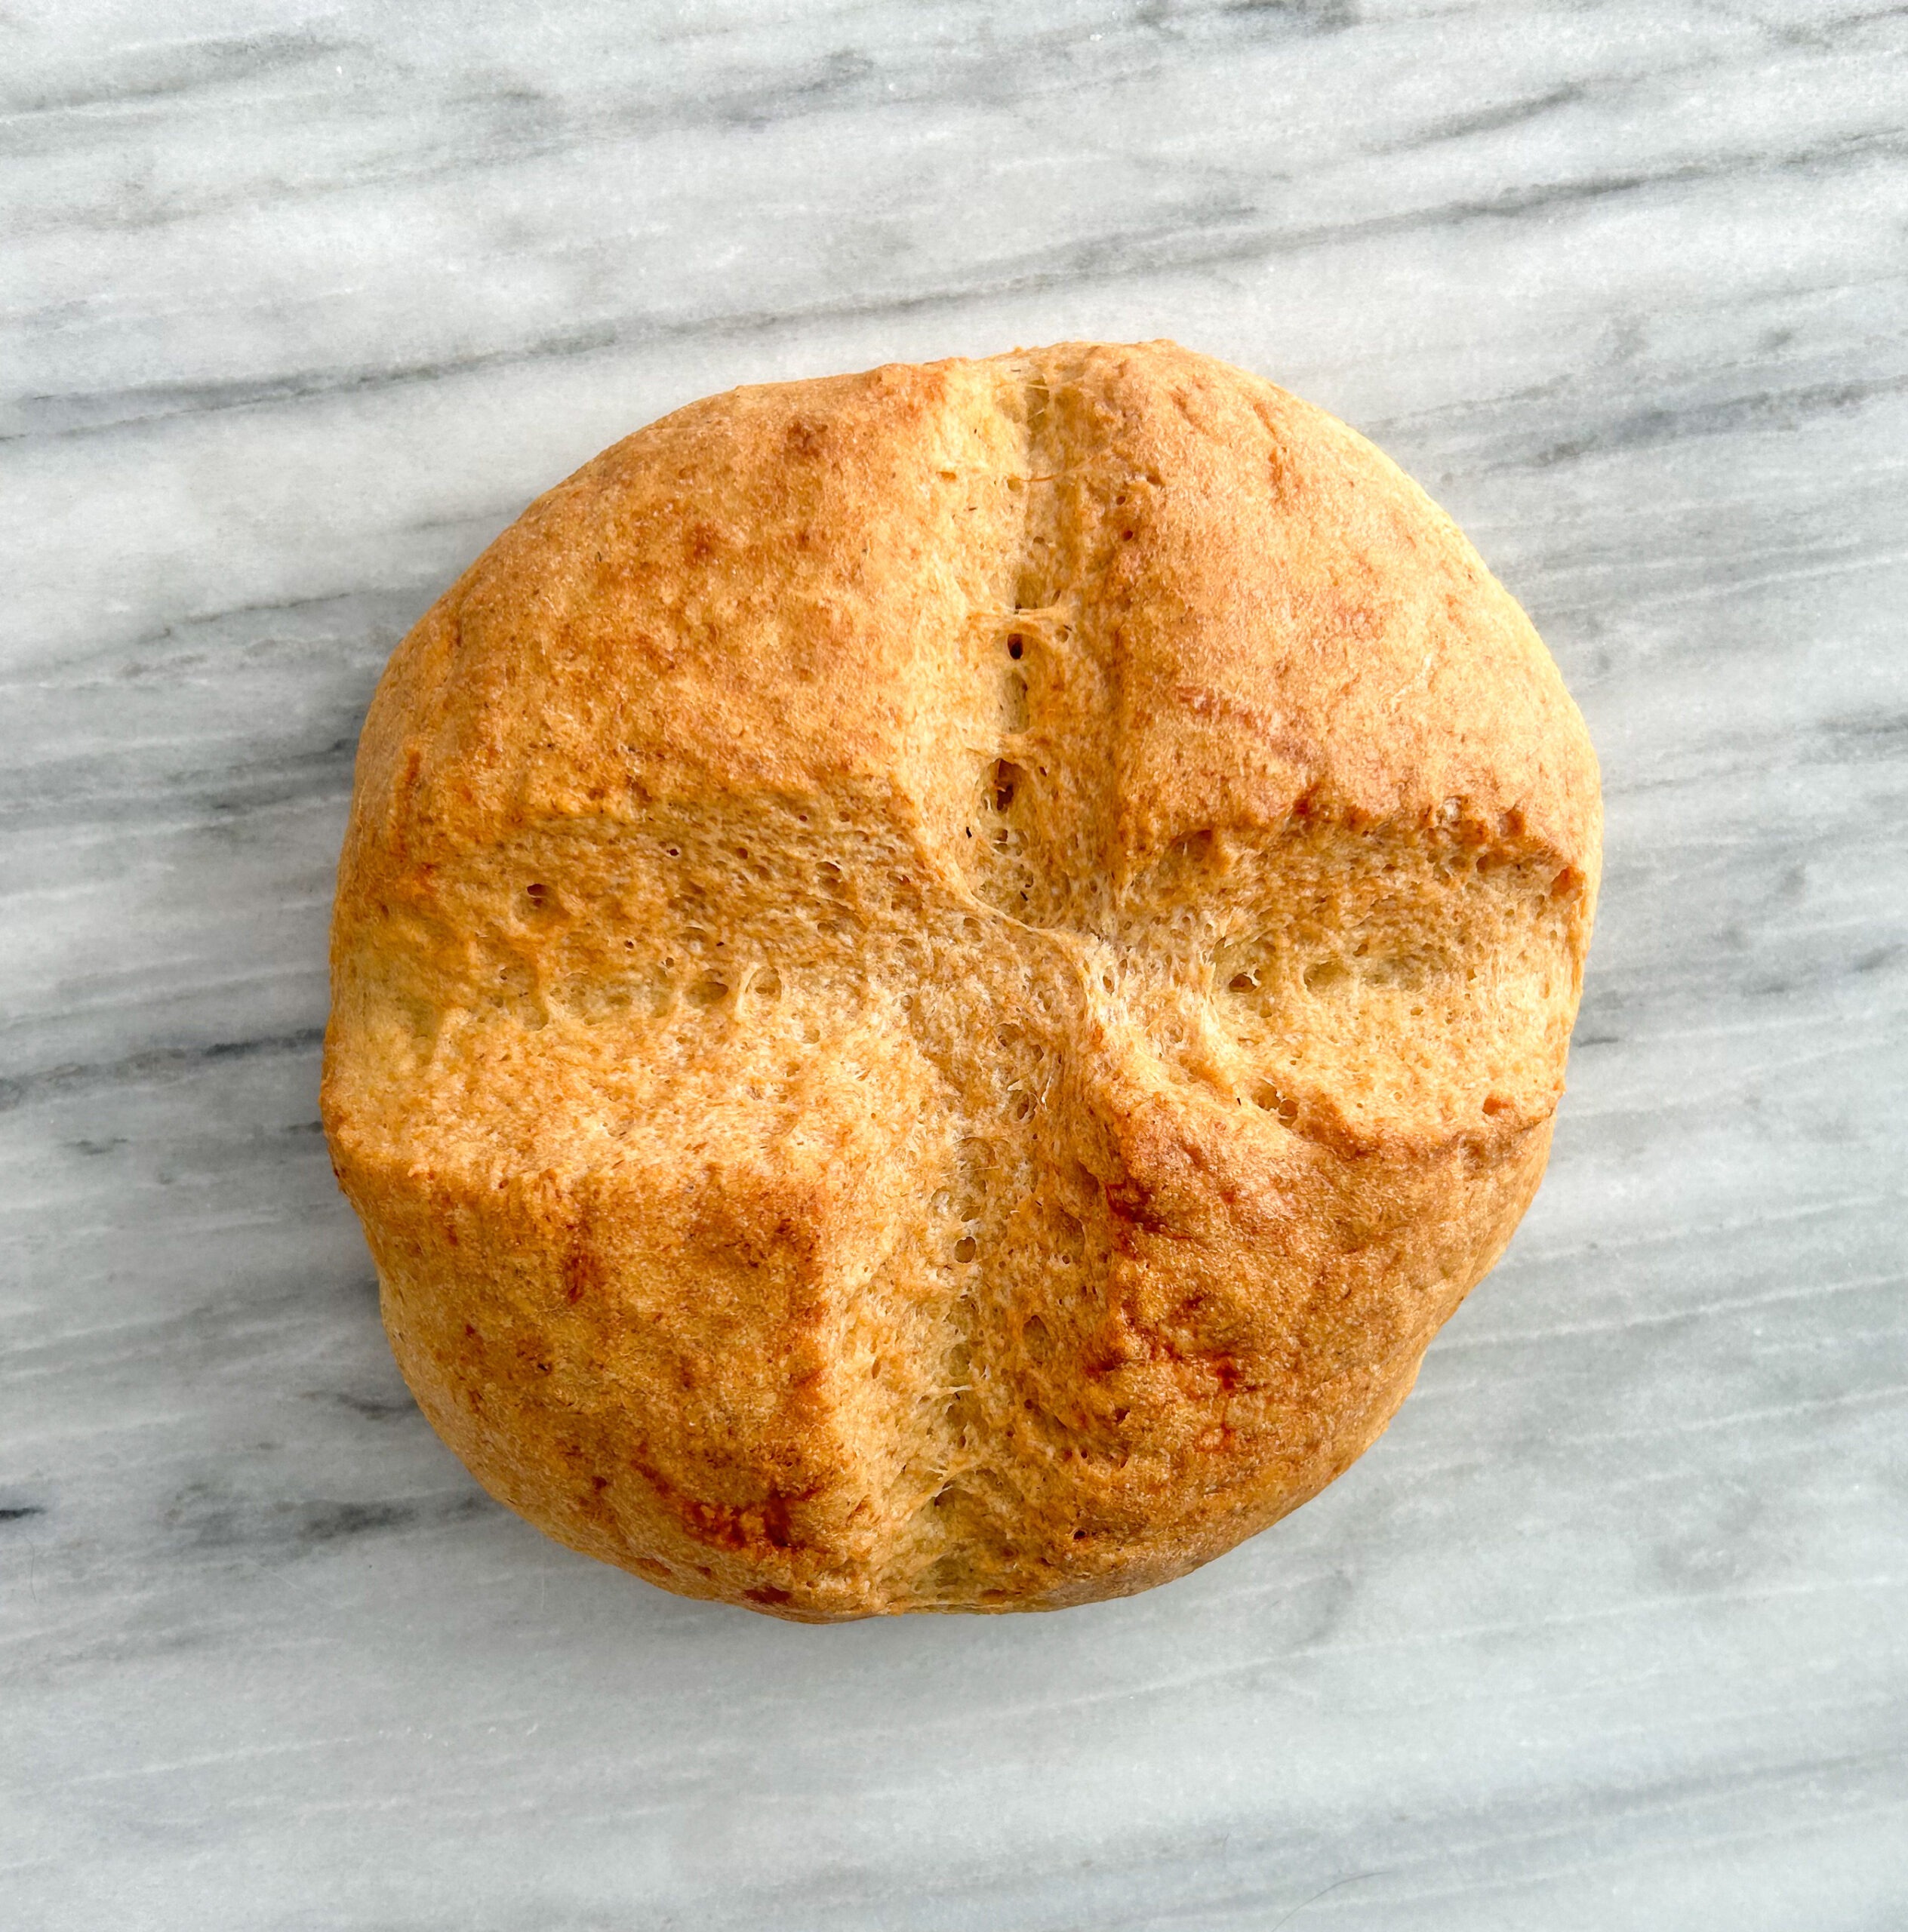
“Boule” is a French word meaning “ball” or “round,” which refers to the traditional shape of this bread. Boule bread is known for its rustic, round shape with a thick, crusty exterior and a soft, airy crumb inside. The shape and texture make it versatile, perfect for slicing, toasting, or tearing, and it’s popular in artisan bread-making across various cuisines.
Ingredients
This recipe uses a couple different ingredients. You can use different flours but I would make sure they are a suitable replacement as it will mess with the liquid amounts.
- Active Dry Yeast: I have also used fresh yeast and you will need to triple the amount of grams.
- Sugar: Used to active the yeast.
- Water: To use to bloom the yeast, and in the dough.
- Psyllium Husk: Gives it the ability to act like normal bread.
- Tapioca Flour
- Millet Flour
- White Rice Flour
- Oat Flour

Baking
I have baked this bread multiple different ways. My favourite way is in a Dutch oven. You place the dough after rising on a sheet of parchment paper, lower it into a hot Dutch oven with a couple ice cubes and bake.
Another way is heating up a cast iron skillet, placing the bread on parchment paper and lowering it into the skillet. I add a container with water into the oven to provide some moisture while it bakes.
Storing
This gluten free boule bread is best eaten the day it is baked. I bake it in the morning to enjoy with dinner so it can cool down before we eat. Sometimes I have baked it while I put in a lasagna and it is still warm when I cut into it.
If there is bread leftover, wrap it into a ziplock plastic bag. When you are ready to eat the rest of it, slice it, and eat as is, or I like to toast it with some butter.
Gluten Free Boule Bread
Ingredients
- 8 Grams Active Dry Yeast (If using fresh yeast, use 24 grams.)
- 20 Grams Sugar
- 150 Grams Warm Water
- 250 Grams Water
- 20 Grams Psyllium Husk
- 130 Grams Tapioca Flour
- 100 Grams Millet Flour
- 50 Grams White Rice Flour
- 50 Grams Gluten Free Oat Flour
- 4 Grams Salt
Instructions
- In a bowl, combine the yeast, sugar and warm water. Stir to dissolve the sugar into the water and set aside until it starts blooming.8 Grams Active Dry Yeast, 20 Grams Sugar, 150 Grams Warm Water
- In a new bowl, add water and psyllium husk. Stir to combine and set aside until gel.20 Grams Psyllium Husk, 250 Grams Water
- In a stand mixer bowl, add the rest of the ingredients and store to combine.130 Grams Tapioca Flour, 100 Grams Millet Flour, 50 Grams White Rice Flour, 50 Grams Gluten Free Oat Flour, 4 Grams Salt
- Once the yeast mixture has bloomed, add it into the stand mixer bowl. Add in the psyllium husk mixture as well. Using a paddle attachment, mix everything together. You might need to add a touch more water if there is anything dry at the bottom of the bowl. You will mix it until everything is mixed together and it starts to pull away from the bowl making the sides of the bowl clean.
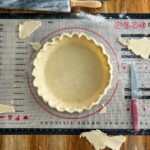
- Prepare a proofing basket or a bowl with some millet flour. Shape the dough into a ball, and place it into the proofing basket. Cover the proofing basket and place in a warm area for 45 mins to 65 mins. You will know when it is done when it has grown a lot in size.
- Preheat the oven to 450F. Place a Dutch oven OR a cast iron skillet into the oven while it is preheating.
- Once the oven is preheated. Gently flip the dough proofing in the proofing basket onto a piece of parchment paper. Slice the top of the bread to create an air escape. Any pattern you would like.
- Place the parchment paper with the dough into the Dutch oven or skillet and put 2 ice cubes in with it. Bake for 40 mins.
- At the 40 minute mark, temperature check the middle of the bread. It should reach 208F (or whatever your boiling point is depending on your elevation). If it is done, remove it from the oven. If not, leave it in for 10 more minutes and then check it again.
- Remove from the oven, and place on a wire rack. Once the bread is cool, enjoy!
Did you make this recipe?
Lovely. Now let me know how you liked it and how easy it was to bake. Tag @laurabakesglutenfree on Instagram and hashtag it #laurabakesglutenfree.
While I have you here, may I suggest few you try next:
Until next time. Keep following and commenting. Join me on Instagram, where I will be revealing my secret tips and tricks! Yes, that’s right!