

This gluten free all-butter pie crust is a versatile, flaky pastry that’s perfect for any dish, from sweet dessert pies to savoury quiches and pot pies. Made with rich, creamy butter, it bakes up beautifully golden and tender, with a melt-in-your-mouth texture. Whether you’re making an apple pie, a comforting pot pie, or a classic quiche, this gluten free crust is easy to work with and adds a deliciously buttery flavour to every slice. It’s the perfect foundation for any recipe calling for a classic pie crust!
All butter pie crust
An all-butter pie crust offers a rich flavour and flaky texture that’s hard to beat. Butter has a higher fat content than other fats, like shortening, which creates those desirable, tender layers as it melts and steams in the oven. Additionally, butter’s unique taste complements both sweet and savoury fillings, enhancing everything from fruit pies to quiches. While it may require a bit more care when handling, the result is a golden, deliciously buttery crust that elevates any pie or pastry!
Ingredients
All of the ingredients you should have in your pantry.
- Bob’s Redmill 1-1 Gluten Free Flour
- Butter
- Sugar: Even in savoury pie crusts.
- Salt
- Ice Water
tools
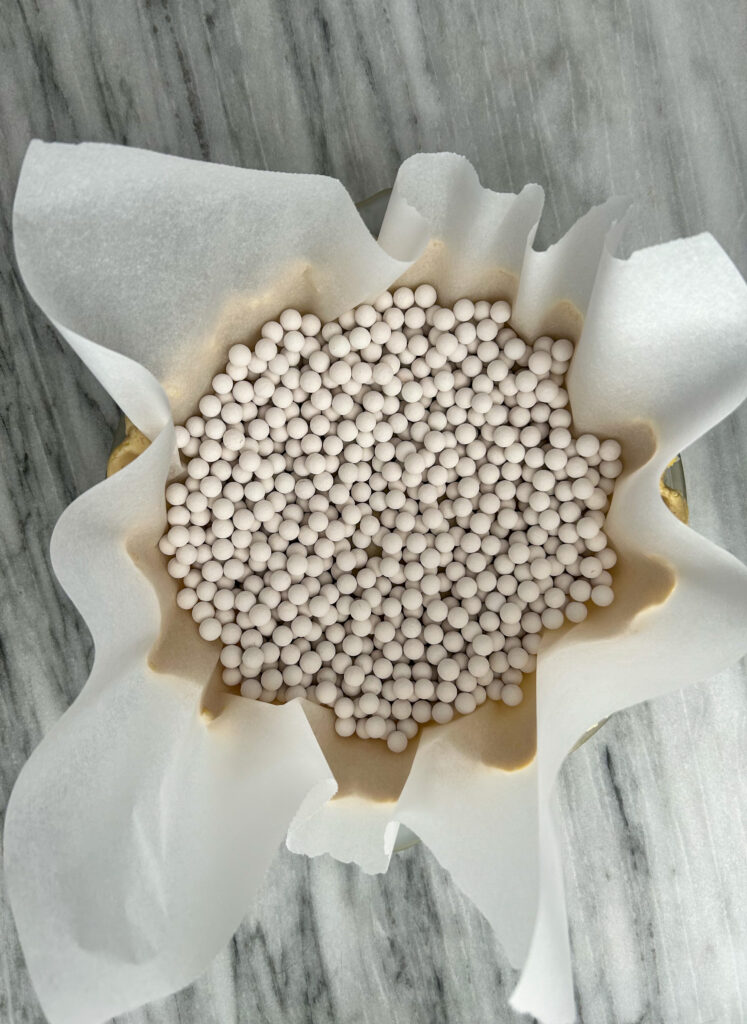
- Pie weights: These are used when you blind bake a pie so it does not puff up when you need to put a filling in it after it has baked. Such as lemon meringue pie.
- Glass pie plate: I tend to bake with my glass pie plate a lot. I find it is easy to pick up and move around while baking a beautiful pie.
- Pie server: Always nice to have a pie server on hand, this helps with lifting it out of the pie plate.
- Pastry brush: I tend to use a pastry brush over a silicone brush. I find the silicone brushes hide a lot of soap in them. After all that hard work, you want to make sure you do not ruin it with a soapy egg wash. The pastry brush I hand wash to avoid it getting soapy through the dishwasher.
Gluten free pie crust
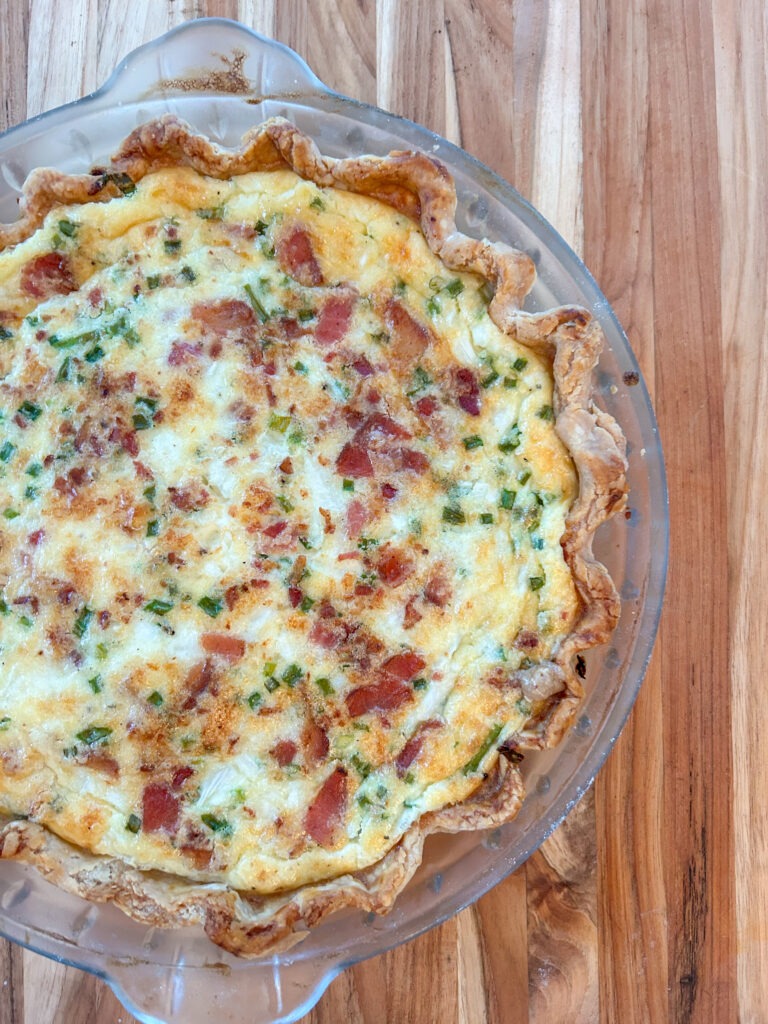
This gluten free all-butter pie crust is perfect for a variety of pies and can be used as a single crust for recipes like lemon meringue or quiche. For double-crust pies, like apple pie or chicken pot pie, you’ll need to double the batch to cover both the bottom and top. The buttery, flaky texture of this crust makes it ideal for blind baking when a crisp, golden base is needed before adding fillings, as well as for baking directly with a filling inside. Its rich flavour and tender crumb make it a versatile choice for all types of pies, from sweet to savoury!
Tips
You can make this dough ahead and put it into the fridge for a couple days before you bake it. If you do that, I would let it sit out a bit so it is softer and easier to handle.
If I am making the pie right away, I will mix up the dough and use it right away. Once It is rolled out and put into the pie dish, I will put it into the fridge to get cold before filling.
I find with any pie crush when you want a covered top of a pie, it is hard to do without ripping the dough. A tip to avoid this is to roll the dough between plastic wrap to larger than you need. You will put it into the fridge until it is cold. When you are ready to use, peel off the plastic wrap and put it on top of the pie. Trim the edges as needed.
What type of pie plate should you use? I tend to use a glass one. This means when I am preheating the oven to bake the pie, I put a baking sheet in there to preheat as well. I place the pie directly on top of the preheated baking sheet when the oven is ready to conduct more heat into the crust without making it soggy. If I am using a metal pie plate I do not do this. I do put it on a baking sheet that is room temperature just to make it easy to transport into the oven.
Golden Brown top
What makes pie so delicious is the flaky crust. If you have a top crust, brush an egg wash on top. An egg wash is 1 whole egg and a splash of cream (or milk) and mix it together like you are making scrambled eggs. Then you will brush it all over the top of the pie right before you stick it into the oven.
Even when you are doing a blind baked crust, you will brush the egg wash on ONLY the top of the crust, and then put down parchment paper and pie weights into it. This will give the edge a golden brown crust.
Gluten Free All Butter Pie Crust
Ingredients
- 230 Grams Bob’s Red Mill 1-1 Gluten Free Flour or Adent Mills Gluten Free Flour
- 1 Pinch Salt
- 15 Grams Sugar (Use the sugar even if it is a savoury pie.)
- 113 Grams Cold Butter
- ~60 Grams Ice Water
Instructions
- In a large bowl, add in the flour, salt and sugar. Mix together with your hands.230 Grams Bob’s Red Mill 1-1 Gluten Free Flour or Adent Mills Gluten Free Flour, 1 Pinch Salt, 15 Grams Sugar
- Cut the cold butter into chunks and toss it into the bowl with the dry ingredients. With your hands, mix the butter into the flour. You will blend the butter into the flour with your fingers. You want to blend it all together so the largest chunks of butter are nickel sized.113 Grams Cold Butter
- Add in the ice cold water, with your hands mix it all together. You want the dough to cold together without being too crumbly. If it is too crumbly add a little bit more water at a time.~60 Grams Ice Water
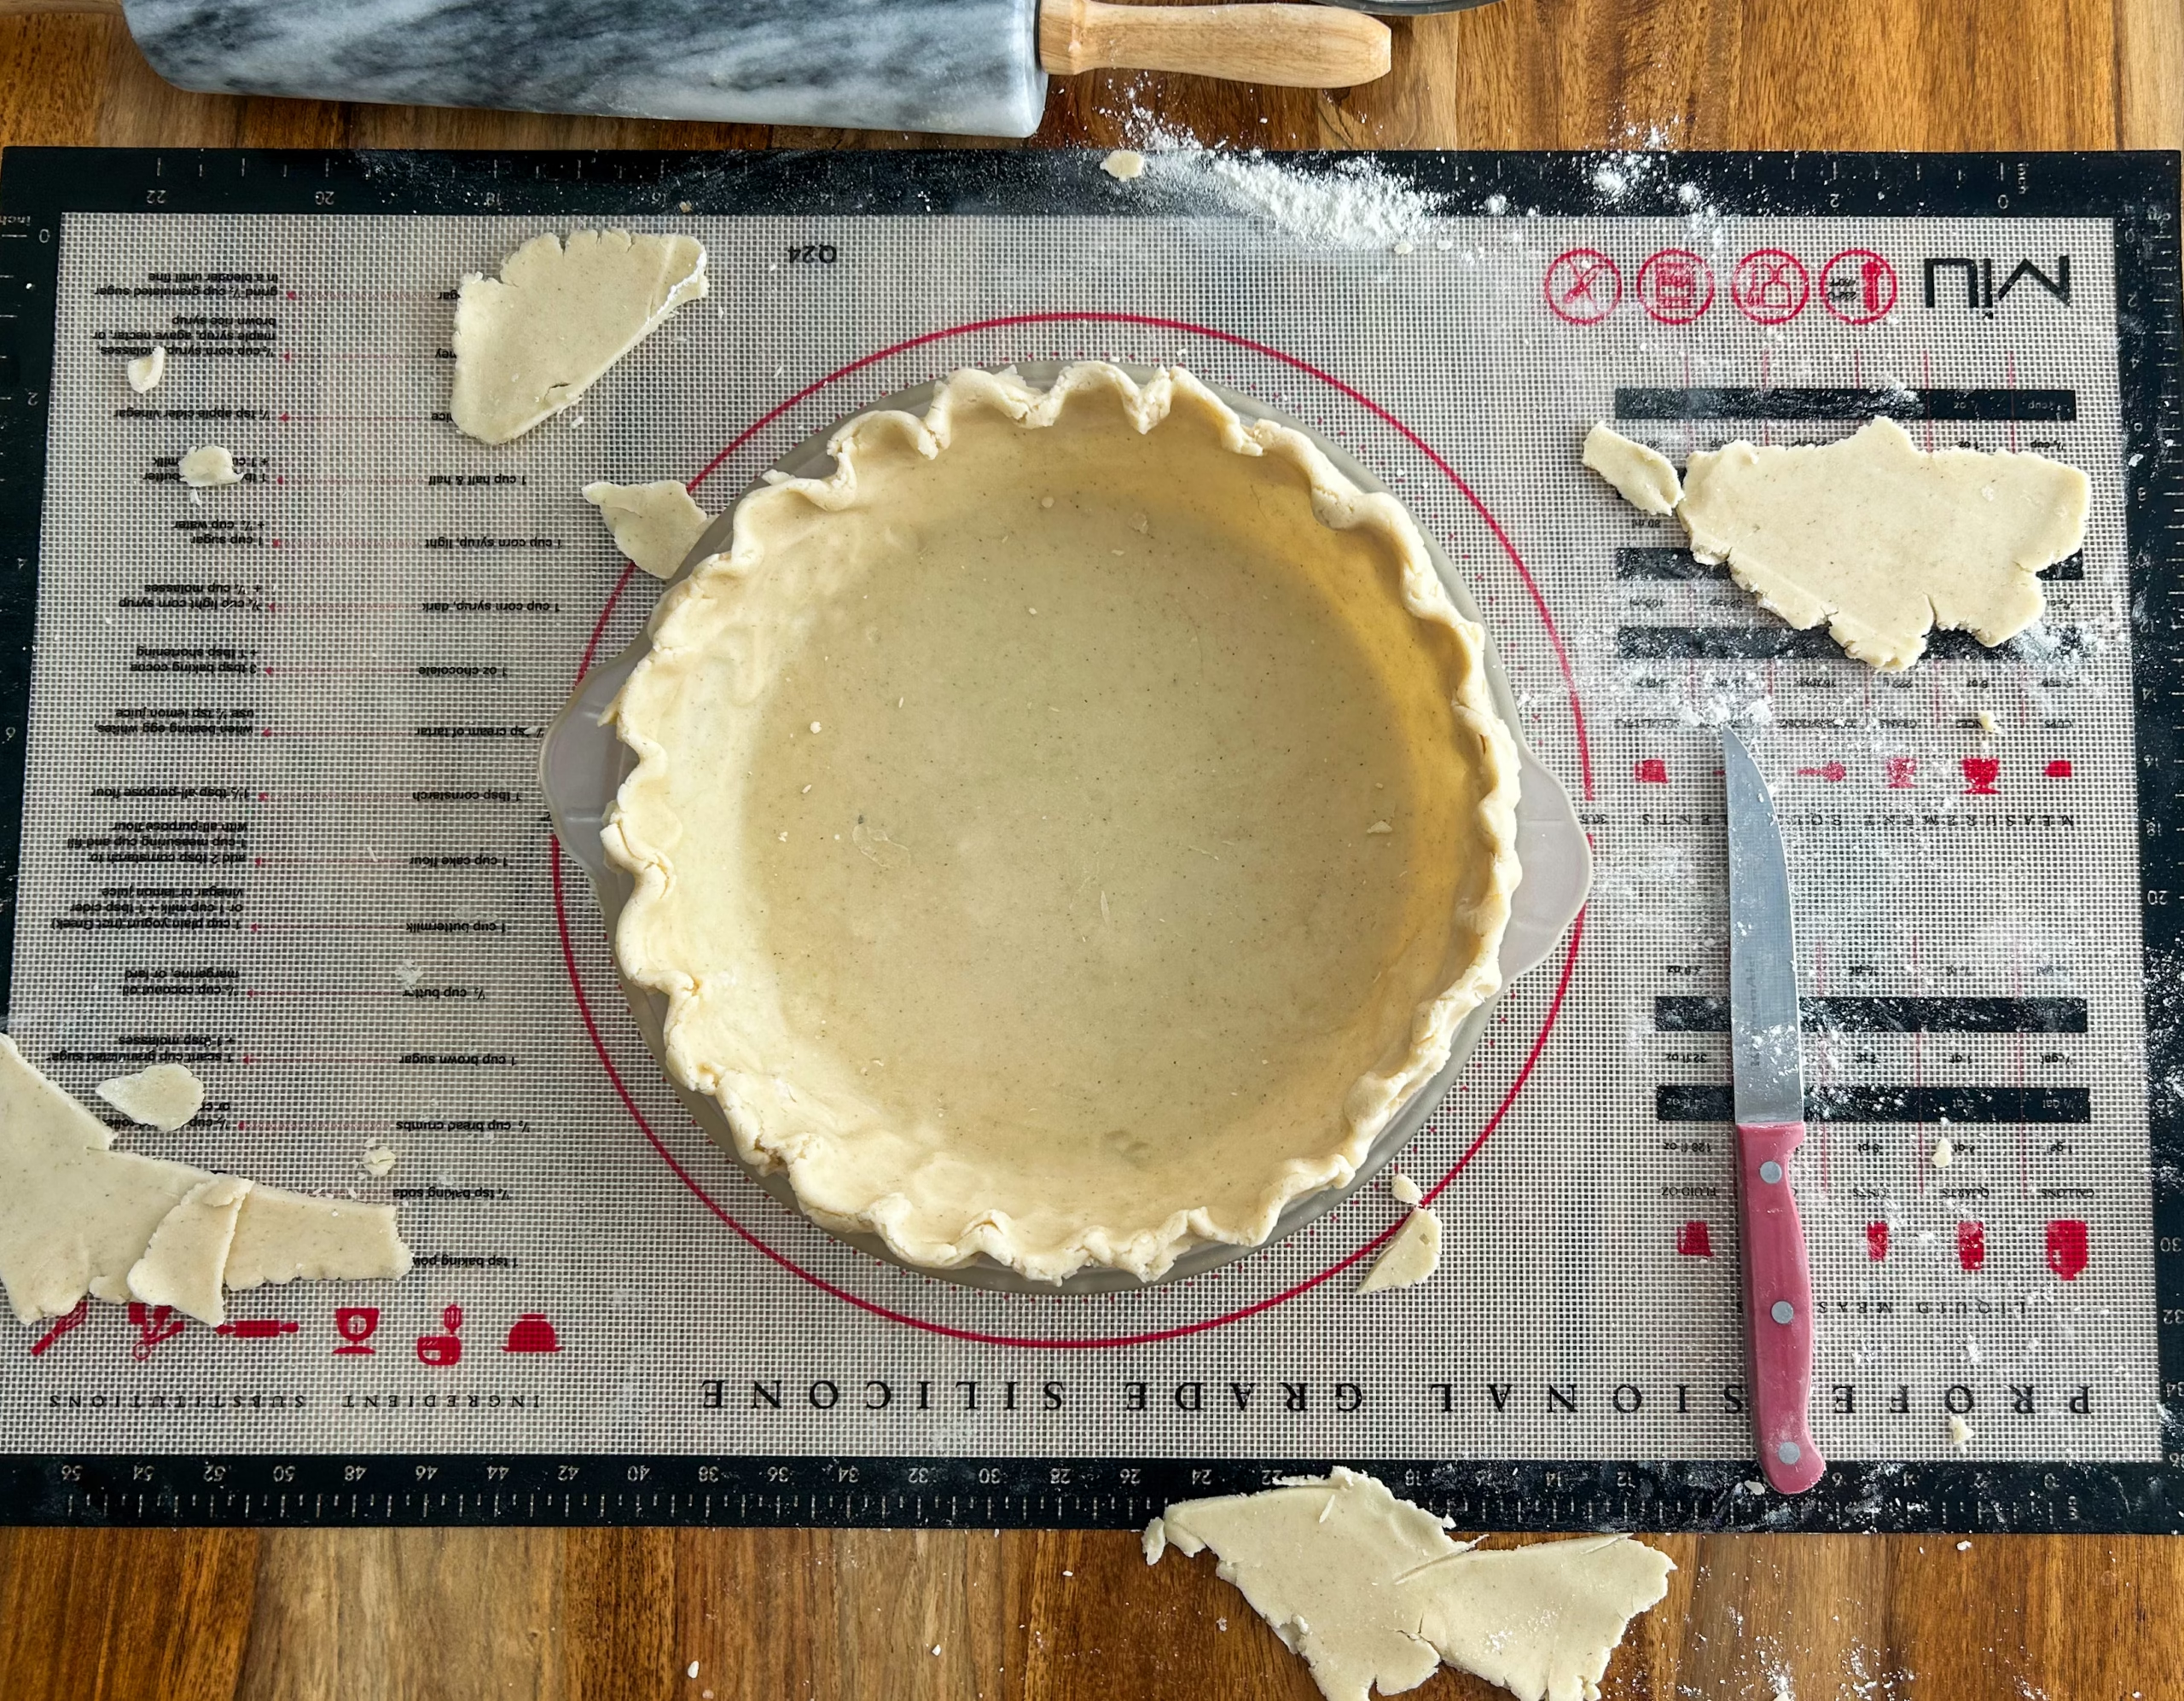
- Once the dough is all combined and you are making it right away, I would gather it up into a disc shape. Place it on a well floured surface. Roll the dough out larger than you need it. Cut off the extras.
- Carefully lifting, place it into the pie dish. Make sure the dough sits well into the pie crush so it holds its shape. Finish the pie by either filling it or blind baking it.
If you are blind baking the dough
- Preheat the oven to 400F with a baking sheet on the middle rack.
- Once the dough is in the pie dish, brush the edges with an egg wash (1 whole egg and a splash of cream or milk). Place parchment paper inside the pie and fill it with pie weights.
- Once the oven is preheated, place to pie into the oven and bake for 15 minutes.
- Remove the pie from the oven and remove the pie weights and parchment paper. Place it back in the oven for 15 minutes.
- Once it is nice and golden brown, remove it from the oven and let it cool before filling it with your filling.
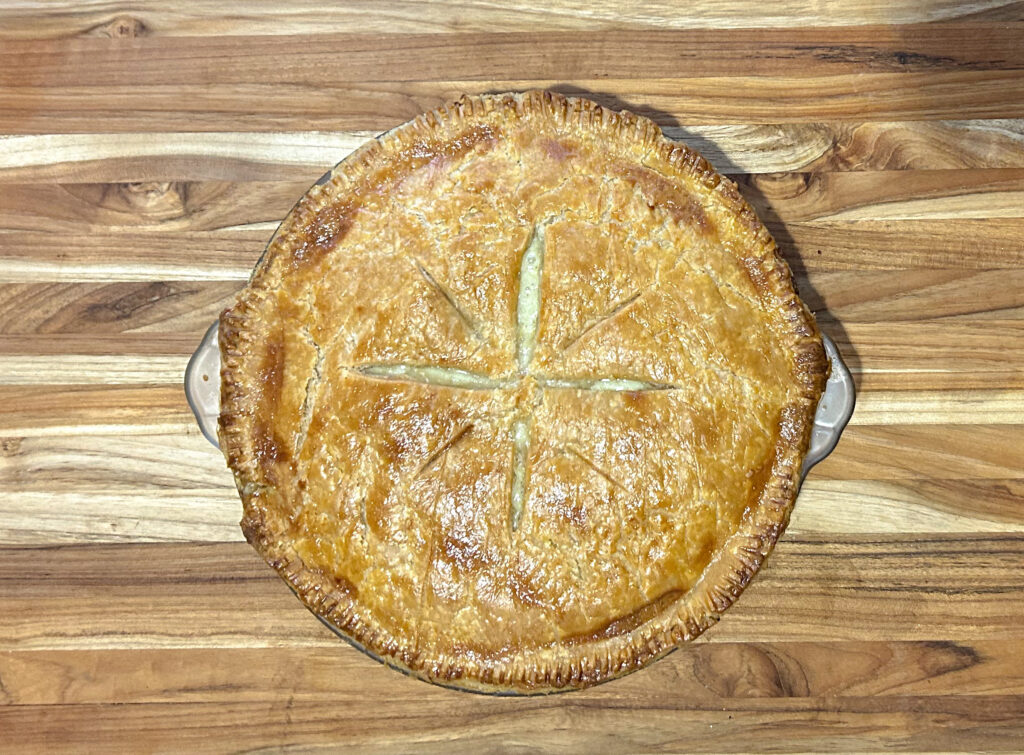
If you are filling it before baking (pot pie, apple pie, etc)
- Preheat the oven to 400F
- Complete the bottom pie dough inside the pie plate. Fill the pie dough with whatever filling you would like.
- Top of the pie with whatever pattern you would like – full covered, lattice, shapes, etc.
- Brush it with an egg wash (1 whole egg, and a splash of milk or cream).
- Place it in the oven as per baking instructions on the pies recipe as they will all take a little bit different times to bake.
Did you make this recipe?
Lovely. Now let me know how you liked it and how easy it was to bake. Tag @laurabakesglutenfree on Instagram and hashtag it #laurabakesglutenfree.
While I have you here, may I suggest few you try next:
Until next time. Keep following and commenting. Join me on Instagram, where I will be revealing my secret tips and tricks! Yes, that’s right!

4 Comments
Pingback: Gluten Free Strawberry Rhubarb Pie Recipe - Laura Bakes Gluten Free
Pingback: Gluten Free Lemon Meringue Pie Recipe - Laura Bakes Gluten Free
Pingback: Gluten Free Apple Galette Recipe - Laura Bakes Gluten Free
Pingback: Gluten Free Apple Pie Recipe - Laura Bakes Gluten Free