Making a gluten free sourdough starter from brown rice flour is a true labour of love. It takes patience, as it requires about two weeks to fully develop the starter the first time before it’s ready to use. The results are worth it—creating a natural, tangy base for all kinds of gluten free baked goods. If you’re looking for a great recipe, here’s how to start making a gluten free sourdough starter.
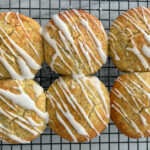
Whether you’re making classic gluten free sourdough bread, fluffy muffins, or indulgent cinnamon buns. This starter opens the door to endless possibilities. With no commercial yeast needed, the brown rice flour starter brings authentic sourdough flavour and texture to your gluten free baking, transforming everyday treats into something truly special!

What is a gluten free sourdough starter?
A gluten free sourdough starter is a naturally fermented mixture of gluten free flour (like brown rice flour) and water. Over time, it develops a complex flavour profile and helps leaven baked goods without the need for commercial yeast. Once fully developed, the starter can be used to make a variety of gluten free sourdough recipes. From bread to muffins and even cinnamon buns, giving them a signature tangy flavour and chewy texture.
I have made a variety of different starters over the years. Most of the time I stick with a brown rice flour starter as I always have it on hand. Recently I have been cutting the brown rice flour with white rice flour to give it a lighter and bubblier texture.
Ingredients
I am sure you have everything already in your pantry to get started on this labour of love, if not, I am sure you find the ingredients very easily.
- Brown Rice Flour
- White Rice Flour
- Water
Timeline of starter
When I start a new gluten free sourdough starter I always feel like I have a commitment and plan accordingly. It takes about 2 weeks for it to develop for you to bake with it. In that time, you should make sure you are available to feed the starter around the same time every single day. I feed mine before I make dinner, so I have a reminder everyday to feed it before I make dinner to feed myself.
Starting day
- Day 1: In a clean jar, combine 20 grams of brown rice flour, 20 grams of white rice flour and 60 grams of lukewarm water. Cover the top with a paper towel or a clean tea towel and set in a warm place or on the counter for 24 hours.
day 2
- Day 2: Stir the starter and pour 40 grams of the starter into a clean jar (discard the leftover starter from yesterday’s jar). Add in 20 grams of brown rice flour, 20 grams of white rice flour and 60 grams of lukewarm water. Cover the top with a paper towel or a clean tea towel and set in a warm place or on the counter for 24 hours.
day 3 – 14
- Day 3-7: Continue this process day after day. The starter will start to puff up with small bubbles and smell like a sweet/sour bread-like smell. Stir the starter and pour 40 grams of the starter into a clean jar (discard the leftover starter from yesterday’s jar). Add in 20 grams of brown rice flour, 20 grams of white rice flour and 60 grams of lukewarm water. Cover the top with a paper towel or a clean tea towel and set in a warm place or on the counter for 24 hours.
- Day 8-14: If you are not seeing that much activity, move the starter to a COLD oven with the light on to sit for 24 hours. You will start to see if puff up and almost double in size. If it is doubling in size, you can start to use it for baking, however I wait a fully 14 days to really develop the flavour for my first loaf.
Continue this process day after day. The starter will start to puff up with small bubbles and smell like a sweet/sour bread-like smell. Stir the starter and pour 40 grams of the starter into a clean jar (discard the leftover starter from yesterday’s jar). Add in 20 grams of brown rice flour, 20 grams of white rice flour and 60 grams of lukewarm water. Cover the top with a paper towel or a clean tea towel and set in a warm place or on the counter for 24 hours.
when do you know it is ready to use?

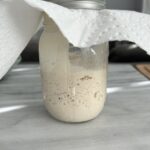
The sourdough starter should double in size and have a lot of visible bubbles. It will smell slightly sweet/sour and has been around 14 days.
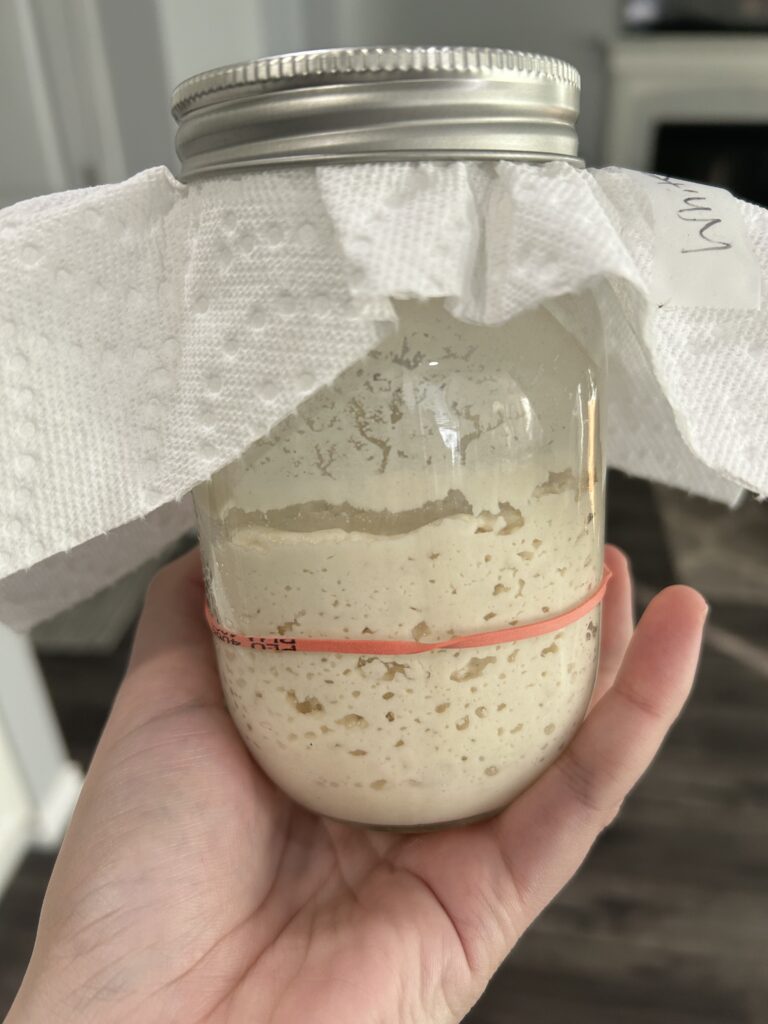
This is my gluten free sourdough starter, it has bubbles, feels delicious and is ready for me to bake with.
when do you know your starter is at its peak?
It is important to know when you gluten free starter hits its peak. You will use the starter for baking at that peek so it has maximum rise.
You can see from this photo my starter hit its peak and then began to fall from the definition in the line. I left it about an hour too long, but that is no problem. You can feed the starter again, and then use it. Or depending on what you are making, you can use it now if you are using it for something like muffins, pancakes, etc.
Where do you store the starter when not in use?
If you leave your starter on the counter, you will need to feed it every single day. I like to put mine in the fridge to hibernate until I am ready to use it again. To do so, make sure you feed the starter and then use the jar’s lid and put it the lid on slightly, but not tight. If you put it on too tight, it could explode in the fridge…. It has happened to me before.
When you are ready to use the starter again, you will pull the jar out of the fridge and place it on the counter until it comes back to room temperature. Remember to take off the jars lid and replace it with a paper towel or it could explode. You will feed the starter for a day and I like to place mine in a COLD oven with the light on to give it a kickstart from being cold.
back up starter
When I use the starter for baking, there is going to be some discard. That is the starter that you discard or throw out from feeding the starter. I place that into a jar and stick it in the fridge unfed. I use it in things like crackers, pancakes, muffins, cookies, etc. IF something happens to your healthy starter, this will be used as a backup that you can pull out of the fridge, feed it and use it like your original starter.
Another way I like to keep a backup, is by drying some out. I take a baking sheet covered in parchment paper and spread a little bit of starter thinly over the parchment paper. Leave it overnight until it has completely dried out. I break it up and put it into a ziplock bag until I need to start a starter again.
baking with starter
When you need to bake a loaf of bread, take out the starter you need from your jar, and weigh out 40 grams of starter in a new jar and feed as usual.
If you want to make 2 loaves of sourdough bread, I would change the measurements in the starter. 60 grams of starter, 30 grams of brown rice flour, 30 grams of white rice flour and 80 grams of water. Feed your starter the day before you plan to use it with this new ratio.
Tips
- Use a clean jar every single day.
- If your kitchen is cold and you are not seeing a lot of bubbles on Day 7, I would put the starter in a COLD oven with the light on. You will leave it in there until the next feeding. This gives the starter a kick start into developing bubbles.
- Some people say to never use tap water in your starter because they do not have luck. I have tried it with bottled water and with tap water. Both had the same results so I prefer to use tap water. You might have to try out different waters if yours is not working well.
- Others will say not to use anything metal in your starter as it will kill the yeast it is creating. I have always used metal spoons to stir the starter without any issues.
- I need more star
Recipes to use your gluten free sourdough starter with
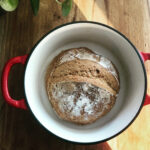
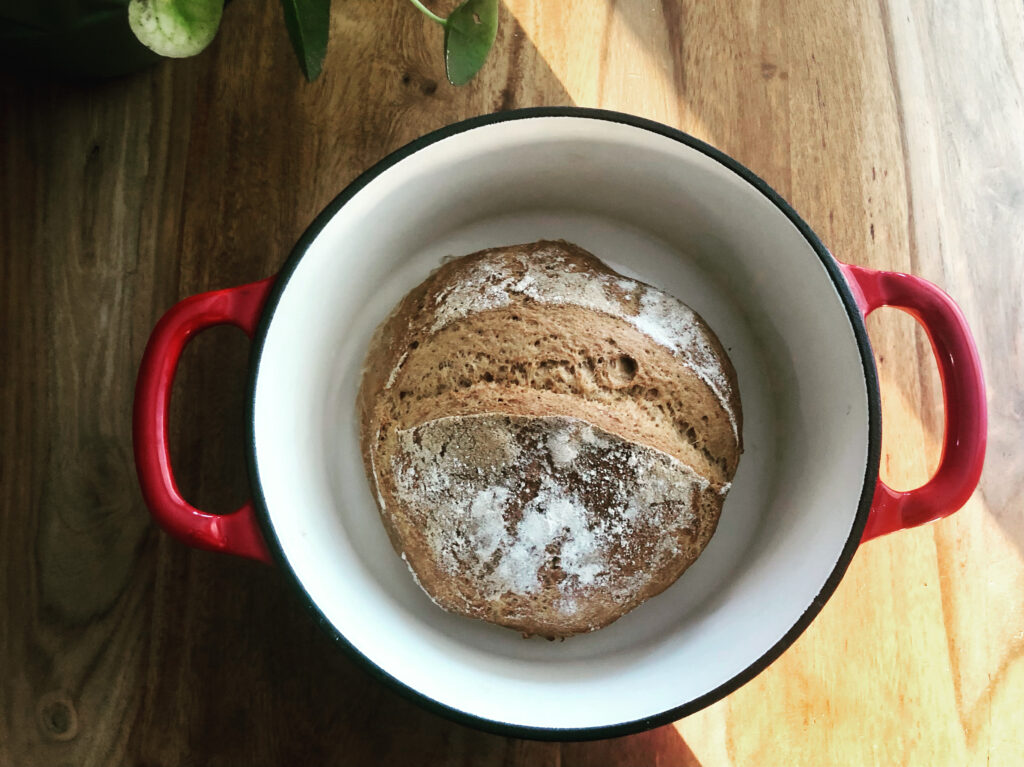
I have a lot of gluten free sourdough starter recipes that I will post on my site as they are ready. The recipe you should try right away (well after your starter develops) is my gluten free sourdough bread.
My husband (who can eat gluten) asks for this bread as soon as it starts to get cool outside. That means soups are in our future. This bread is perfect for eating with butter on it, dipped into soup, or sandwiches. I also used extras cut up into stuffing for thanksgiving.
Gluten Free Sourdough Starter
Equipment
- 2 Mason Jars 1 jar to have the starter in, a clean jar to use the next day.
Instructions
- Day 1: In a clean jar, combine 20 grams of brown rice flour, 20 grams of white rice flour and 60 grams of lukewarm water. Cover the top with a paper towel or a clean tea towel and set in a warm place or on the counter for 24 hours.
- Day 2: Stir the starter and pour 40 grams of the starter into a clean jar (discard the leftover starter from yesterday’s jar). Add in 20 grams of brown rice flour, 20 grams of white rice flour and 60 grams of lukewarm water. Cover the top with a paper towel or a clean tea towel and set in a warm place or on the counter for 24 hours.
- Day 3-7: Continue this process day after day. The starter will start to puff up with small bubbles and smell like a sweet/sour bread-like smell. Stir the starter and pour 40 grams of the starter into a clean jar (discard the leftover starter from yesterday’s jar). Add in 20 grams of brown rice flour, 20 grams of white rice flour and 60 grams of lukewarm water. Cover the top with a paper towel or a clean tea towel and set in a warm place or on the counter for 24 hours.
- Day 8-14: If you are not seeing that much activity, move the starter to a COLD oven with the light on to sit for 24 hours. You will start to see if puff up and almost double in size. If it is doubling in size, you can start to use it for baking, however I wait a fully 14 days to really develop the flavour for my first loaf. Continue this process day after day. The starter will start to puff up with small bubbles and smell like a sweet/sour bread-like smell. Stir the starter and pour 40 grams of the starter into a clean jar (discard the leftover starter from yesterday’s jar). Add in 20 grams of brown rice flour, 20 grams of white rice flour and 60 grams of lukewarm water. Cover the top with a paper towel or a clean tea towel and set in a warm place or on the counter for 24 hours.
Did you make this recipe?
Lovely. Now let me know how you liked it and how easy it was to bake. Tag @laurabakesglutenfree on Instagram and hashtag it #laurabakesglutenfree.
While I have you here, may I suggest few you try next:
Until next time. Keep following and commenting. Join me on Instagram, where I will be revealing my secret tips and tricks! Yes, that’s right!